


.svg)

The Rokt integration is being rolled out network by network. If you do not see Rokt as a Delivery Method on your postbacks, ask your account manager to turn it on for your network.
Overview
Rokt is an ad platform that partners with e-commerce sites to show ads on their post-checkout pages. With the Rokt integration, Everflow sends each conversion straight to Rokt's Events API from our servers. The advertiser does not need to place a Rokt pixel, and Everflow hashes the customer's personal details before they leave.
You set it up in two parts. First you add your Rokt API key and secret once, as an integration. Then you create a postback with Rokt as the Delivery Method and choose which fields to send.
How It Works
Here is what happens between a click on a Rokt ad and a conversion reaching Rokt:
The more customer fields you send, the better Rokt can match. Rokt asks for an email at minimum, and recommends name, mobile number and postal code when you have them.
Before You Start
Make sure you have the following:
Add the Rokt Click ID to Your Tracking Link
Rokt fills in its click ID through the {rokt.rclid|} macro. Add it to the Everflow tracking link you give Rokt, in a sub parameter you are not already using. Use & before it if the link already has a ?, otherwise use ?. This example uses sub2:
https://www.YOUR-TRACKING-DOMAIN.com/ABC123/DEF456/?sub2={rokt.rclid|}Later, in the postback, you map the same sub parameter (here {sub2}) to the Rokt Click Id field. Any free sub parameter works, as long as the tracking link and the postback use the same one.
Rokt's own docs show the click ID as rtid={rokt.rclid|}. That parameter name is for Rokt's pixel. With Everflow, use a sub parameter instead so the click ID is saved on the click.
Pass the Customer's Email
The email works the same way as in other server-side integrations: it has to arrive with the conversion. When the advertiser sends the customer's email on the conversion, you map {email} to the User Email field in Step 2, and Everflow hashes it before it leaves.
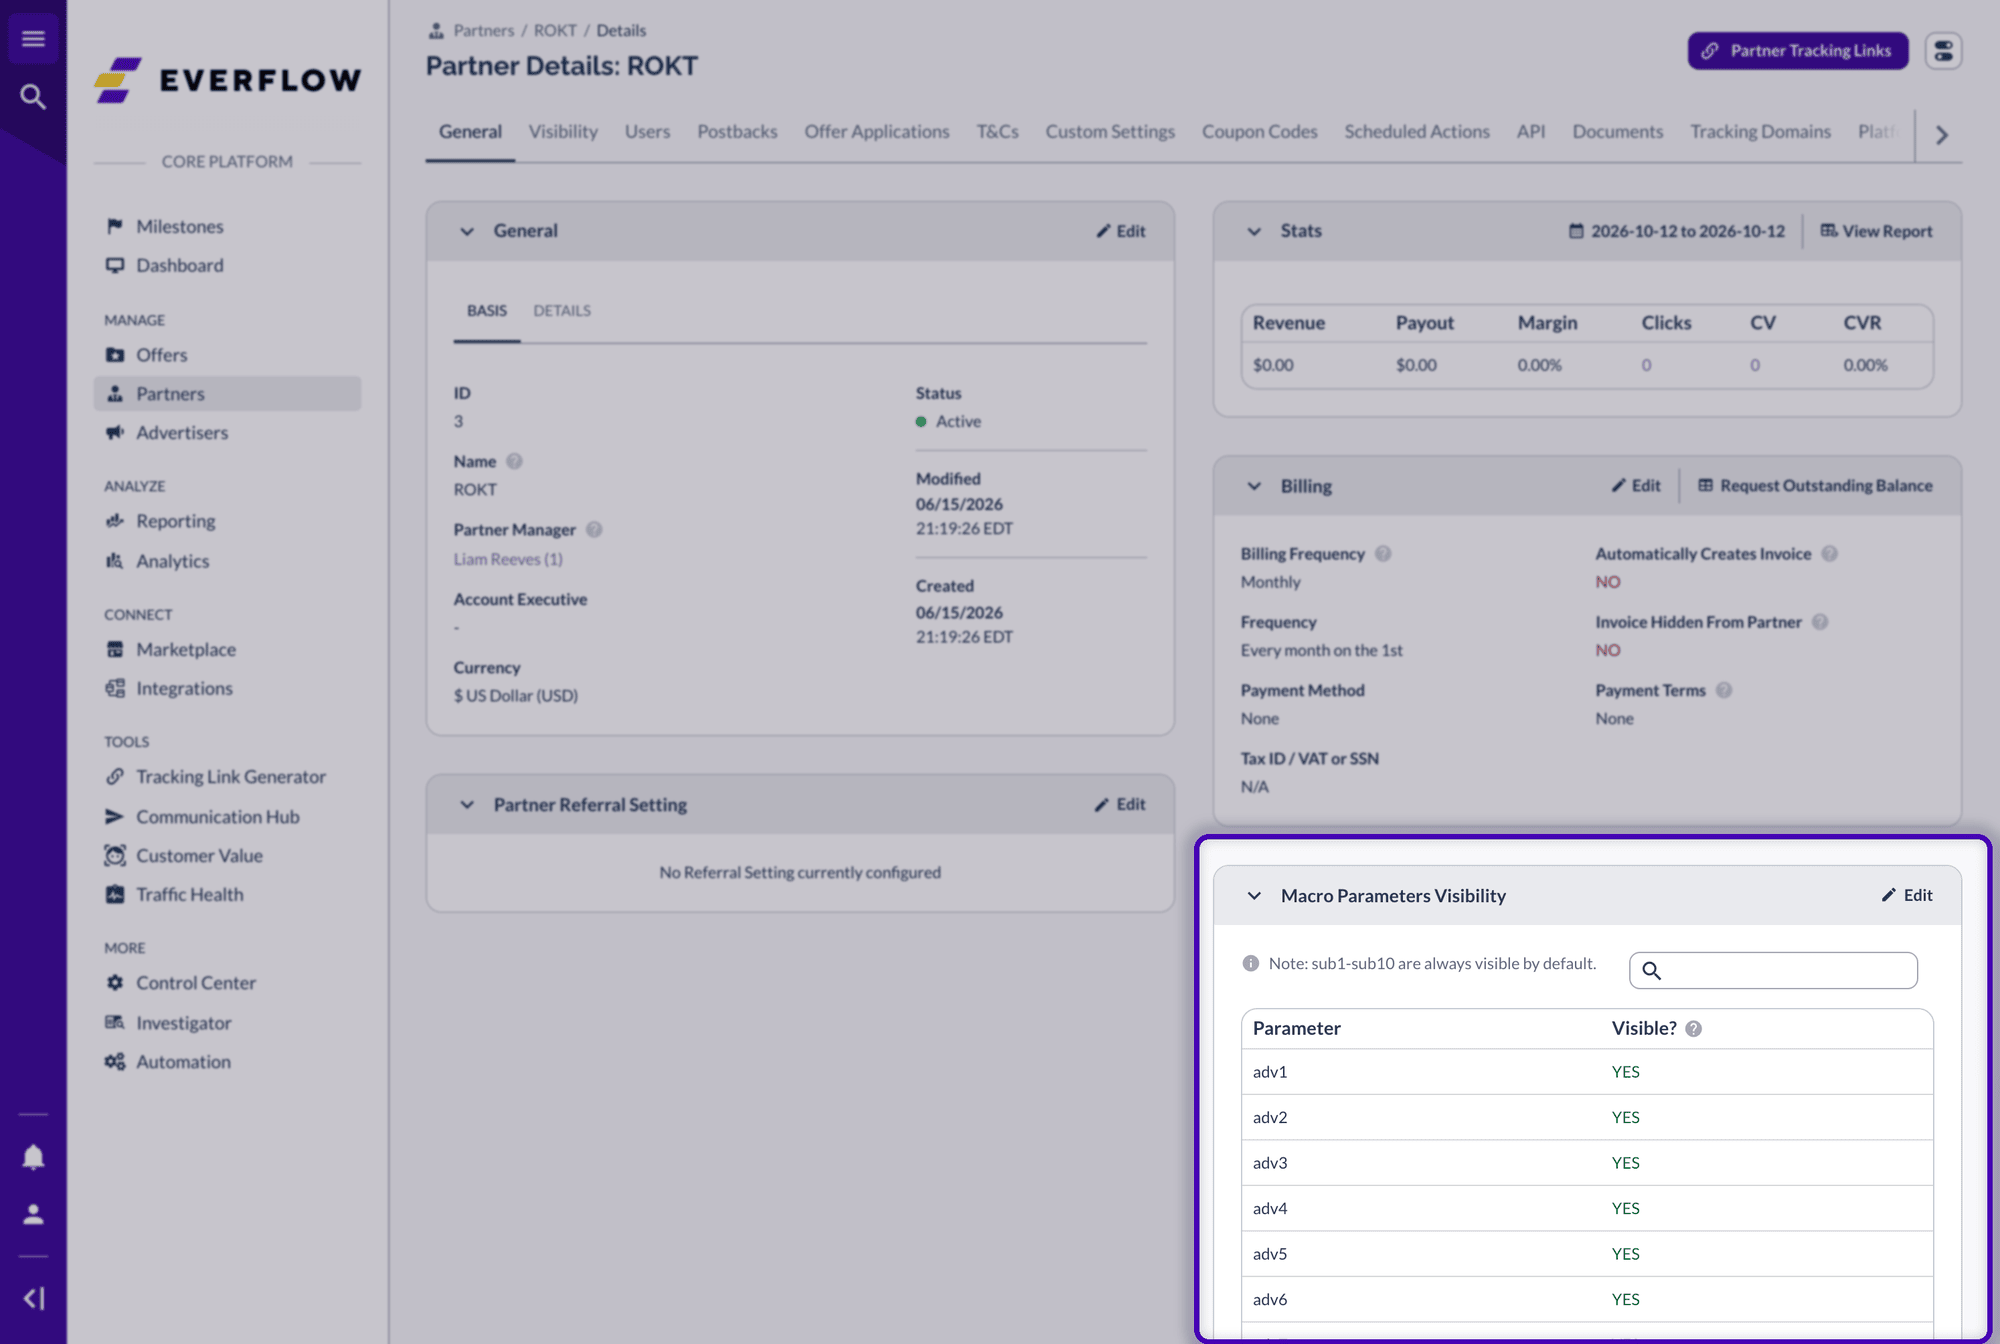
If the advertiser sends the email in an advertiser parameter instead, such as adv1, map that parameter ({adv1}) to User Email. Advertiser parameters are hidden from partners by default, so turn on Macro Parameters Visibility for the Rokt partner first. See Managing Offer Visibility and Partner Access for how.
Step-by-Step Setup
Step 1: Add the Rokt Integration
The integration belongs to a partner, so you add it in the Partner Platform. You need a Rokt partner with at least one user first. As a network user, create the partner, add a user, then log in as that user by impersonating them. Media buyers running their own Rokt traffic follow the same steps.
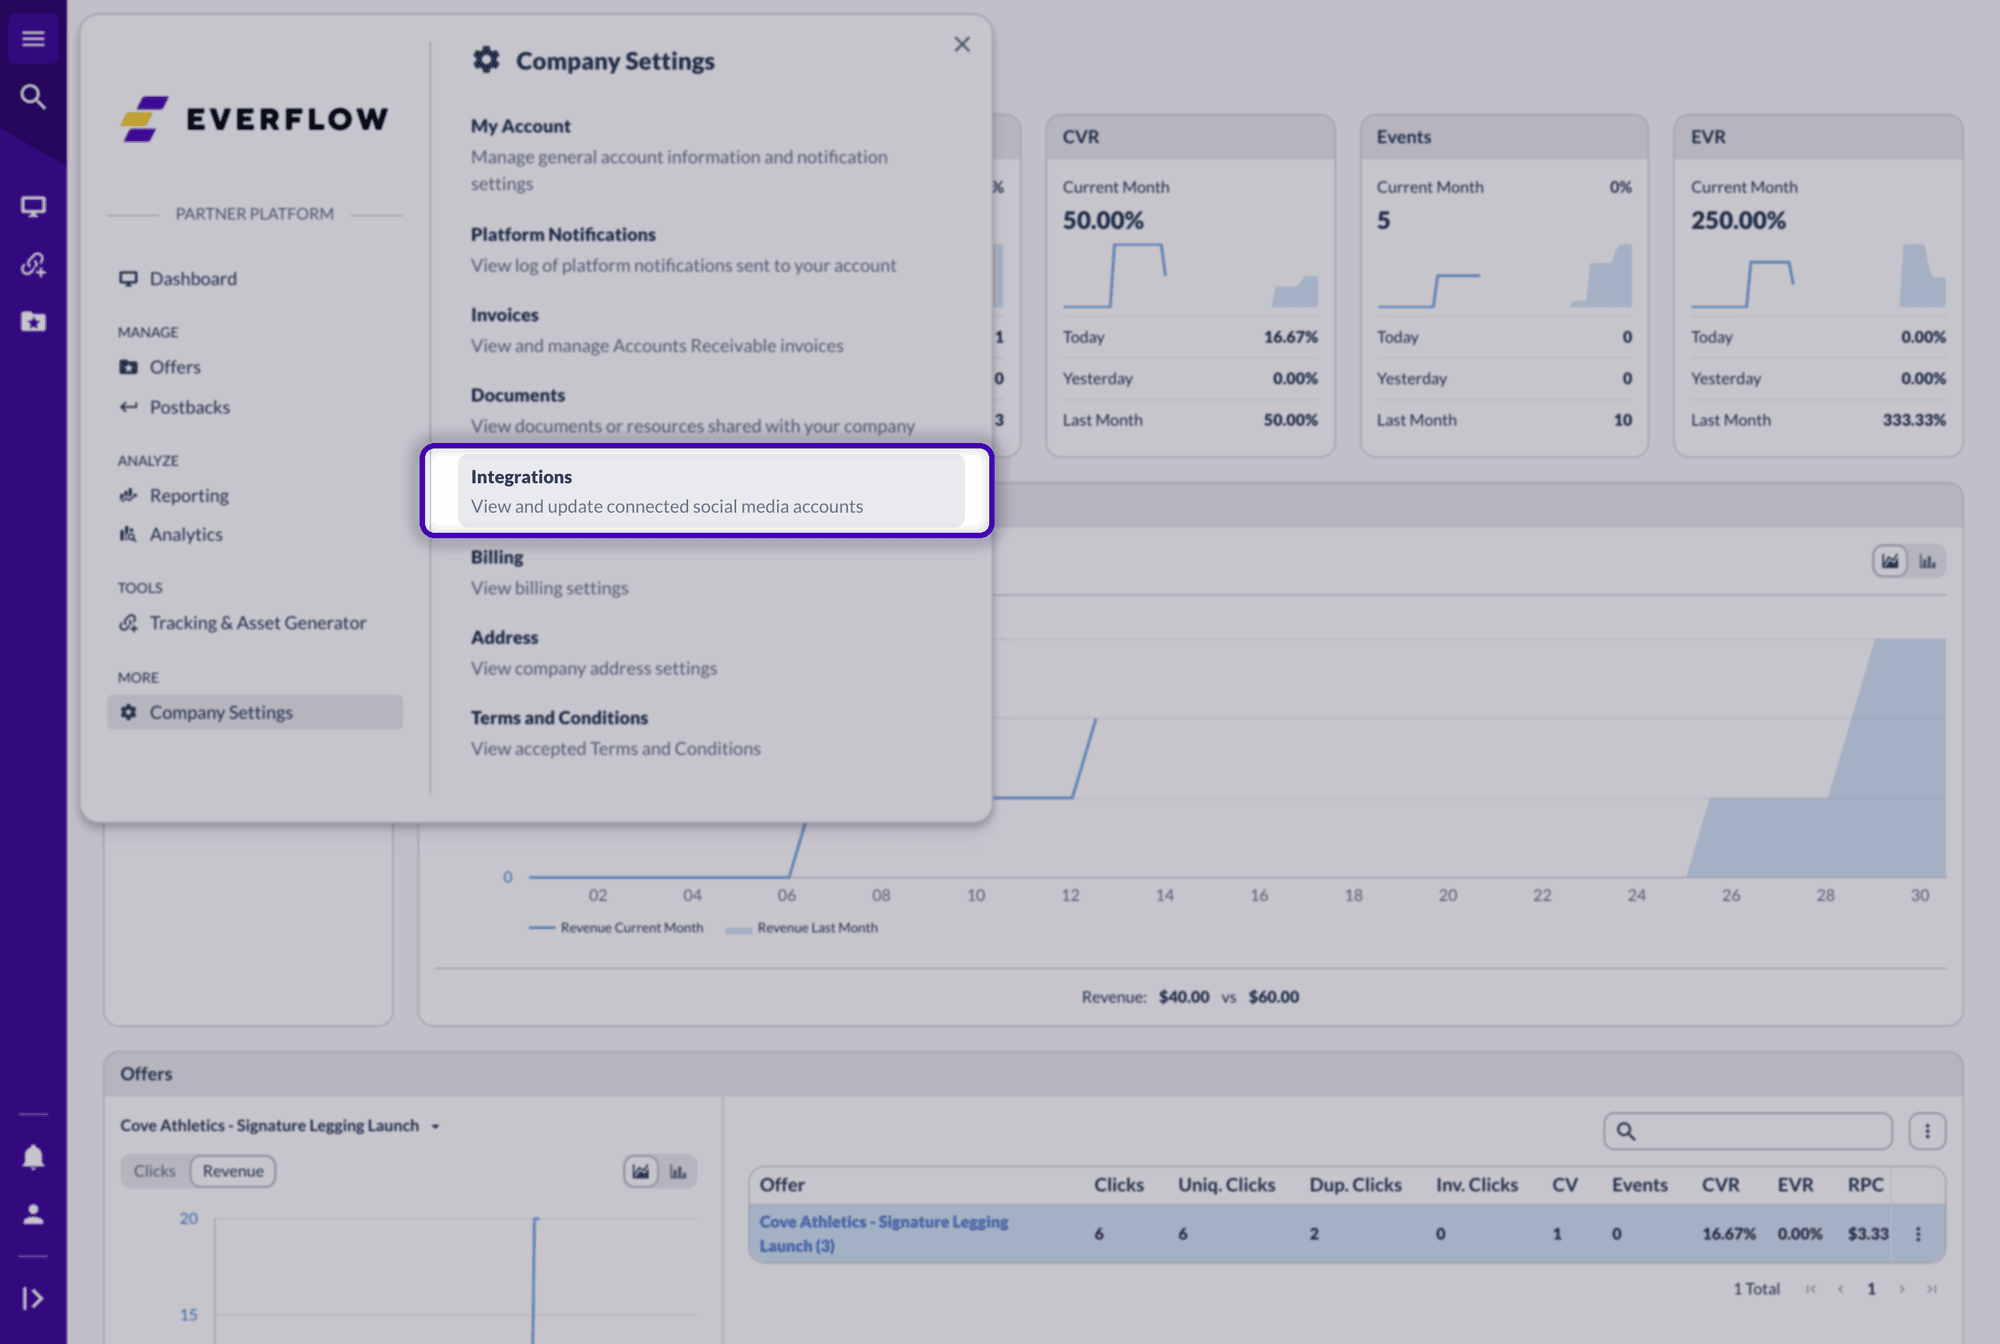
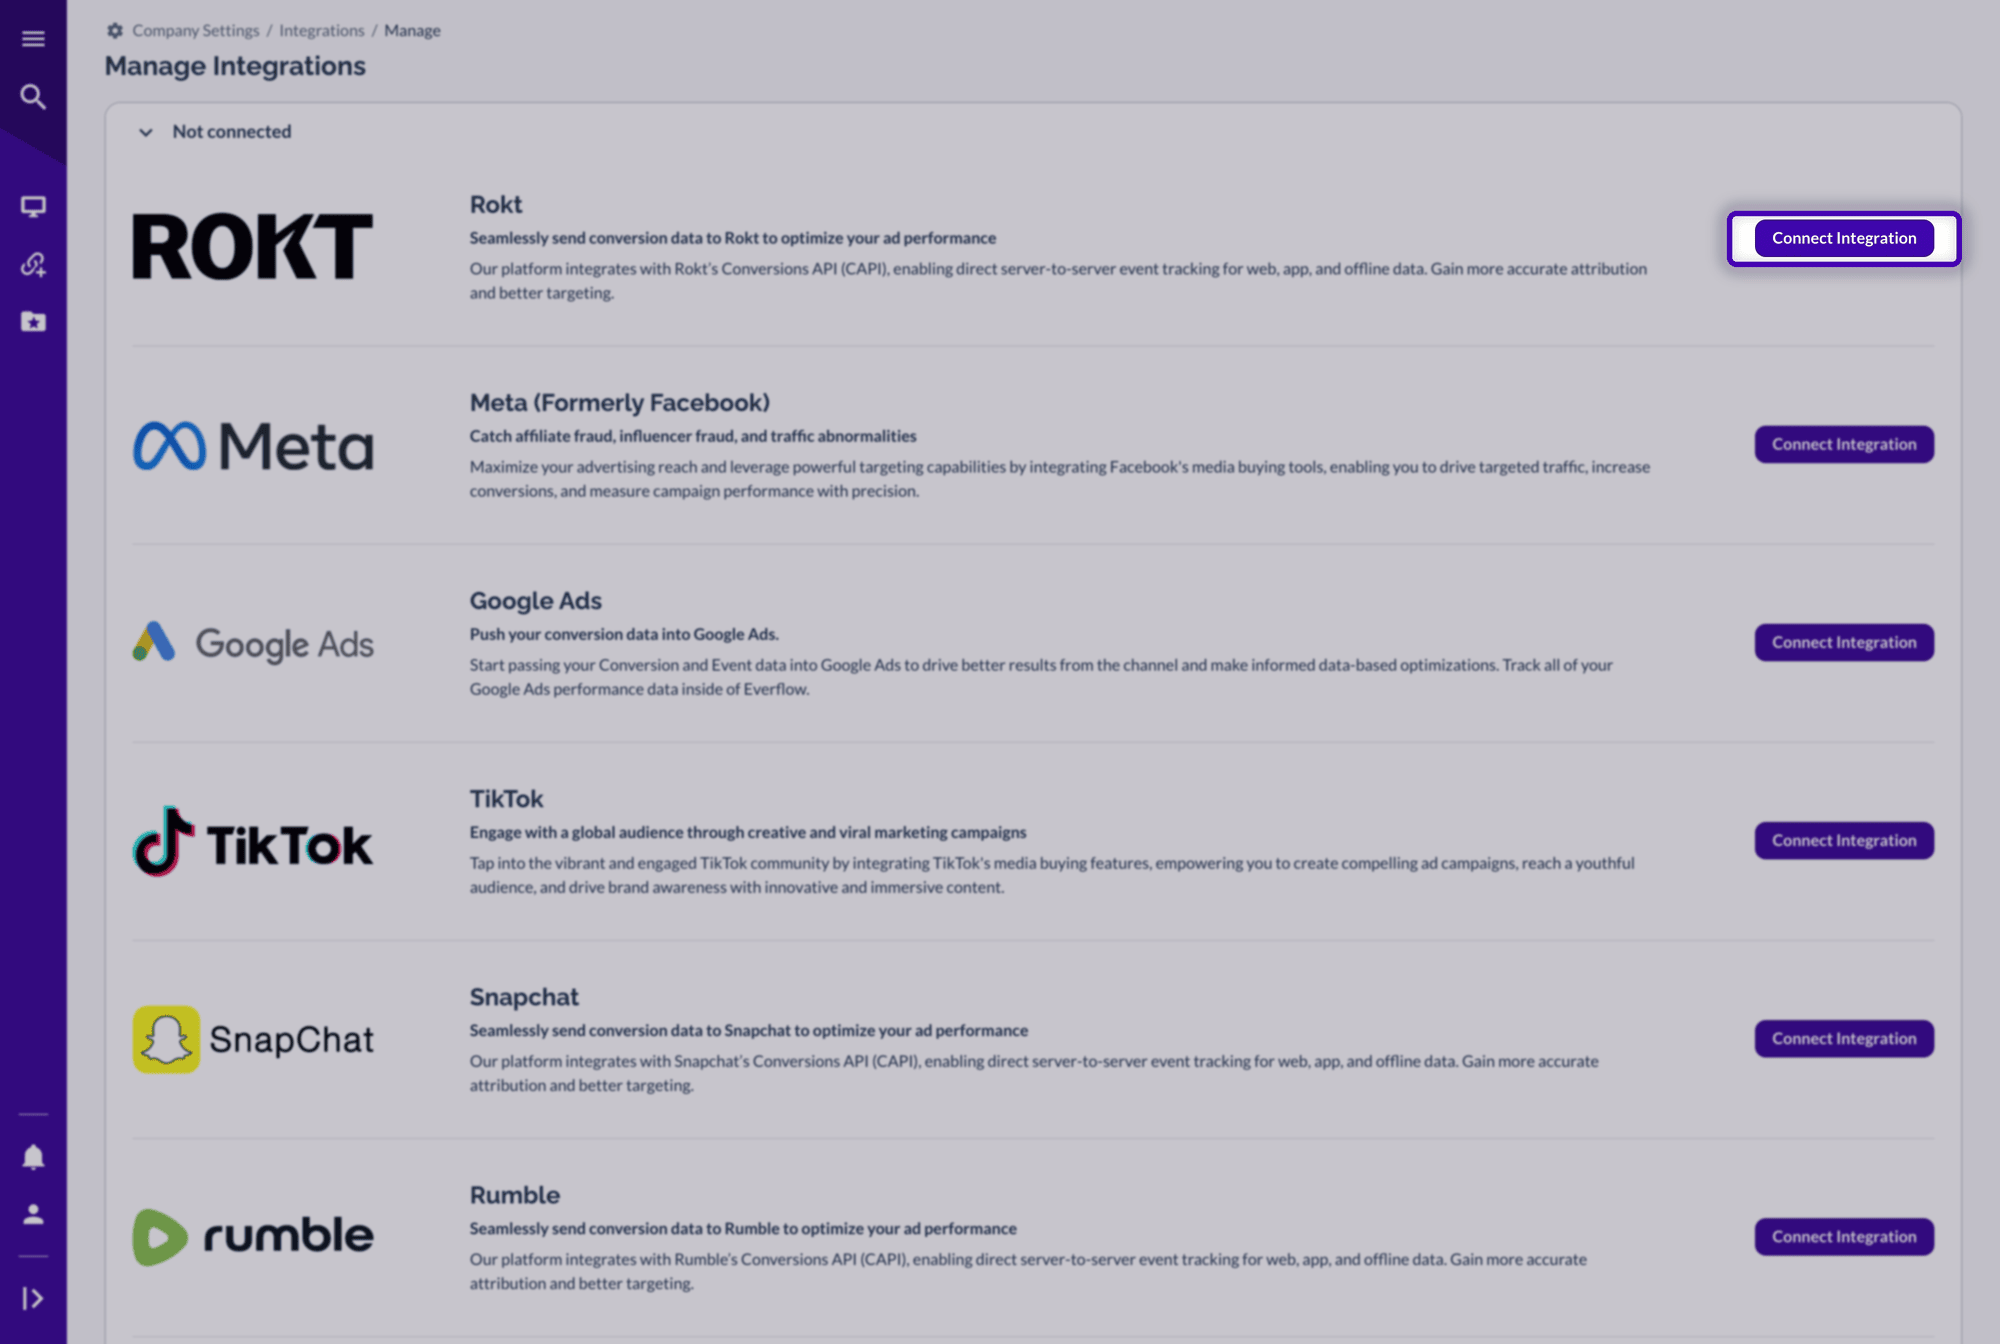
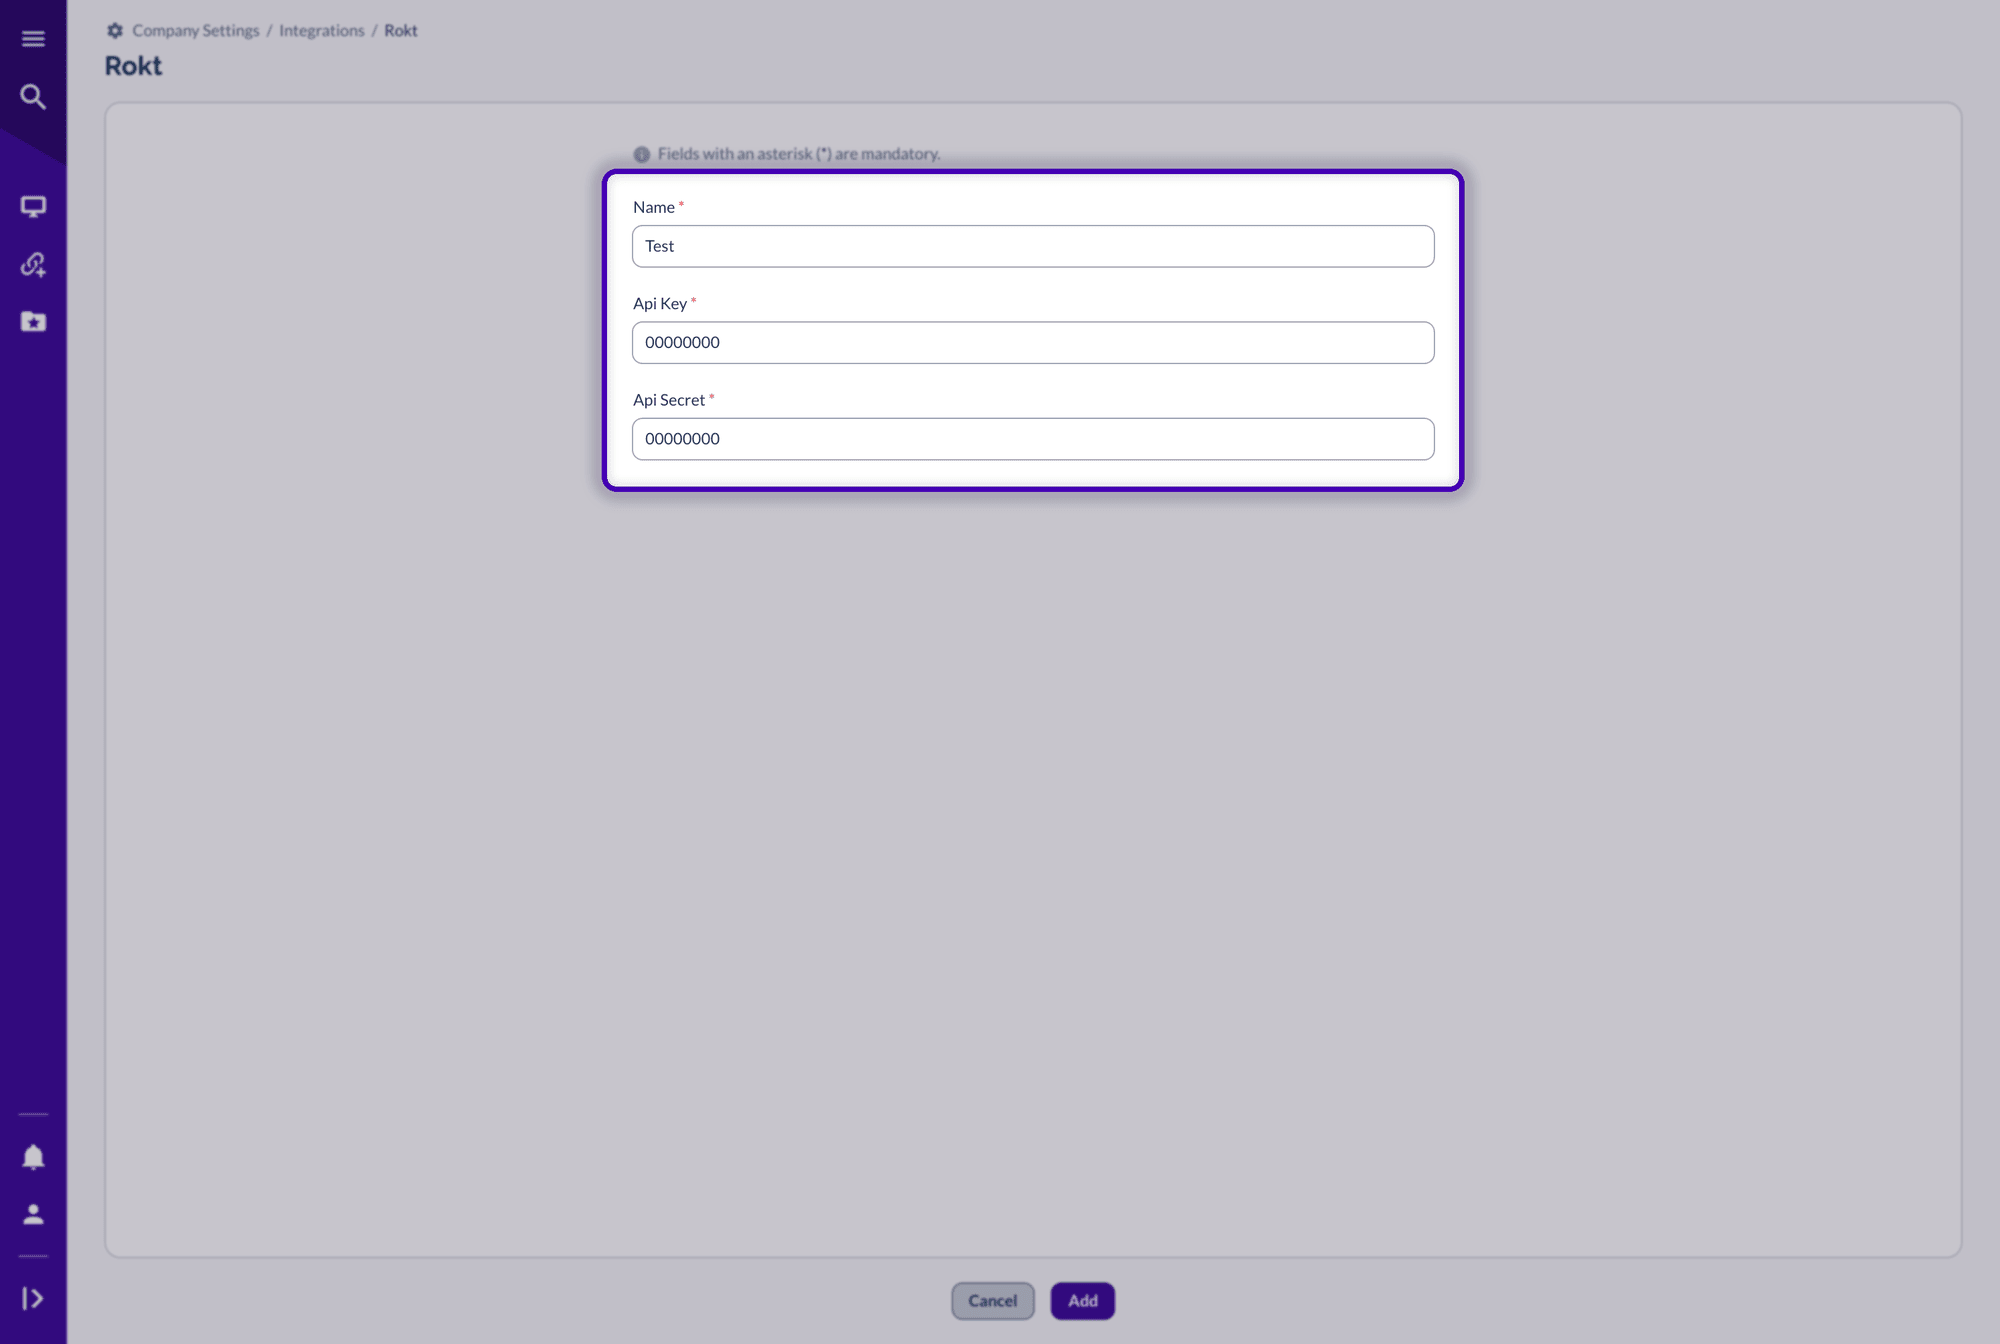
Rokt now shows under Connected, and its button changes to View. Add one integration per Rokt account for each partner. A postback can only use an integration that belongs to its own partner.
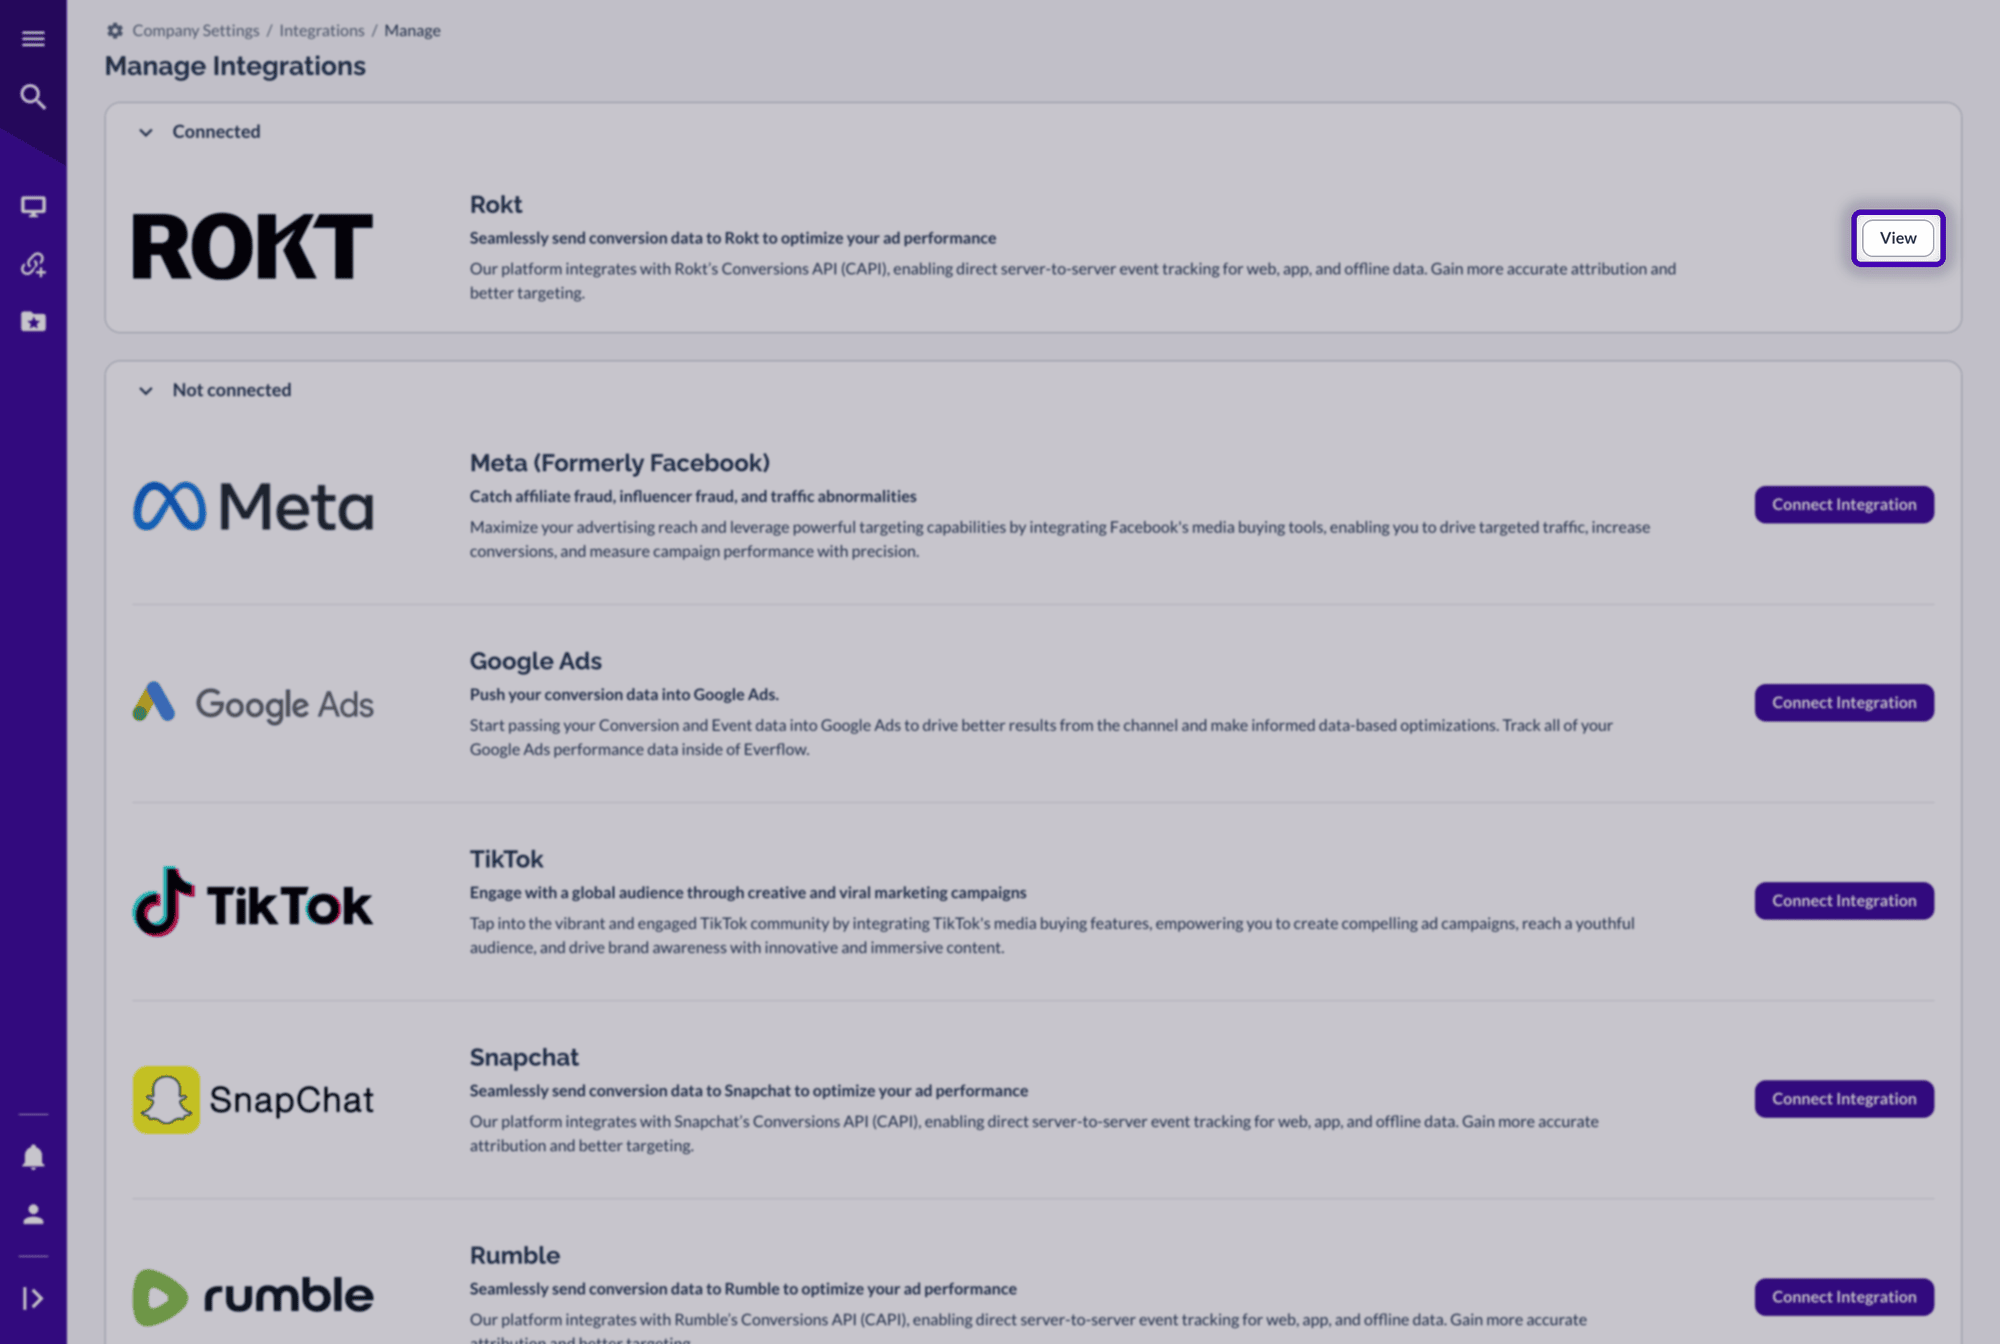
Manage Your Rokt Integrations
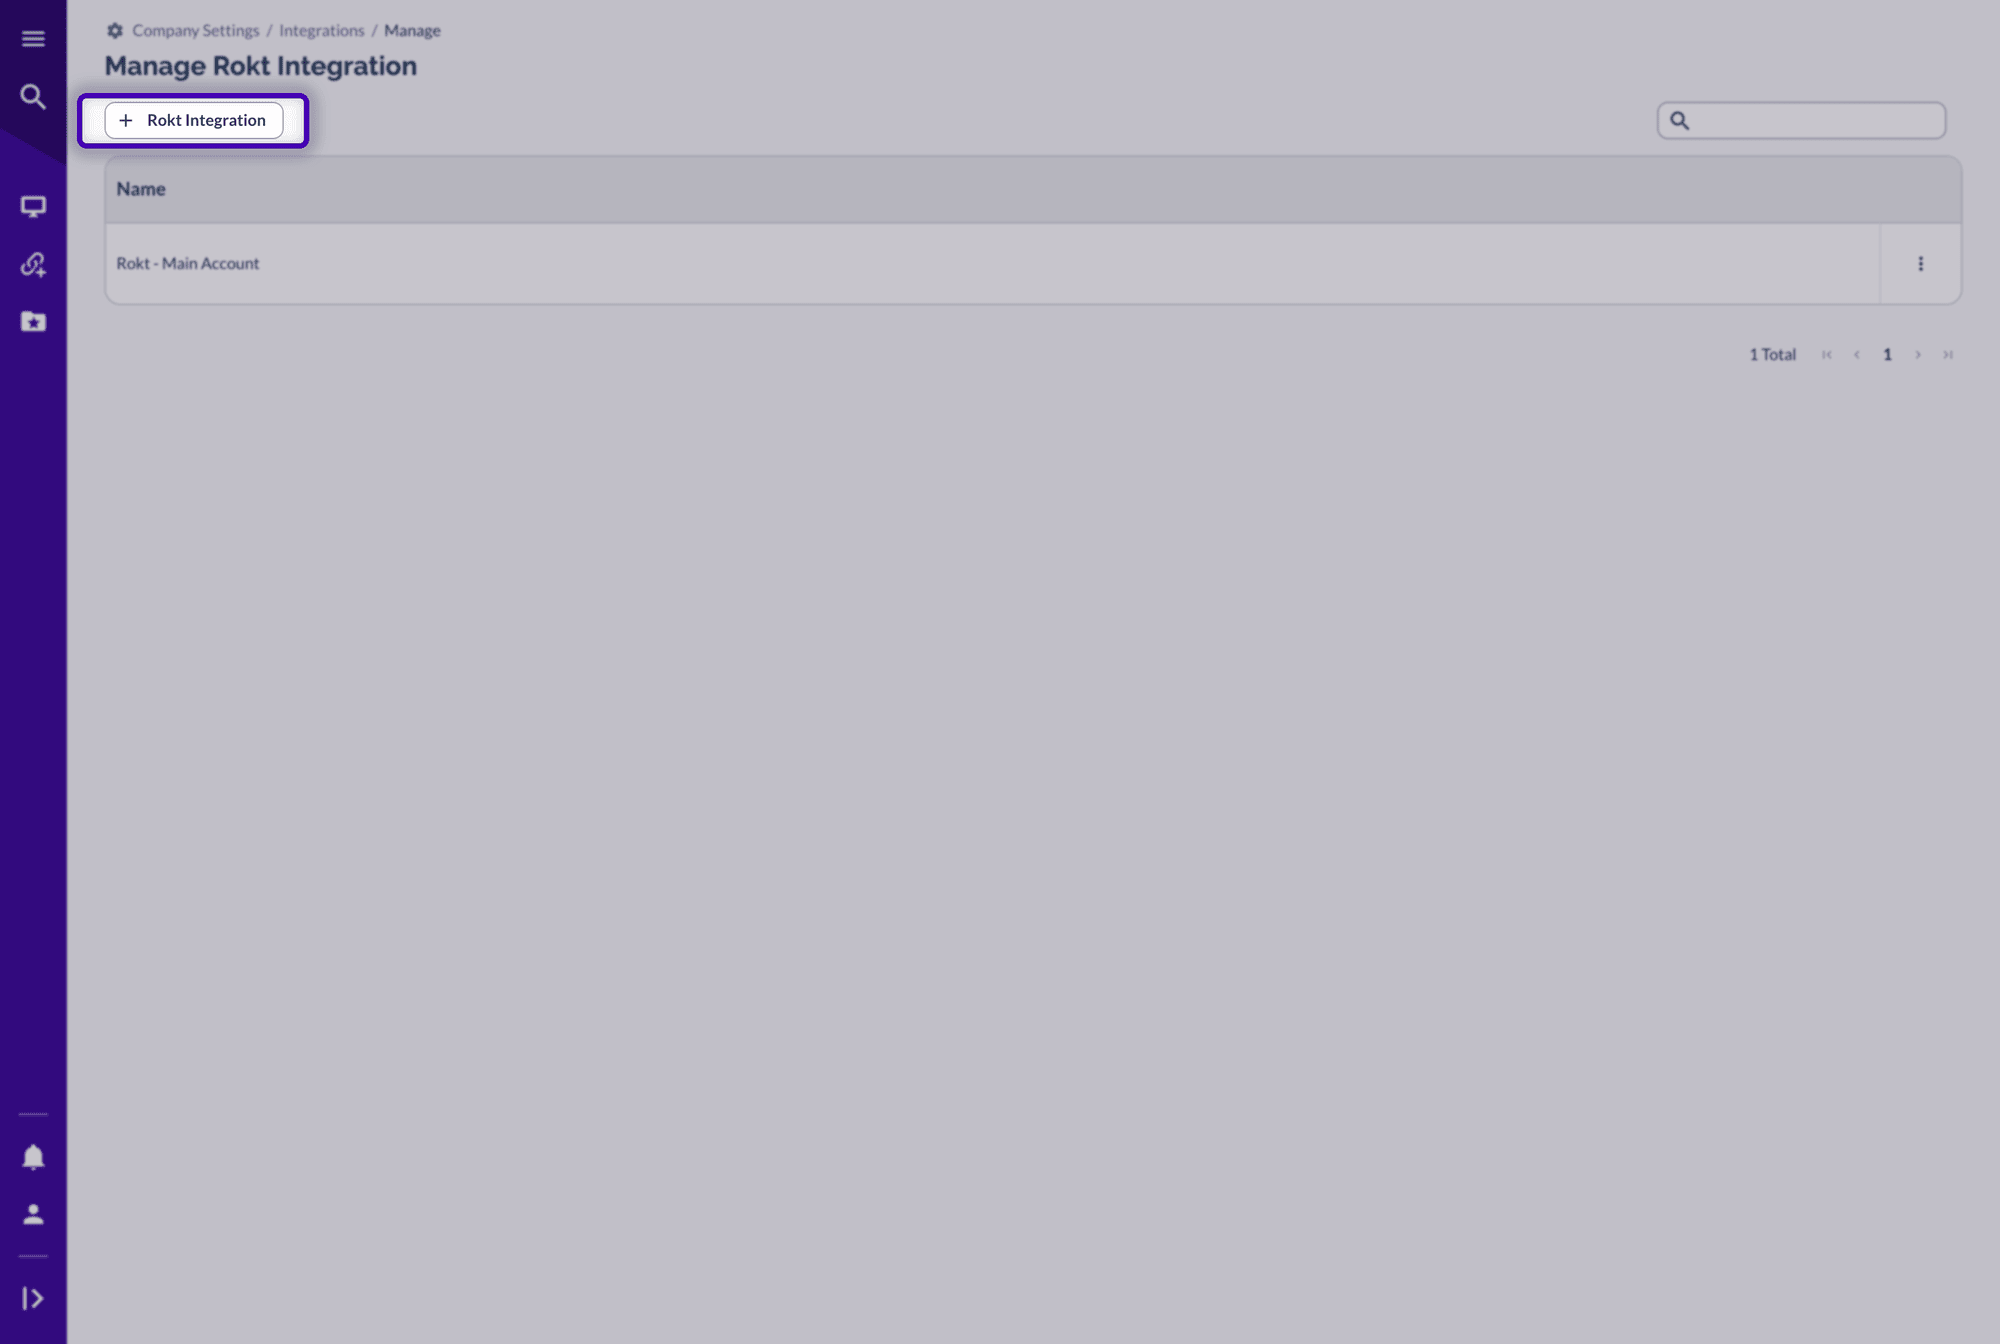
Select View on the Rokt card to open Manage Rokt Integration. From there:
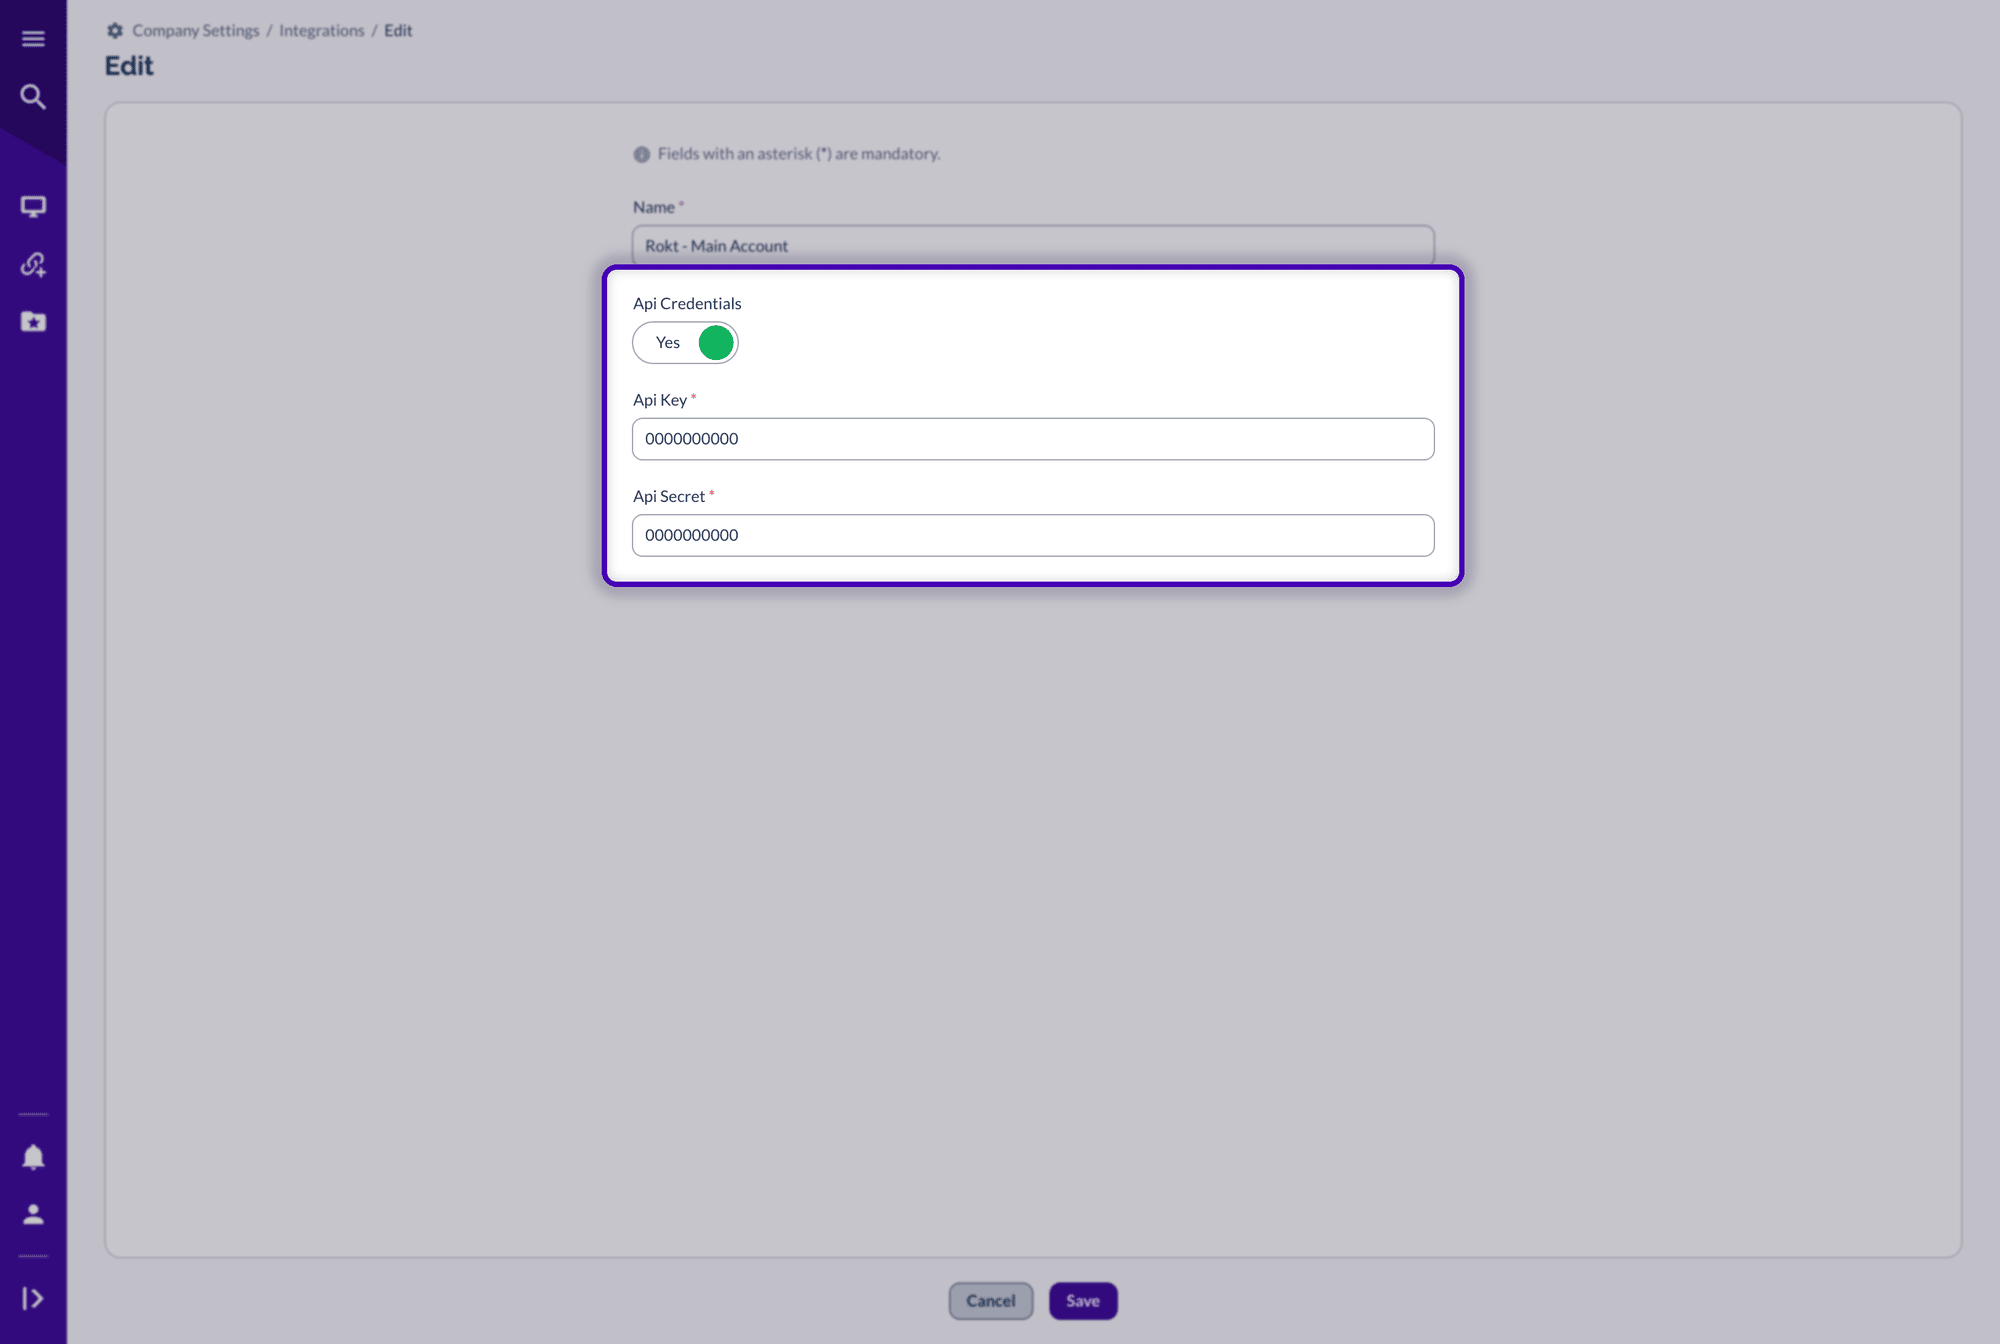
With Api Credentials set to Yes, the key and secret fields open again for new values:
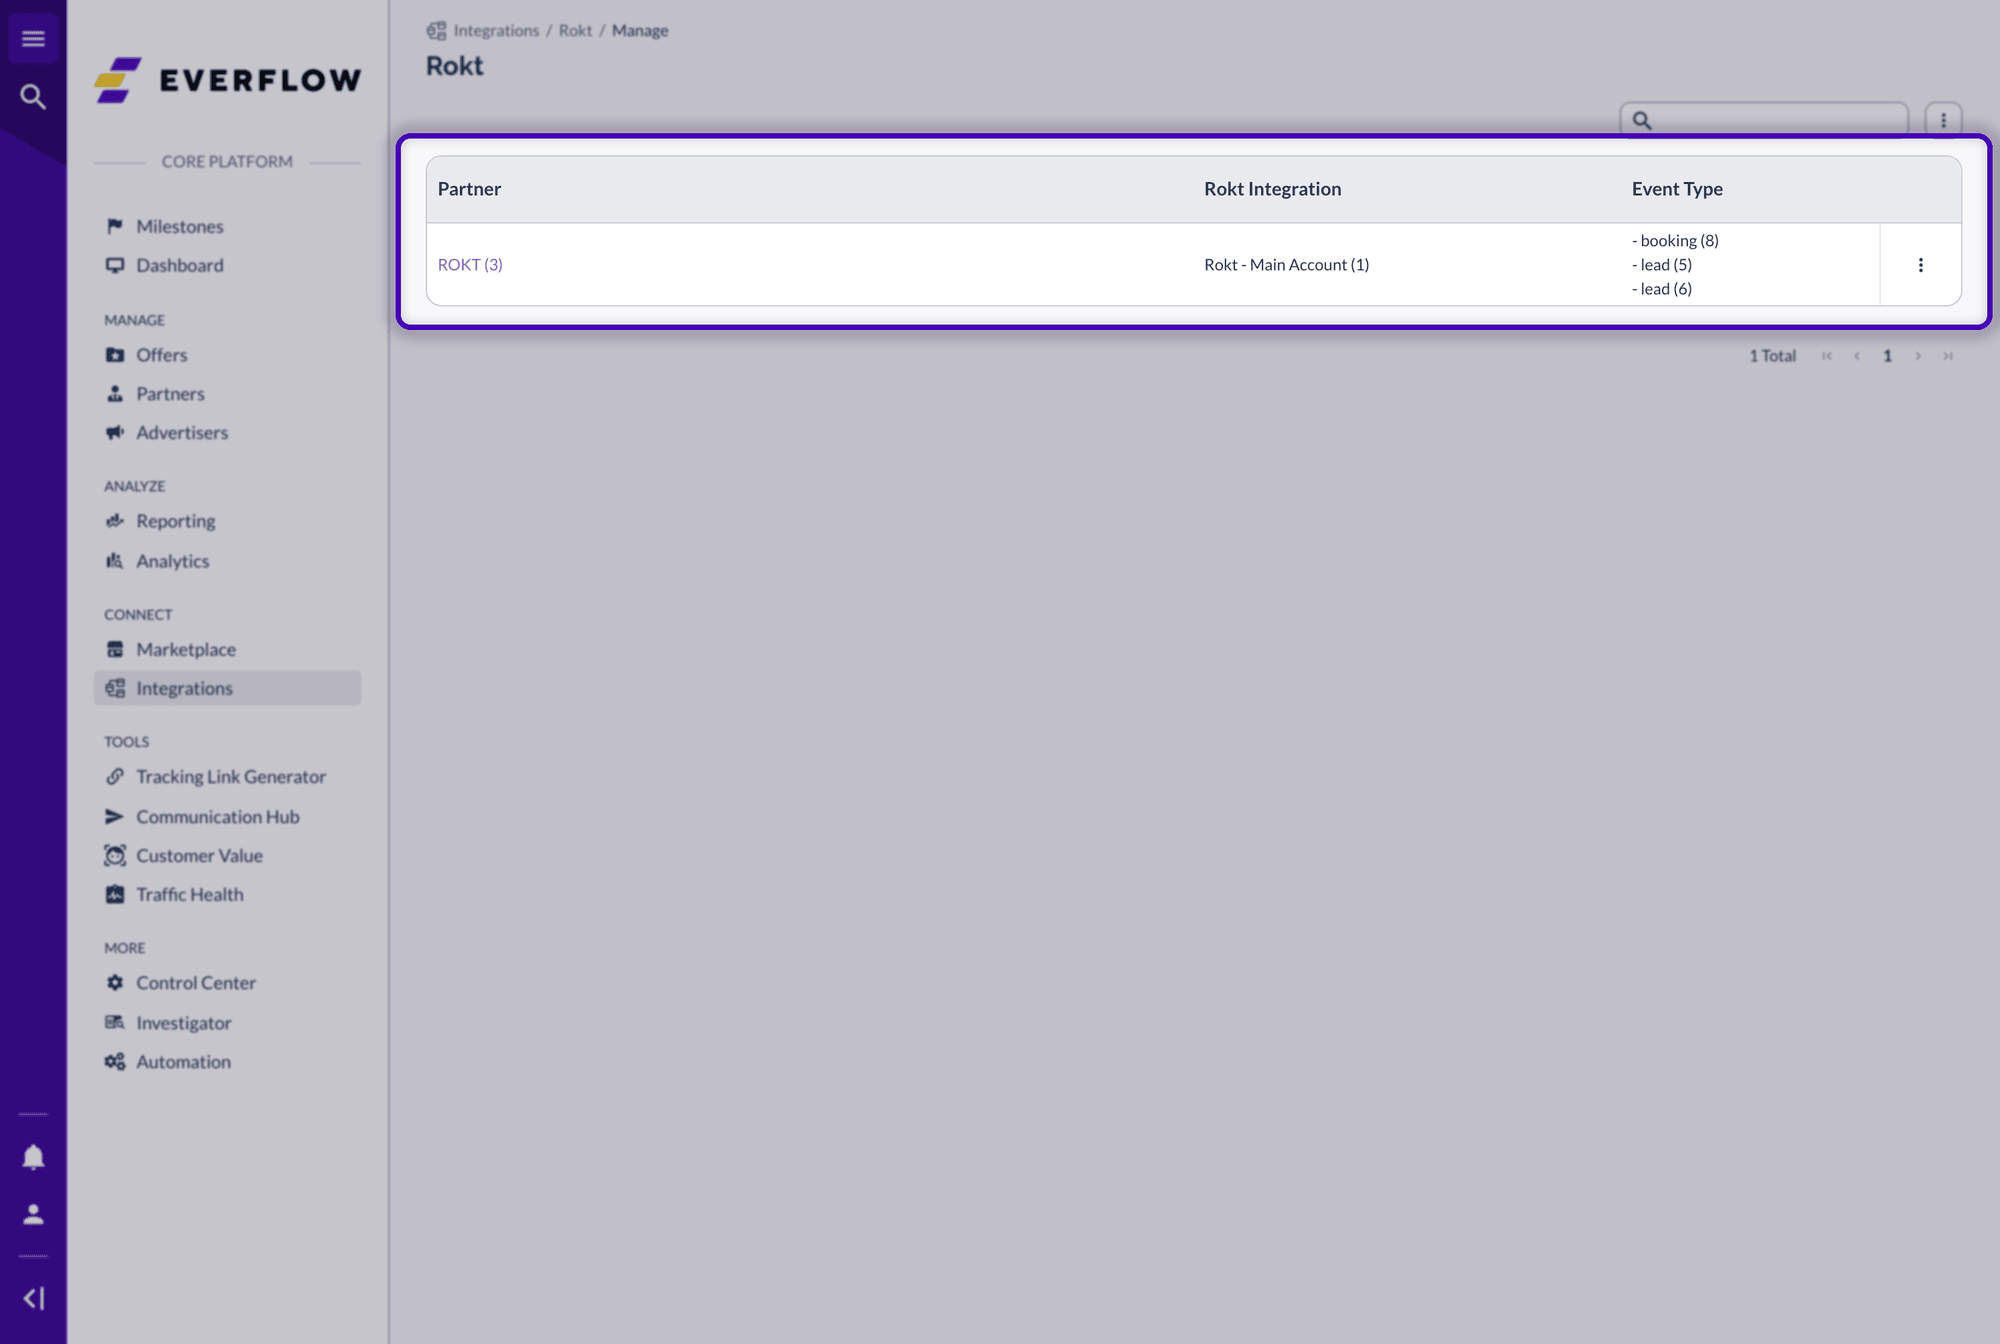
Network users can also see every partner's Rokt integration in the Core Platform under Integrations → Media Buying → Rokt. The Manage page lists each partner, its Rokt integration and the event types it sends.
Step 2: Create the Rokt Postback
Next, create the postback in the Core Platform. Partners can also create it themselves in the Partner Platform, under Postbacks with + Postback.
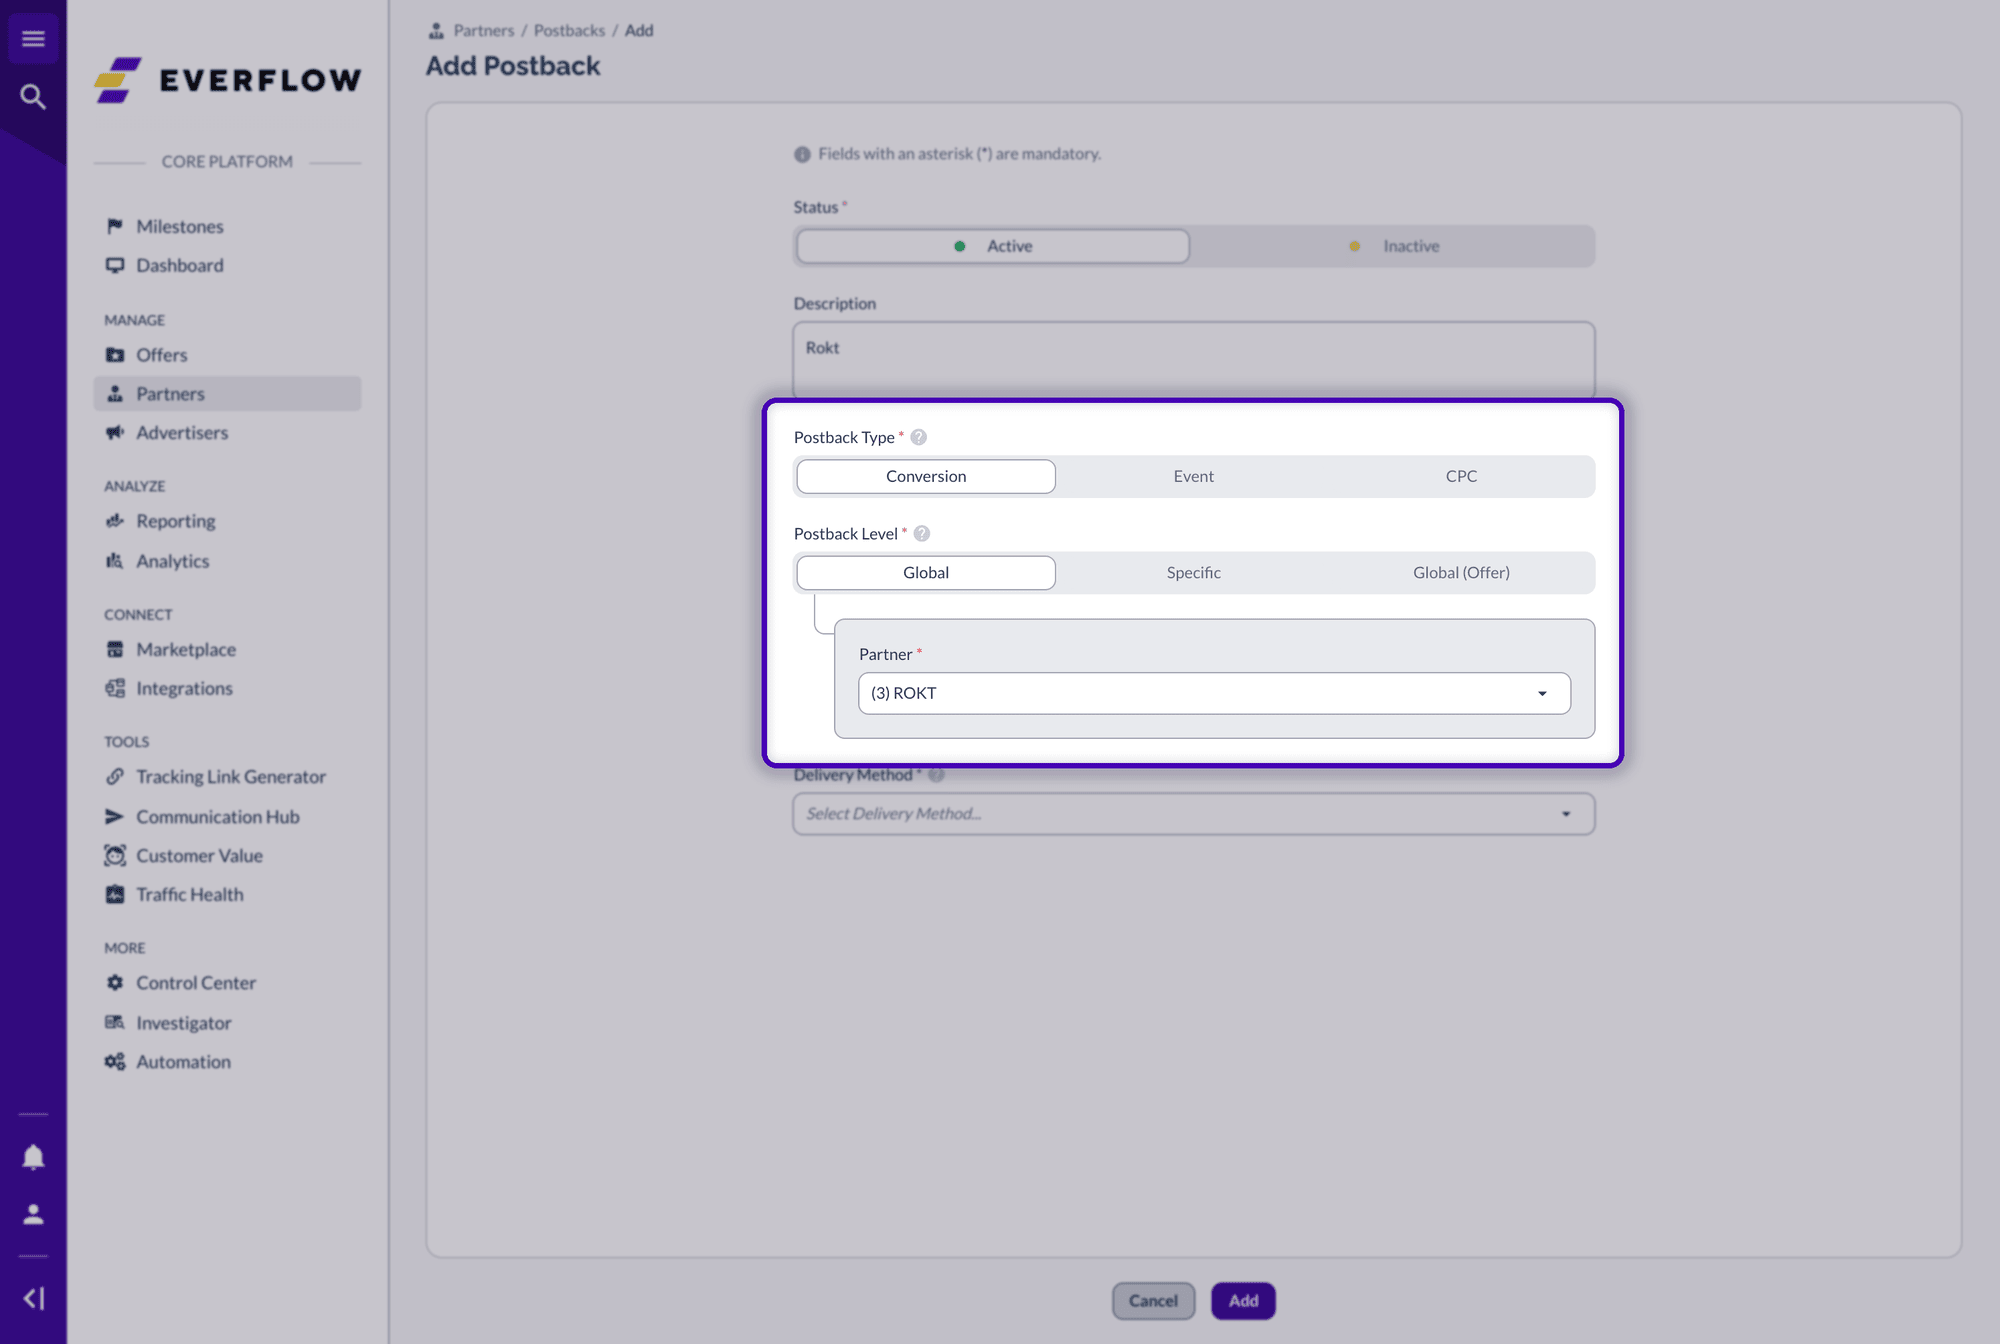
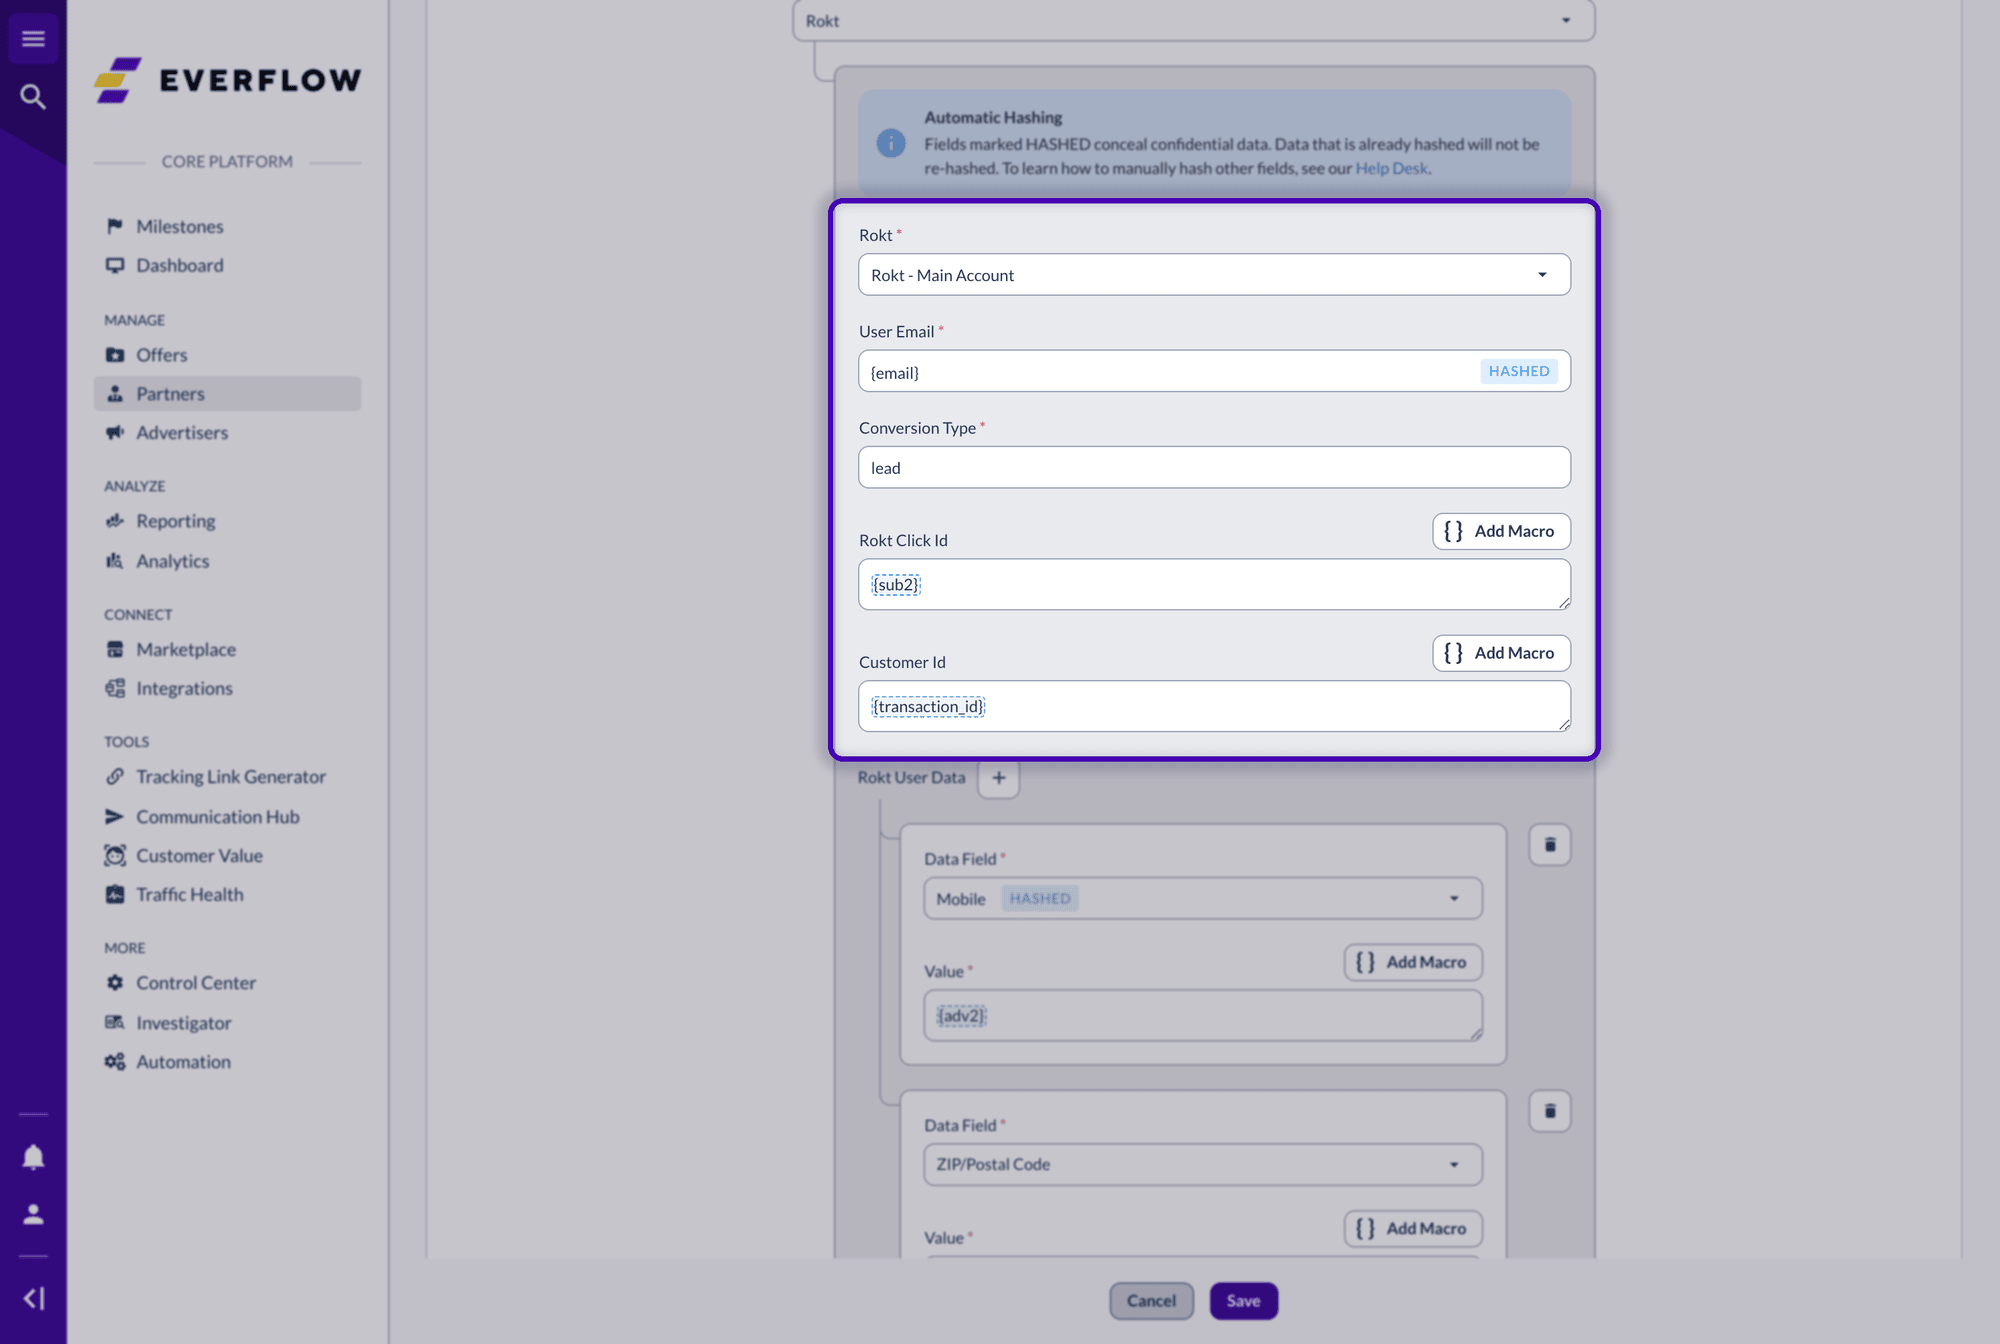
{email}, or the advertiser parameter that carries the email. The HASHED badge means Everflow hashes it for you.purchase, lead or booking. This is plain text.{sub2}.{transaction_id}.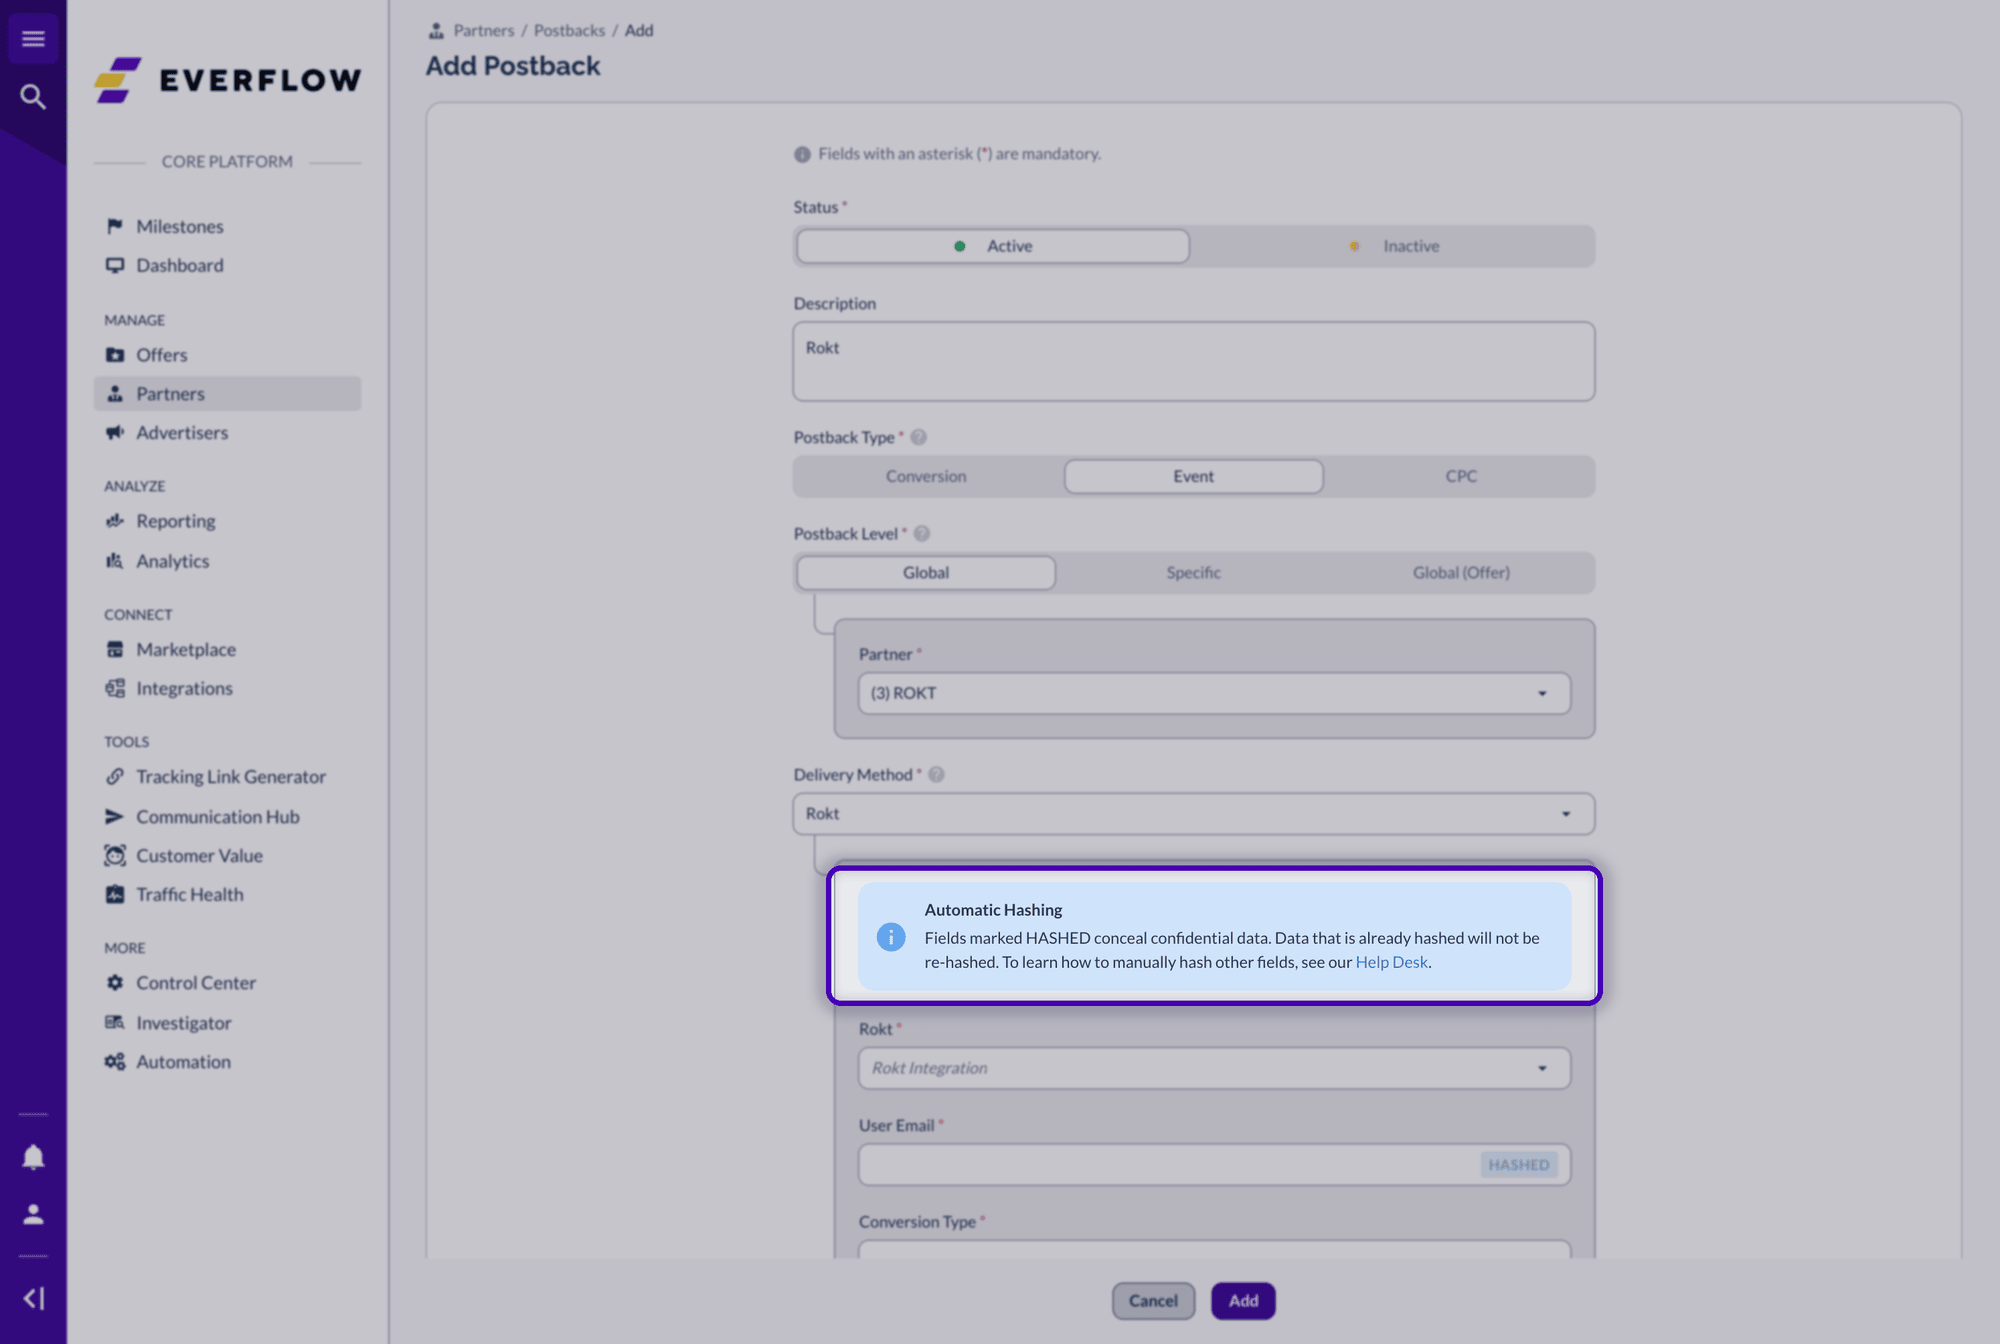
Use a different Conversion Type for each postback, such as lead for the conversion and booking for an event. Rokt receives every postback as the same kind of event, so Conversion Type is the only thing that tells them apart.
Here is a finished Rokt postback with the email, click ID and customer ID mapped:
Heads Up
The postback needs at least one identity with a value: User Email, Customer Id or Rokt Click Id. If all three are empty on a conversion, the postback fails with a configuration error instead of firing.
If the email is empty on a single conversion, Everflow leaves it out of that event and still sends the rest. Rokt is not available at the Global (Offer) level, so choose Global or Specific.
Step 3: Send Extra Data (Optional)
Select the + next to Rokt User Data or Rokt Custom Data to add more fields. Every field is optional and accepts macros. Pick the field in Data Field, then enter its Value. A blank field is left out of the event.
Rokt User Data
Fields with a HASHED badge are hashed by Everflow before they are sent.
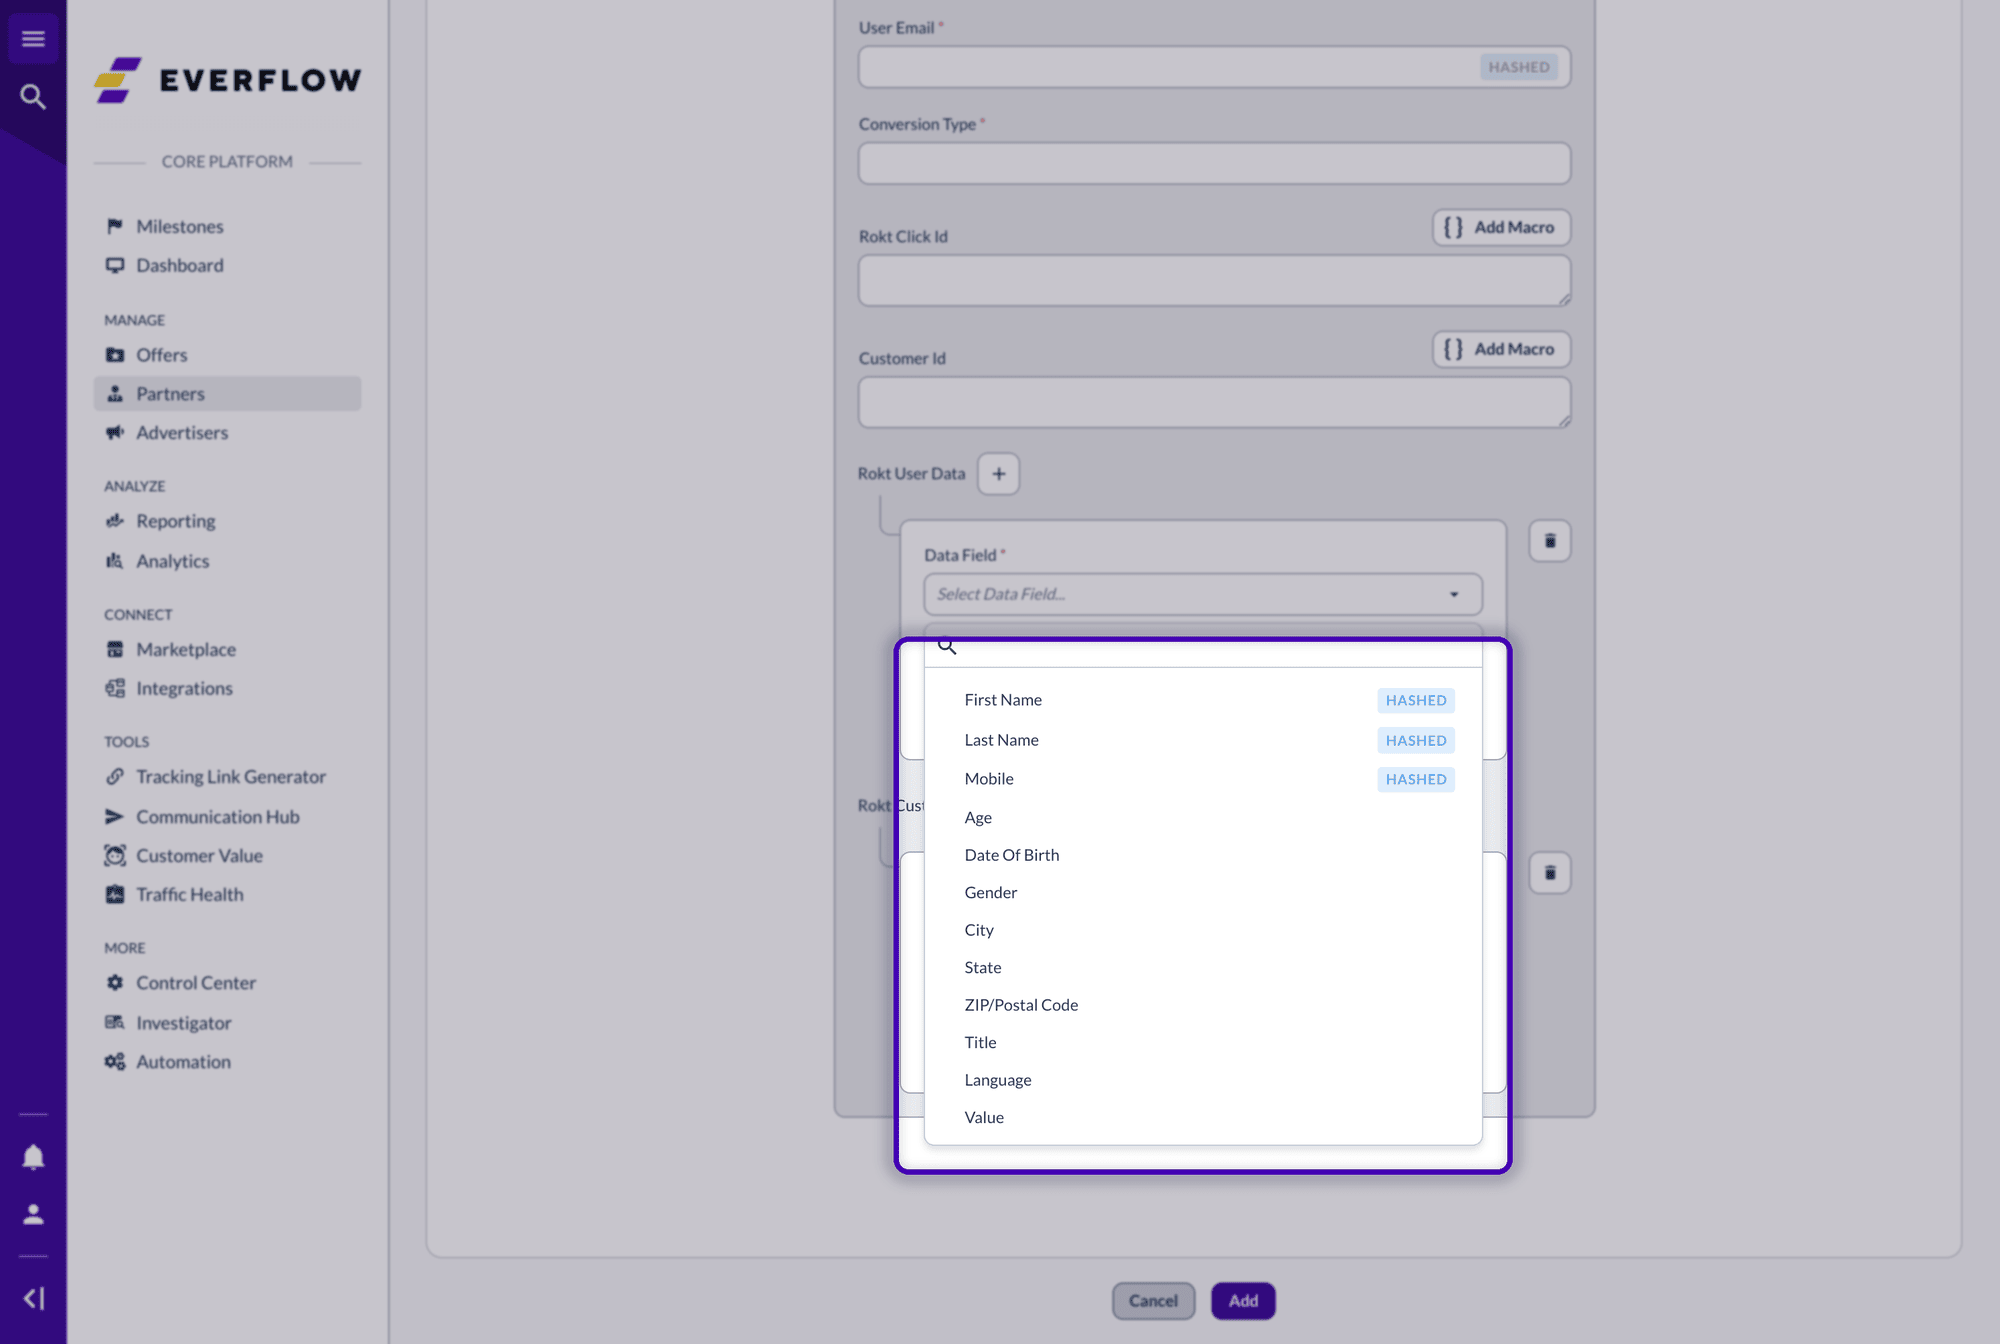
Here is how Everflow sends each one:
| Field | How Everflow sends it |
|---|---|
| First Name, Last Name | Hashed with SHA-256, after trimming spaces and setting to lowercase. |
| Mobile | Reduced to the national number, then hashed. Send it in E.164 format, such as +14155550123. |
| Age, Date Of Birth, Gender | Sent as entered. |
| City, State, ZIP/Postal Code | Sent as entered. |
| Title, Language | Sent as entered. |
| Value | Sent as entered. Rokt can use it in its audience and bidding models. |
Rokt Custom Data
These describe the conversion itself.
| Field | What to enter |
|---|---|
| Amount | The conversion value as a number, such as {sale_amount}. |
| Confirmation Ref | An order or transaction ID, such as {transaction_id}. Rokt uses it with Conversion Type to remove duplicates. |
| Currency | A three-letter currency code, such as USD. |
| Screen Name | The page or screen where the conversion happened. |
| URL | The URL of the conversion page. |
Rokt's own documentation lists Confirmation Ref as a required attribute, even though the Everflow form treats it as optional. Based on that recommendation, we suggest adding it to every Rokt postback.
Pro Tip
Rokt uses Confirmation Ref, together with Conversion Type, to avoid counting the same conversion twice. {transaction_id} is a simple choice. If you also send conversions through Rokt's Web SDK, use the same Conversion Type and Confirmation Ref in both so Rokt can match them up. This follows Rokt's guidance, so check Rokt's Events API documentation or your Rokt account manager for the latest requirements.
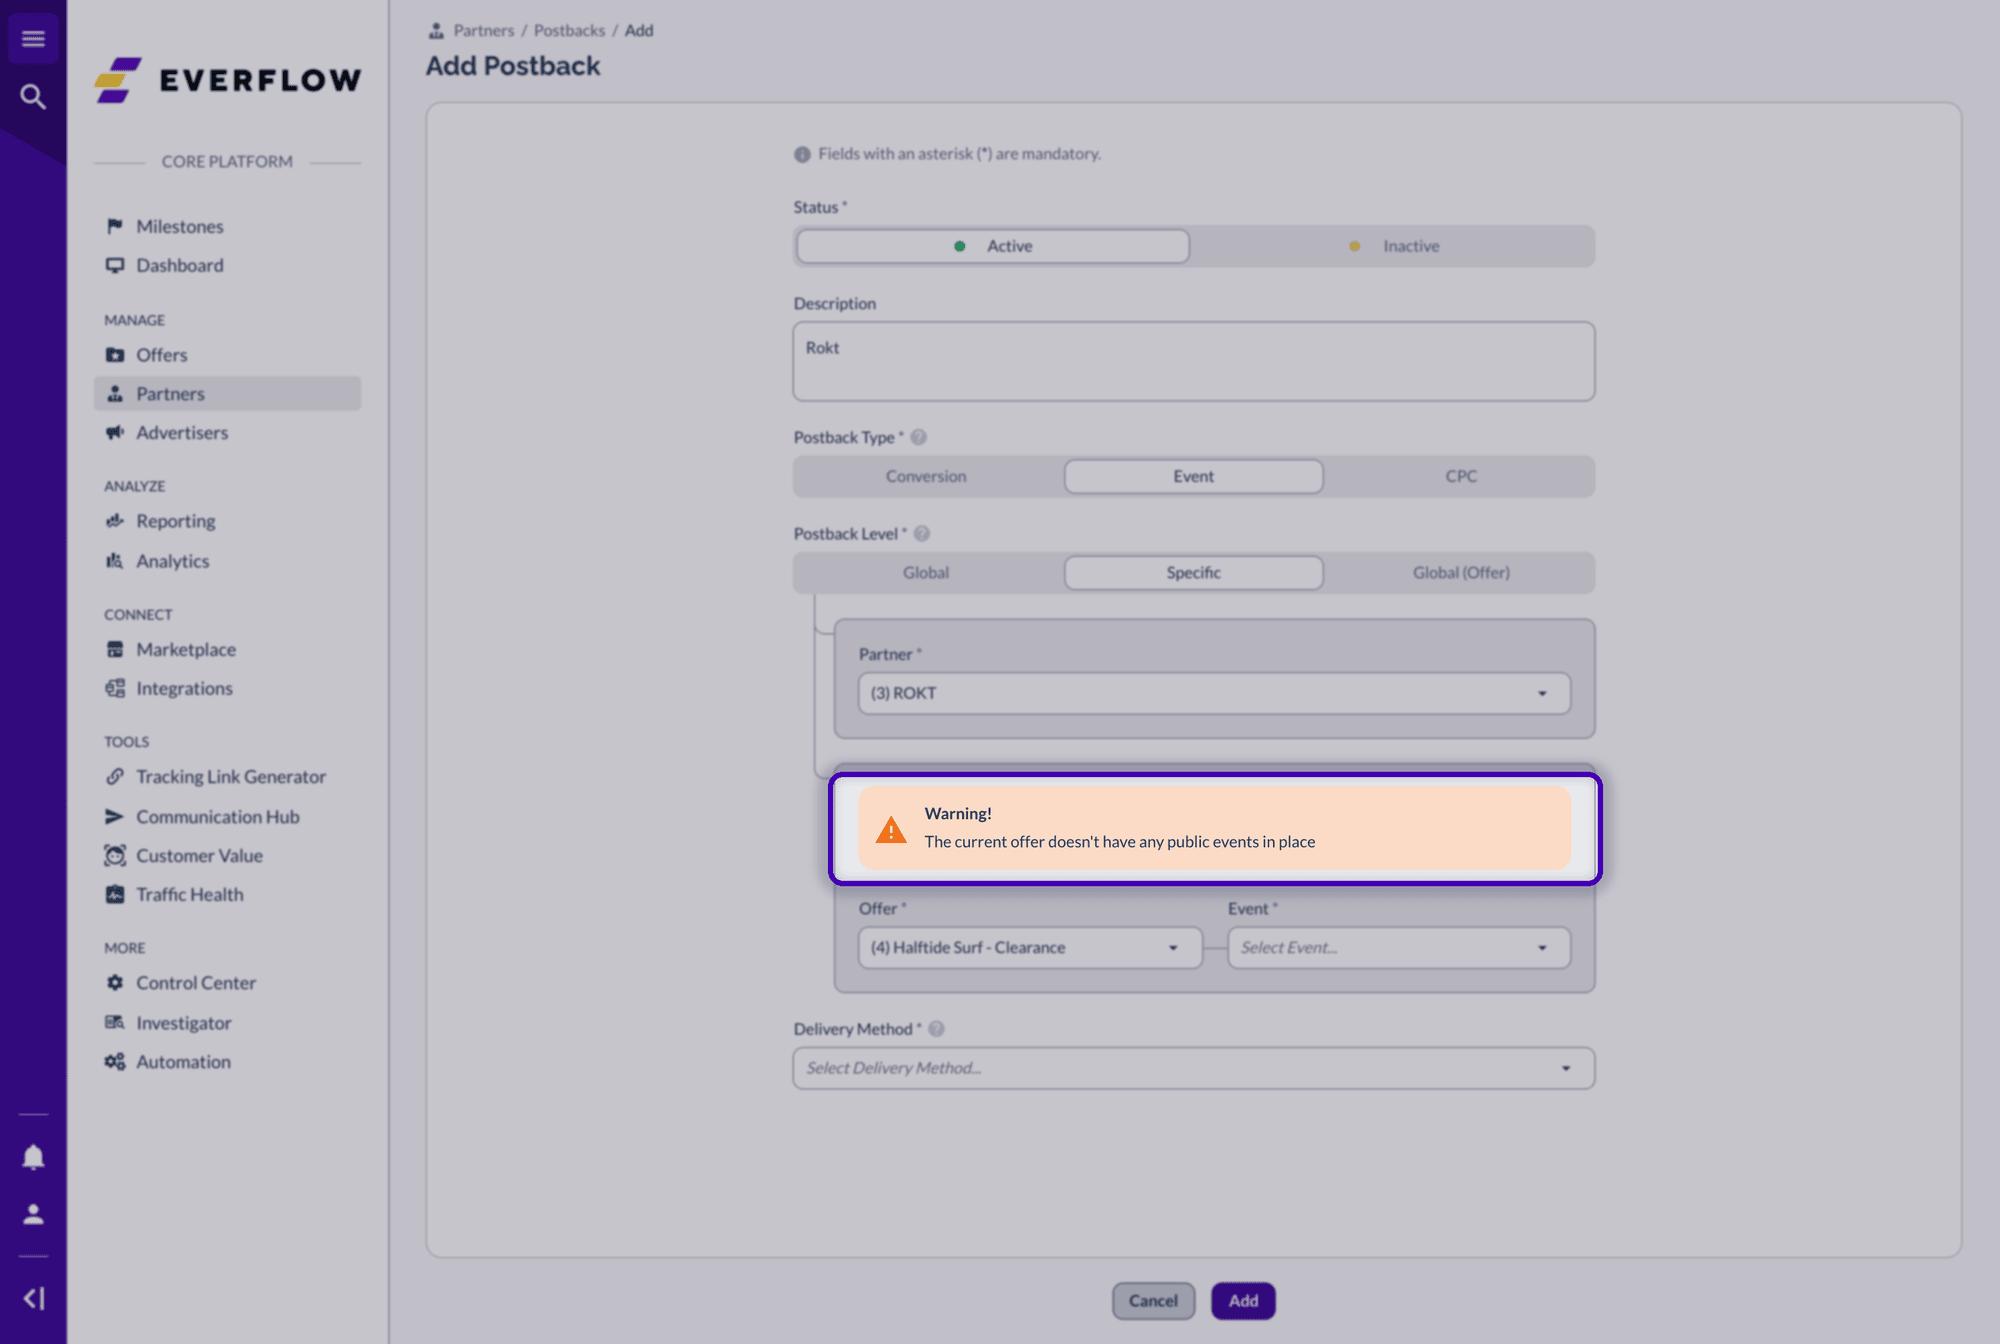
An Event postback set to Specific needs an offer with at least one public event. If the offer has none, the form shows a warning and you cannot pick an event.
Step 4: Test the Postback
Before you go live, ask your Rokt account manager to set up testing on their side. Then fire a test and check both ends.
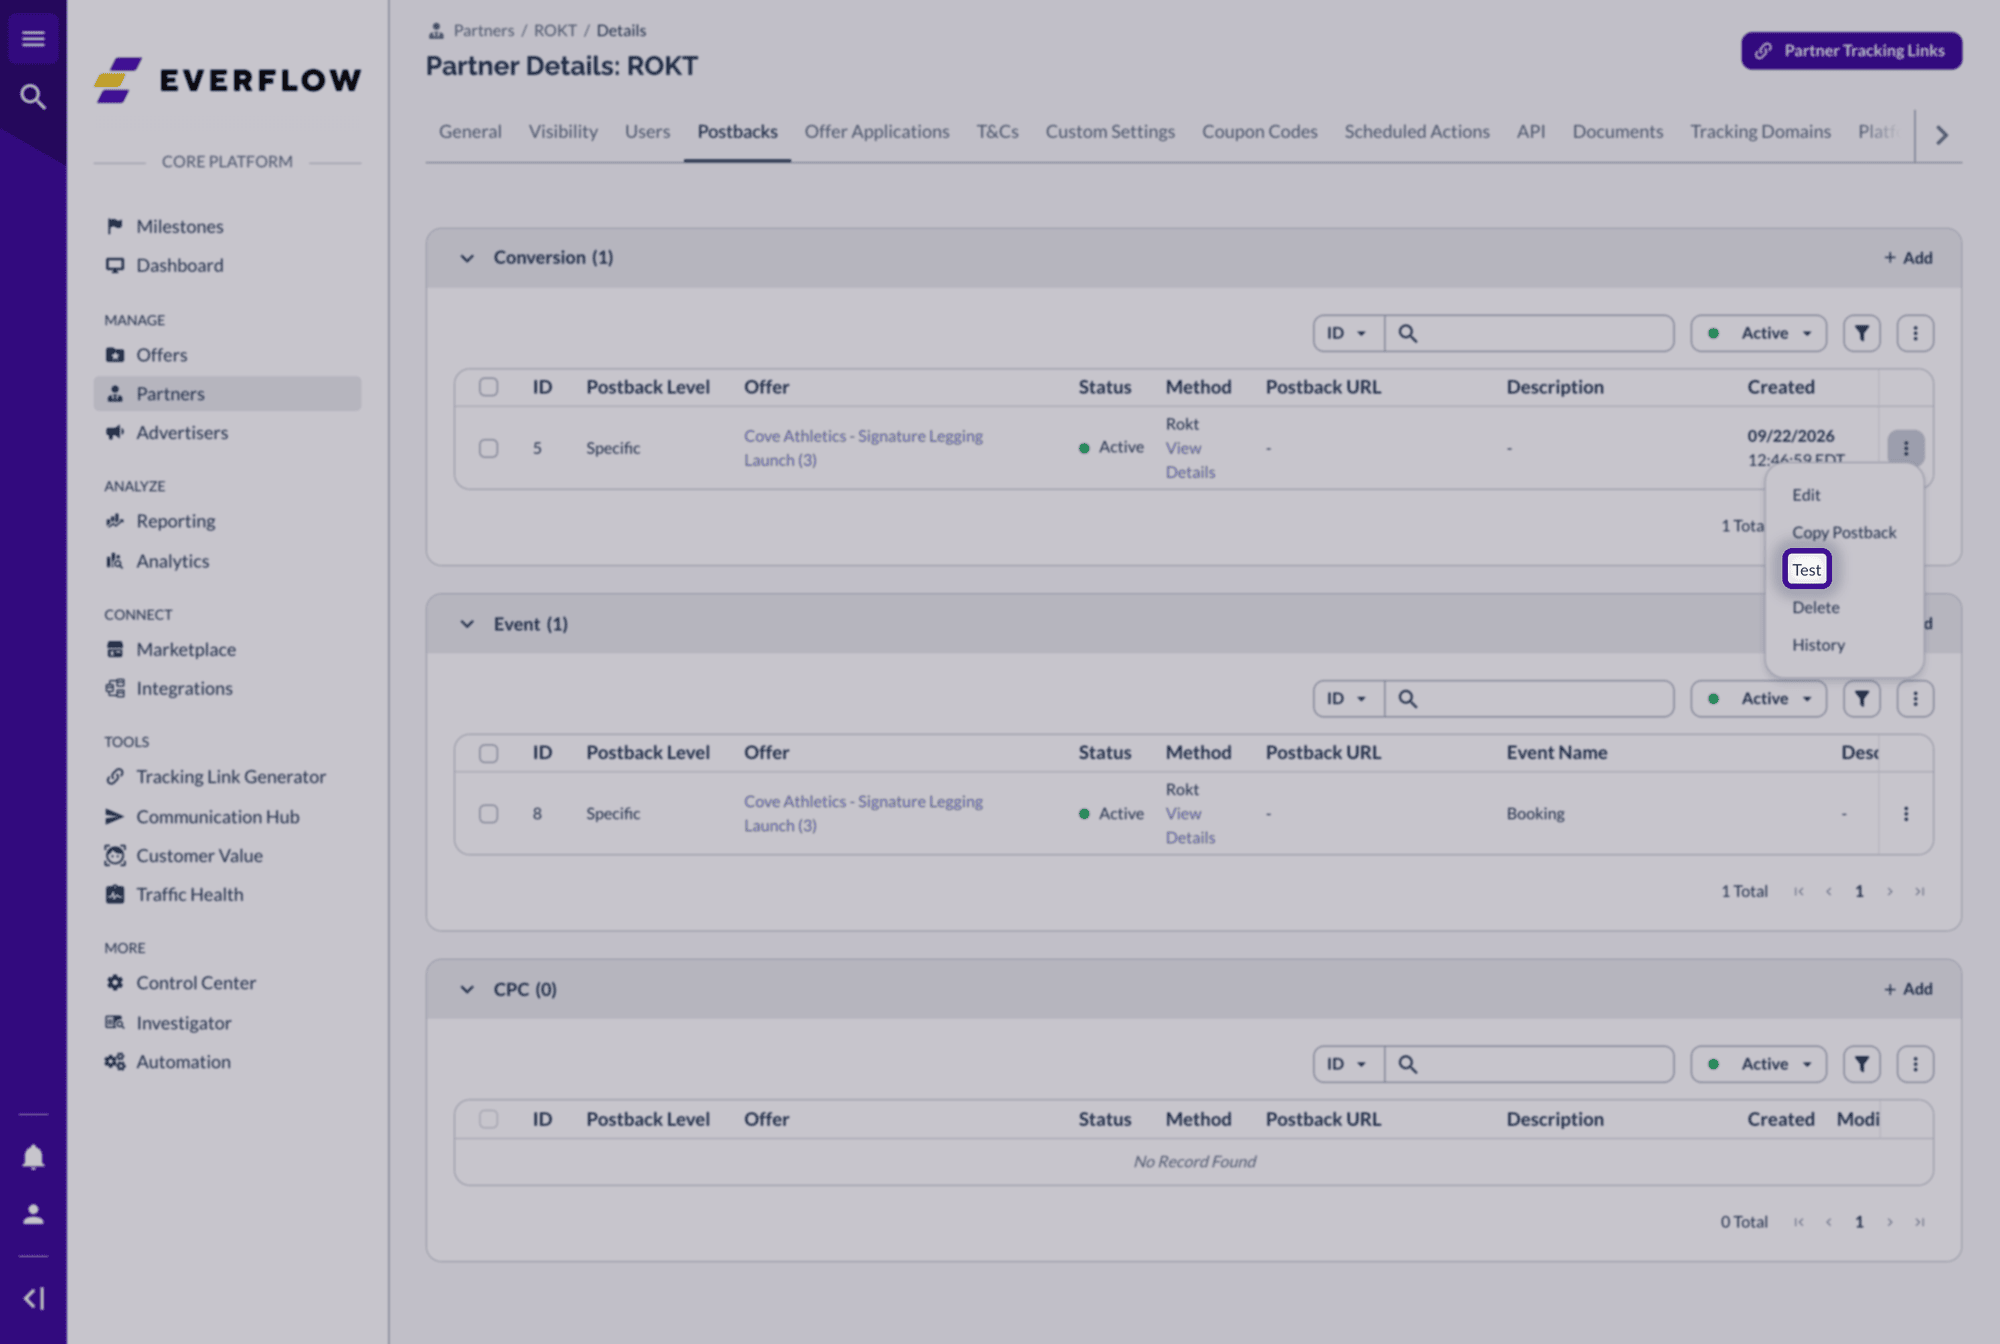
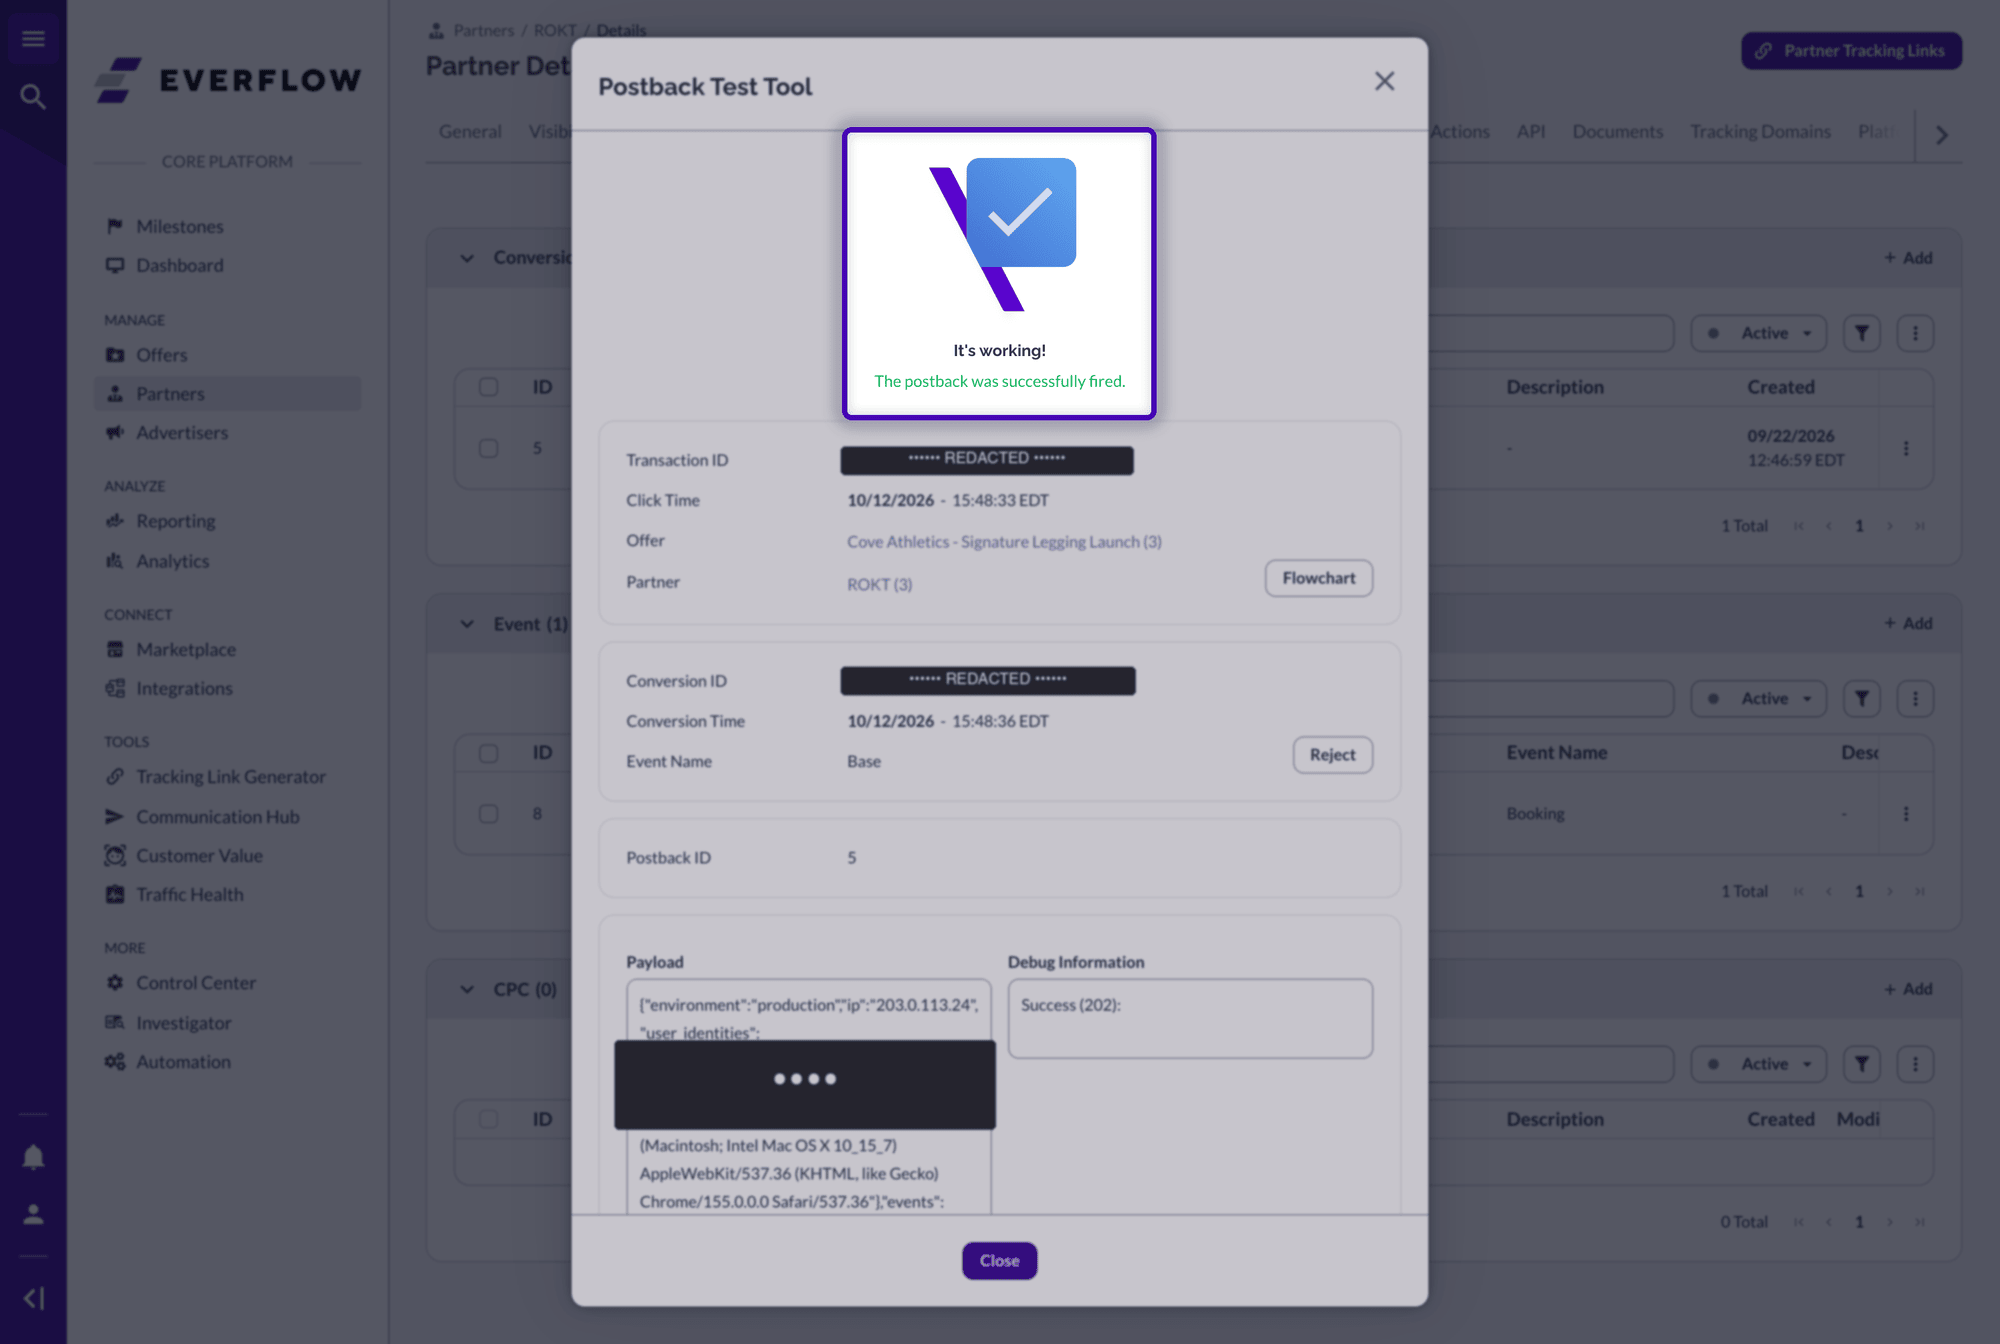
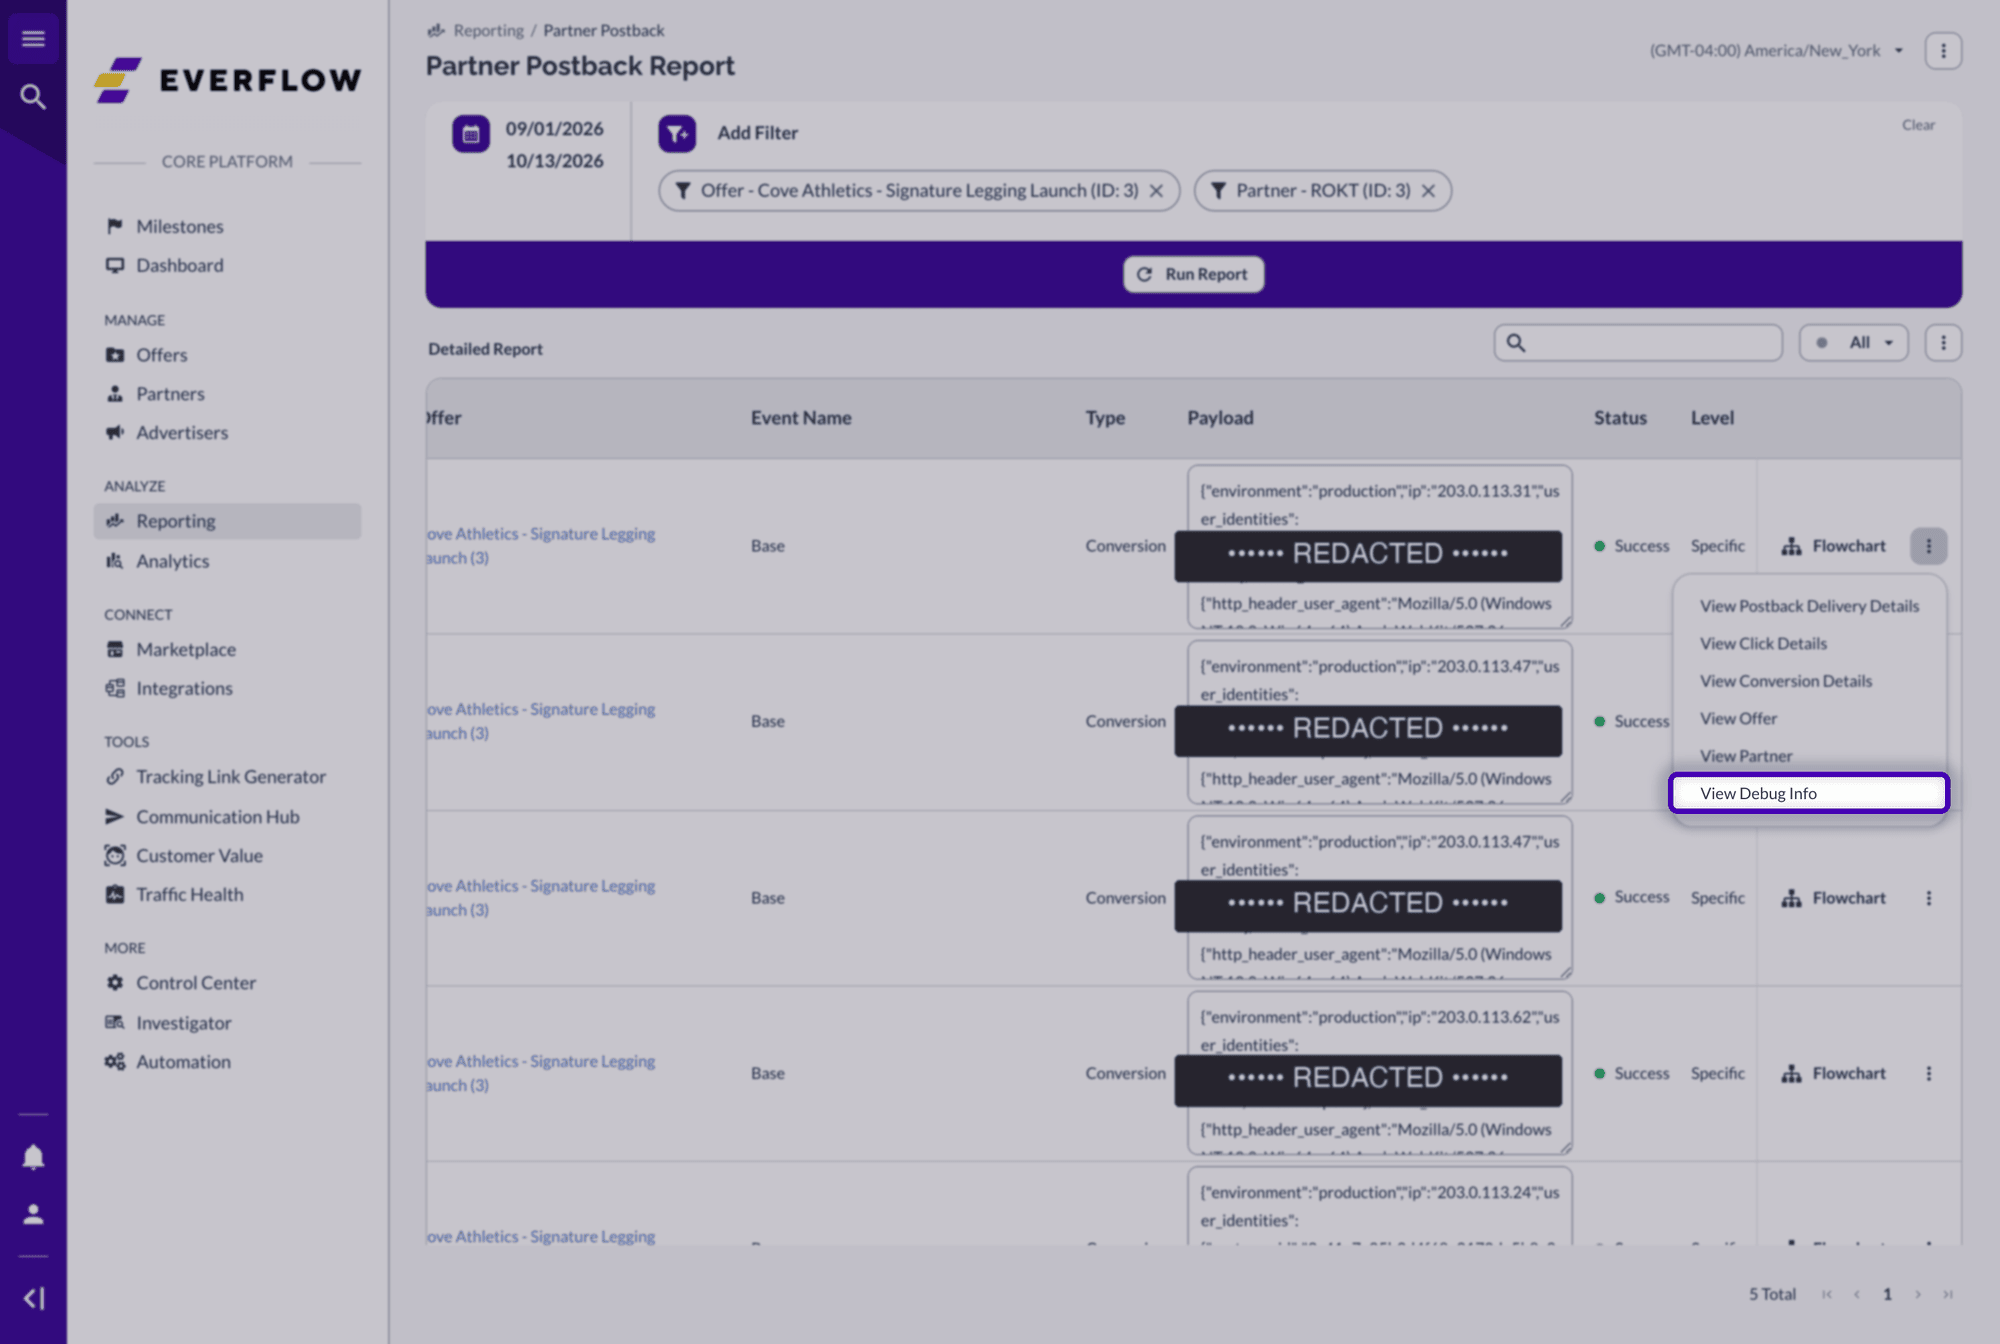
A Success status means Everflow delivered the event to Rokt. It does not mean Rokt matched the customer, which only Rokt can confirm.
How Everflow Handles Personal Data
Everflow hashes the email, first name, last name and mobile number with SHA-256 before they leave. A hash is a scrambled version of a value that Rokt can match but nobody can read. Everything else is sent as you entered it.
Two mistakes stop Rokt from matching the customer without causing any error. The postback still shows Success, because Everflow did deliver it.
Pre-Hashed Email Must Be SHA-256
If the email is already hashed, Everflow only leaves it alone when it is a 64-character SHA-256 hash. Any other hash, such as MD5 or SHA-1, is hashed a second time and will never match. If you are not sure how it was hashed, send the plain email and let Everflow hash it.
The second one is about phone numbers.
Send Mobile Numbers in E.164 Format
Everflow reads the number, reduces it to the national number, then hashes it. If it cannot read the number, it hashes the raw text and Rokt will not match it. Use a plus sign, the country code and the number with no spaces or dashes, such as +14155550123.
What Everflow Sends Automatically
You do not need to map these:
| Value | Where it comes from |
|---|---|
| IP address and user agent | The conversion. |
| Timestamp | Added automatically to every event. |
| Rokt Click Id | Sent twice, as an identity and as Rokt's passback conversion tracking ID, so Rokt can match on either. |
For customers in the UK and EU, the IP address is hashed for privacy. Rokt does not need the IP address to match a conversion.
Conversions That Happen Offline
Conversions that happen off the web, such as a booking made by phone, can still reach Rokt. The advertiser sends Everflow the original transaction ID in a server postback when the booking happens, and Everflow fires the Rokt postback for the matching click. See Email Address Attribution if the advertiser only has the customer's email.
Quick Reference
The whole setup at a glance:
| Topic | Detail |
|---|---|
| Credentials | Rokt Api Key and Api Secret |
| Where to add them | Partner Platform: Company Settings → Integrations → Rokt → Connect Integration |
| Scope | One integration per Rokt account, per partner |
| Delivery Method | Rokt |
| Postback levels | Global or Specific (not Global (Offer)) |
| Required fields | Rokt, User Email, Conversion Type |
| Click matching | {rokt.rclid|} on the tracking link, mapped to Rokt Click Id |
{email}, or an advertiser parameter such as {adv1} | |
| Hashed automatically | Email, first name, last name, mobile (SHA-256) |
| Recommended by Rokt | Confirmation Ref, such as {transaction_id} |
Troubleshooting
Select a problem to see what to check.
Rokt is being enabled network by network. Ask your account manager to turn it on for your network.
The API key or secret is wrong, the integration was deleted, or User Email, Customer Id and Rokt Click Id were all empty. Check that the parameter carrying the email has a value on the conversion.
Check that the advertiser sends the email with the conversion. If you mapped an advertiser parameter such as {adv1}, make sure it has a value and that Macro Parameters Visibility is turned on for the partner.
The Rokt click ID is probably missing. Check that {rokt.rclid|} is on the tracking link and that the same sub parameter is mapped to Rokt Click Id.
Check for the two silent mistakes: an email pre-hashed with something other than SHA-256, or a mobile number not in E.164 format.
Add a Confirmation Ref, such as {transaction_id}, so Rokt can recognize a repeat.
Rokt may be rate limiting, returning an error, or the connection failed. Everflow retries automatically, so you only need to act if it keeps happening.
A value is malformed. The usual causes are a currency that is not a three-letter code, or an amount that is not a number.
Limitations
Rokt works with Conversion and Event postbacks at the Global and Specific levels. It is not available for CPC postbacks, where the Delivery Method is always Postback, or at the Global (Offer) level. Everflow can confirm that it delivered an event to Rokt, but only Rokt can confirm that it matched the customer.
Keep reading:
→ Introduction to Partner and Advertiser Postbacks: how postbacks work.
→ Your Guide to Parameters and Macros: the macros you can use in postback fields.
→ How to Test Partner Postbacks: more ways to check a postback fired.
→ Whop Ads Integration: another server-side integration.
→ Meta (Facebook / Instagram) Integration: a similar Conversions API setup.
→ Microsoft Advertising (Bing) CAPI Integration: a similar Conversions API setup.
→ Rokt Events API Integration Guide: Rokt's own documentation for the API Everflow sends to.


