
Overview: Tracking Beyond the First Click
Standard affiliate tracking is excellent at answering one question: "Did my partner drive a conversion?"
But what if you have more complex, high-value questions?
- "Which partners are sending me users that make multiple deposits?"
- "How can I pay a bonus only when a new user is from a specific country and deposits over $200?"
- "How do I identify and reward affiliates who bring in 'whales' or high-value traders?"
- "Can I set up a bonus for iGaming partners who send users that reach 'Level 10'?"
- "How can I offer one partner a 10% RevShare rate, but only for their first 30 days?"
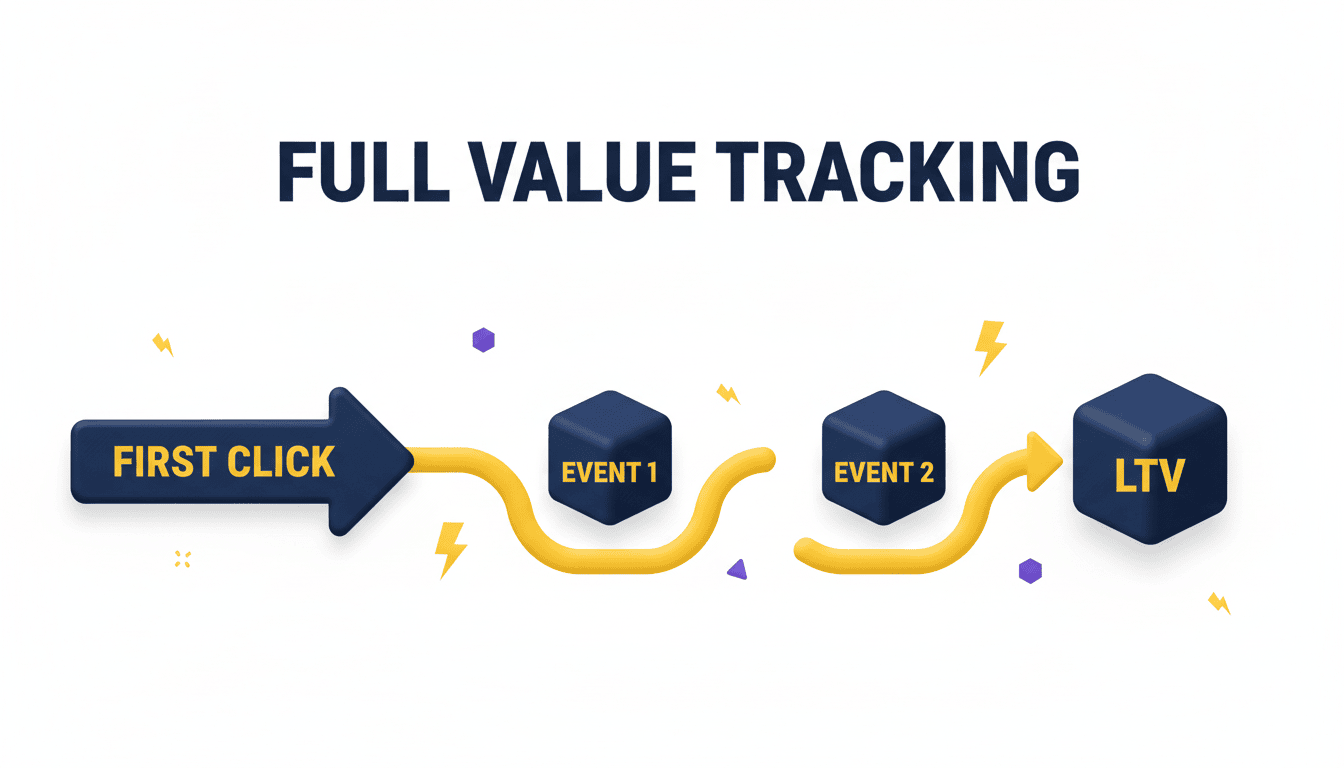
This is where Customer Value comes in. It's an advanced feature that moves beyond tracking single conversions and allows you to track the entire lifetime value of an individual customer.
You can track a user's behavior across multiple events, offers, and partners. By combining data points (like geo, deposit_amount, or level_reached), you can build rules to automatically apply special payouts or bonuses when a user's combined activity meets your high-value criteria.
This guide is for:
- Affiliate Managers who want to create sophisticated bonus structures for high-value verticals like Finance, Gaming, or Betting.
- Agency Owners who need to track deep-funnel events (like deposits and trades) instead of just sign-ups.
- Developers who will be implementing the required tracking parameters.
Guided Walkthrough: The "High-Value Trader" Bonus
Let's use a "Guided Walkthrough" to explain the feature. This is the clearest way to see how the components work together.
The Scenario
You are an Affiliate Manager for a financial trading platform.
The Obstacle (Problem)
You currently pay a flat $50 for every "New Sign-Up." You realize you're paying for many low-quality users who sign up but never deposit or trade. You want to stop wasting this budget and instead use it to aggressively reward affiliates who deliver actual, high-value traders.
The Goal
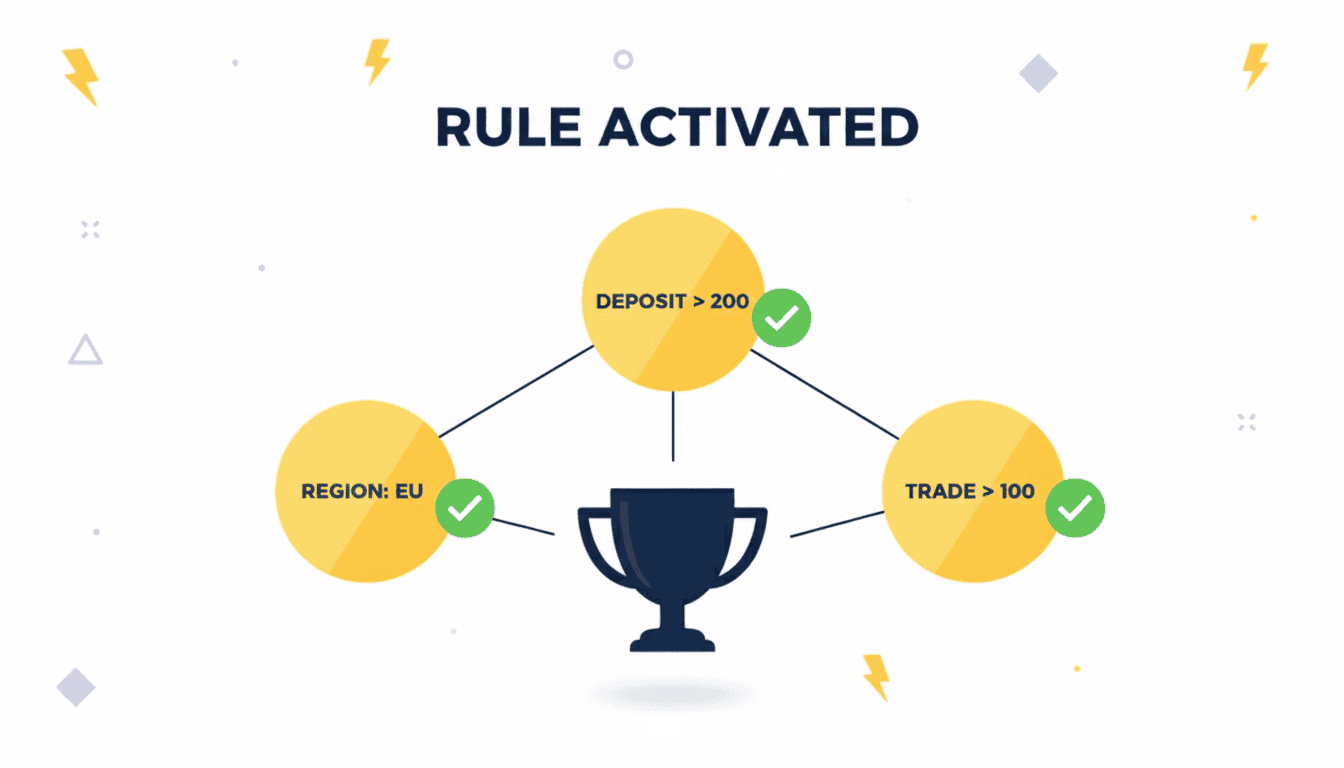
You want to create a new rule that automatically pays a one-time $200 bonus to an affiliate only when their referred user meets all three of these conditions, in any order, over their lifetime:
- Is from a Tier 1 Geo (e.g., 'EU1').
- Their total deposits exceed $200.
- They execute at least one trade of $100 or more.
The Path (How-To Guide)
Here is the step-by-step path to build this rule in the new interface.
The Result (Verification)
You now have a rule that will automatically fire a $200 bonus payout, but only on the conversion that completes the third and final condition.
You can verify this in two ways:
- Conversion Events Report: This is your primary debugging tool. Navigate to Customer Value > Conversion Events Report. Enter a specific User ID to see a complete log of their activity, all Data Points received (like geo, deposit, etc.), and which rules were applied.
- Standard Conversion Report: When the rule successfully fires, a new conversion (or an adjusted one) will appear in your standard reports. The Rule name will be listed with the conversion, confirming it was applied.
The
user_id=cust_778&geo=EU1user_id=cust_778&deposit=150user_id=cust_778&deposit=75user_id=cust_778&trade_amount=120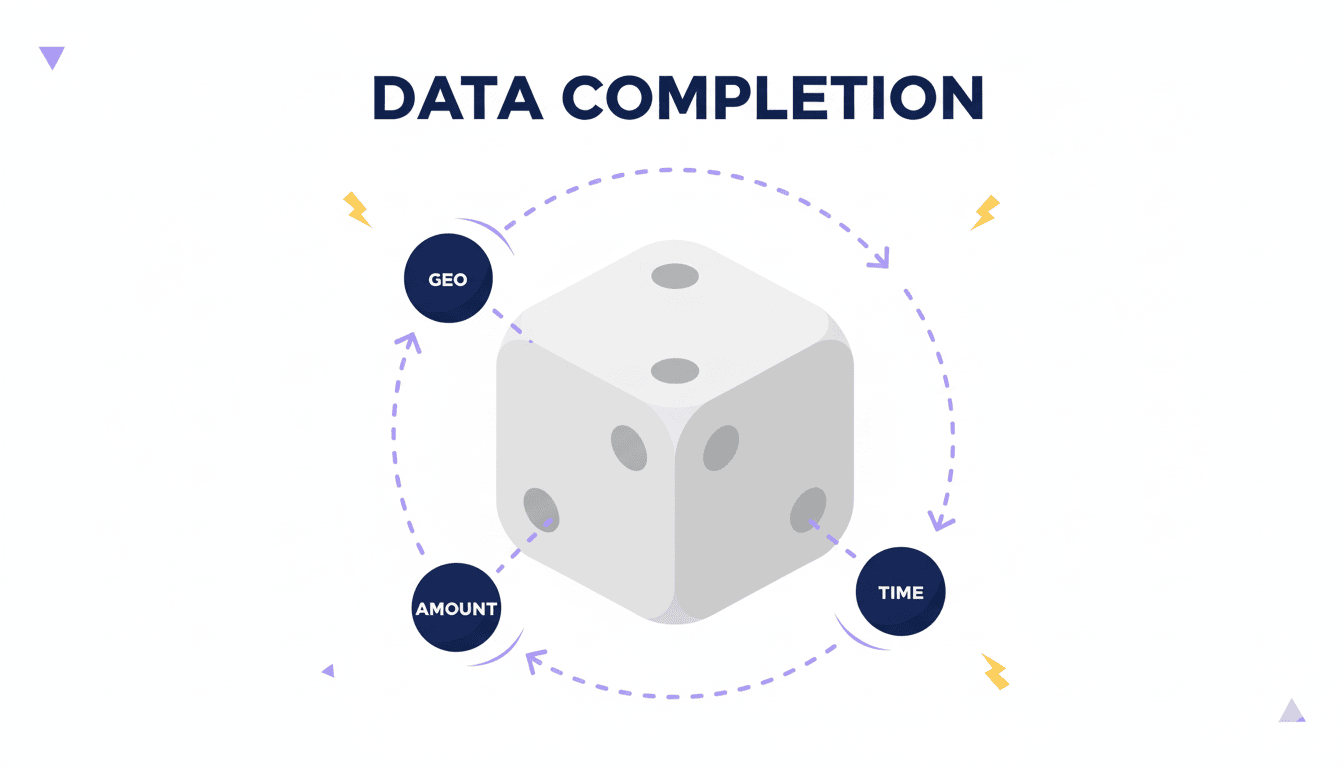
More Use Cases: Gaming & Fixed-Time RevShare
The "High-Value Trader" is just one example. Here are two more common scenarios to show the flexibility of Customer Value rules.
Use Case 1: The "iGaming Level-Up" Bonus
- The Scenario: An Affiliate Manager for an iGaming app wants to reward partners who send users that engage with the game, not just install it.
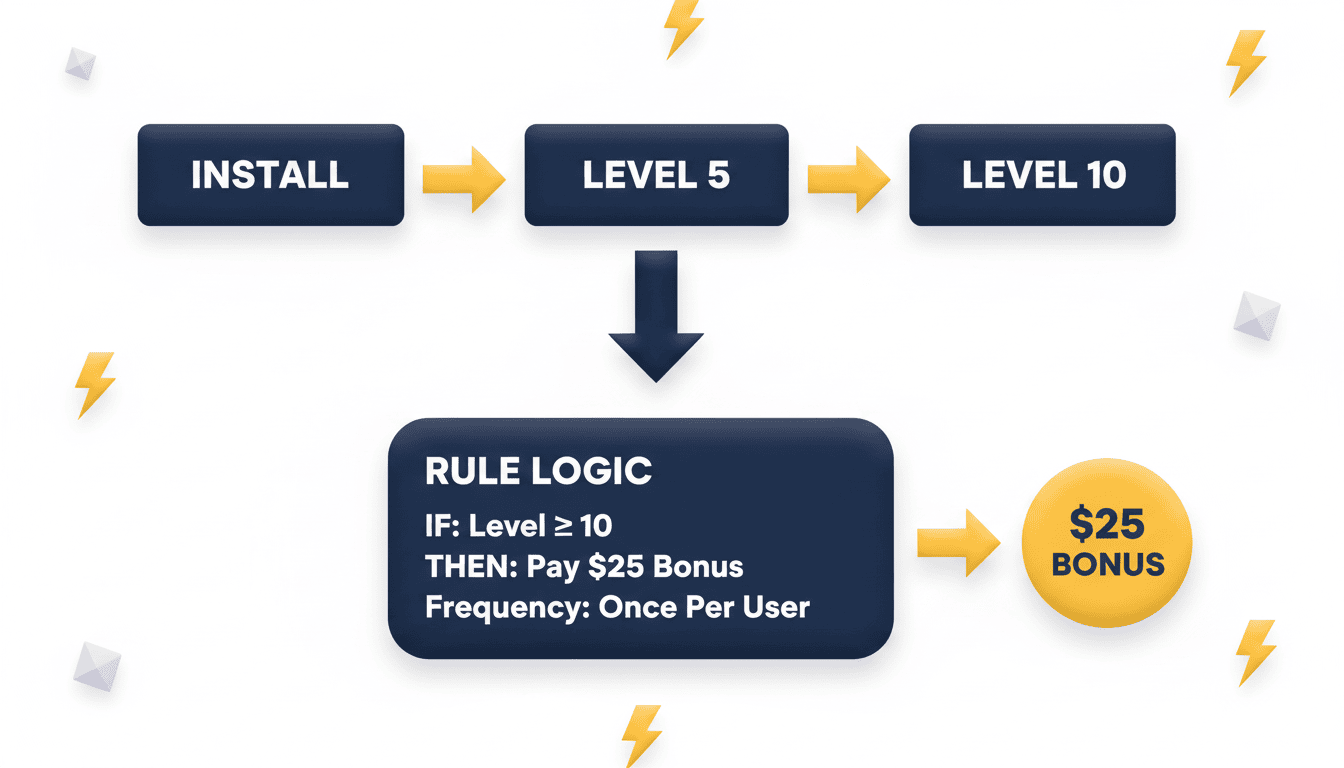
- The Goal: Pay a $25 bonus, but only when a user (from any partner) reaches "Level 10."
- The Solution (Summary):
- Custom Data Point: Create a Number Data Point named Level Reached (parameter: level).
- Payout Rule: Create a new rule named "Level 10 Bonus".
- Behavior (Tab 3):
- Set Goal Conditions: Yes
- Condition: Custom Data Point: Level Reached (Number) | Any Value | Greater Than or Equal To | 10
- Goal Achievement Outcome: Once per Customer | Custom Payout | Fixed Payout | $ 25
- The Takeaway: This rule now automatically finds the conversion where the user's level parameter is 10 or more and adds the $25 bonus, rewarding partners for player quality.
Use Case 2: The "30-Day RevShare" Override
- The Scenario: An Agency Owner has a new, high-potential partner. The standard offer payout is CPA. To incentivize this partner, they agree to give them a 10% RevShare rate, but only for the first 30 days after each user's first conversion.
- The Goal: Automatically apply a 10% RevShare payout for a specific partner, overriding the main offer, for a fixed 30-day period per user.
- The Solution (Summary):
- Payout Rule: Create a new rule named "Partner 30-Day RevShare".
- General (Tab 1):
- Apply Rule To: Select the specific Partner and the relevant Offers.
- Timeframe (Tab 2):
- Goal Cycle: Continuous
- Select: From First Conversion
- Set Duration: 30 Days
- Behavior (Tab 3):
- Set Goal Conditions: No (This is the key: the rule applies to all activity within the timeframe, not based on a condition).
- Apply Rule on: All Conversions (Base + Events)
- Select an Outcome: Custom Payout
- Payout Type: Revenue Share (RPS)
- Percent: 10
- The Takeaway: For 30 days starting from each user's first conversion, this specific partner will receive 10% RevShare on all that user's activity. After 30 days, the payout reverts to the offer default.
Key Improvements in This Revamp
If you've used User Management before, you'll notice several powerful UI and UX improvements designed to make this process more logical and intuitive.
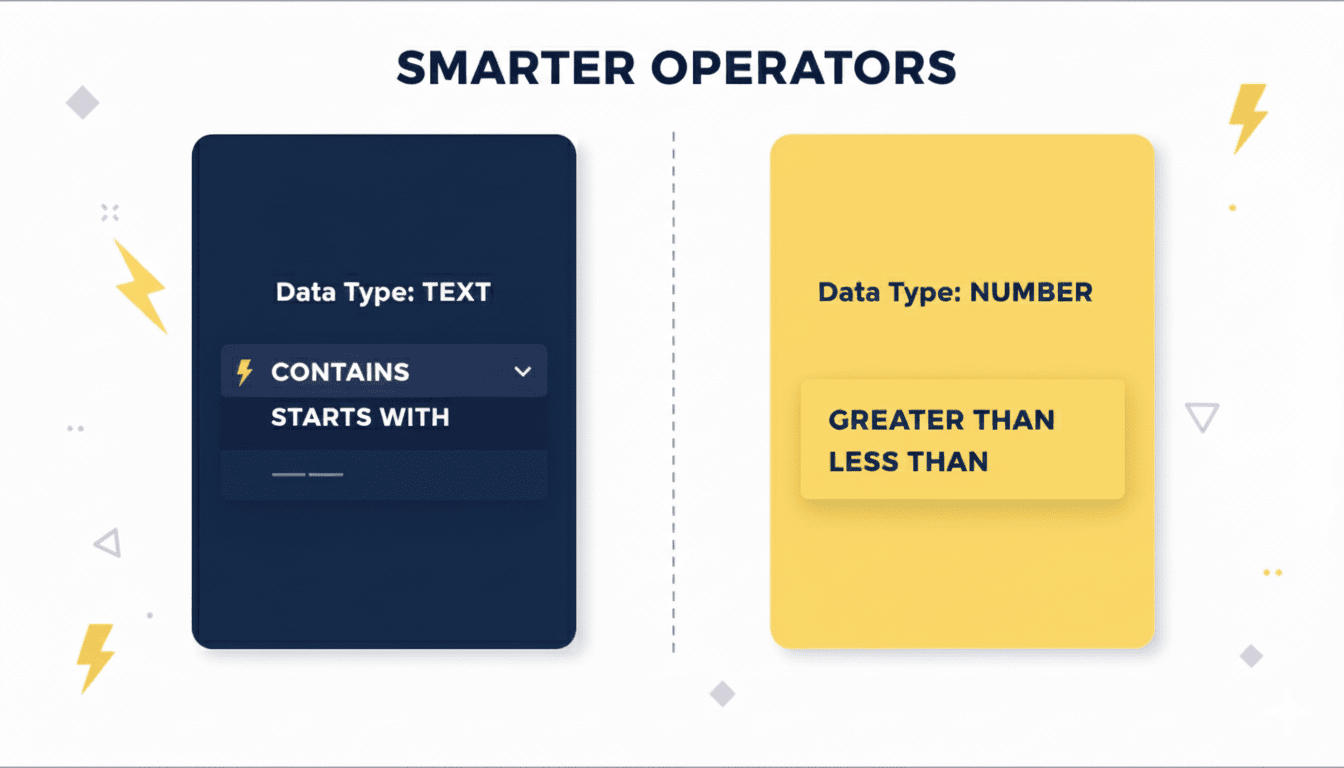
- Smarter Conditions: The "Conditions" builder is now "smarter." Choosing a Text or Number Data Point instantly filters the available operators (e.g., Exact Match for Text vs. Greater Than for Number).
- Clearer Scope: We replaced the confusing "Aggregation Level" with a plain-English "Scope" section that asks howyou want to group events (e.g., "All Together" or "Separately By").
- Logical Timeframe: We replaced the old "Time Period" with "Goal Cycle," making the "Recurring" (e.g., weekly) vs. "Continuous" (e.g., global/lifetime) logic much clearer.
- Dynamic Data Point Creation: You can now add new Data Points directly from the Rule creation page. If you forget a parameter, you no longer have to leave your workflow.


