Home
New To Everflow
Account Setup
Setting Up Employee Accounts

SERIES:

How to Manage Employee Permissions & Roles

Setting Up Employee Accounts

Learn how to create and manage employee accounts in Everflow by setting up roles, permissions, and security measures that keep your team productive and your data secure.

Overview

Control who can do what in Everflow by setting up proper employee accounts.

This ensures your team can work efficiently while keeping your data safe.

Core Account Management

Creating Employee Accounts

Find account settings in Control Center -> Accounts, where you can:
  • Create new team member accounts
  • Manage current user access
  • Set up role-based permissions
  • Control Partner/Advertiser management access

Super User Settings

Super Users have full platform access:

Check current Super Users in the Super User column Only Super Users can give this access to others Contact Everflow Customer Success to add/remove Super User access if none exists
Note Users with both Super User status AND Role management permissions can create new Roles for any Employee type. With these dual requirements met, they can manage which left side menu items are visible to the Employee.

If you didn't have access to Roles, and then were granted Super User permissions, you still don’t have access to Roles unless your status was adjusted.

Partner/Advertiser Management

Customize how managers work with accounts:

  • Global Access: See all Partner stats
  • Limited Access: See only assigned Partners
Default Manager Settings:
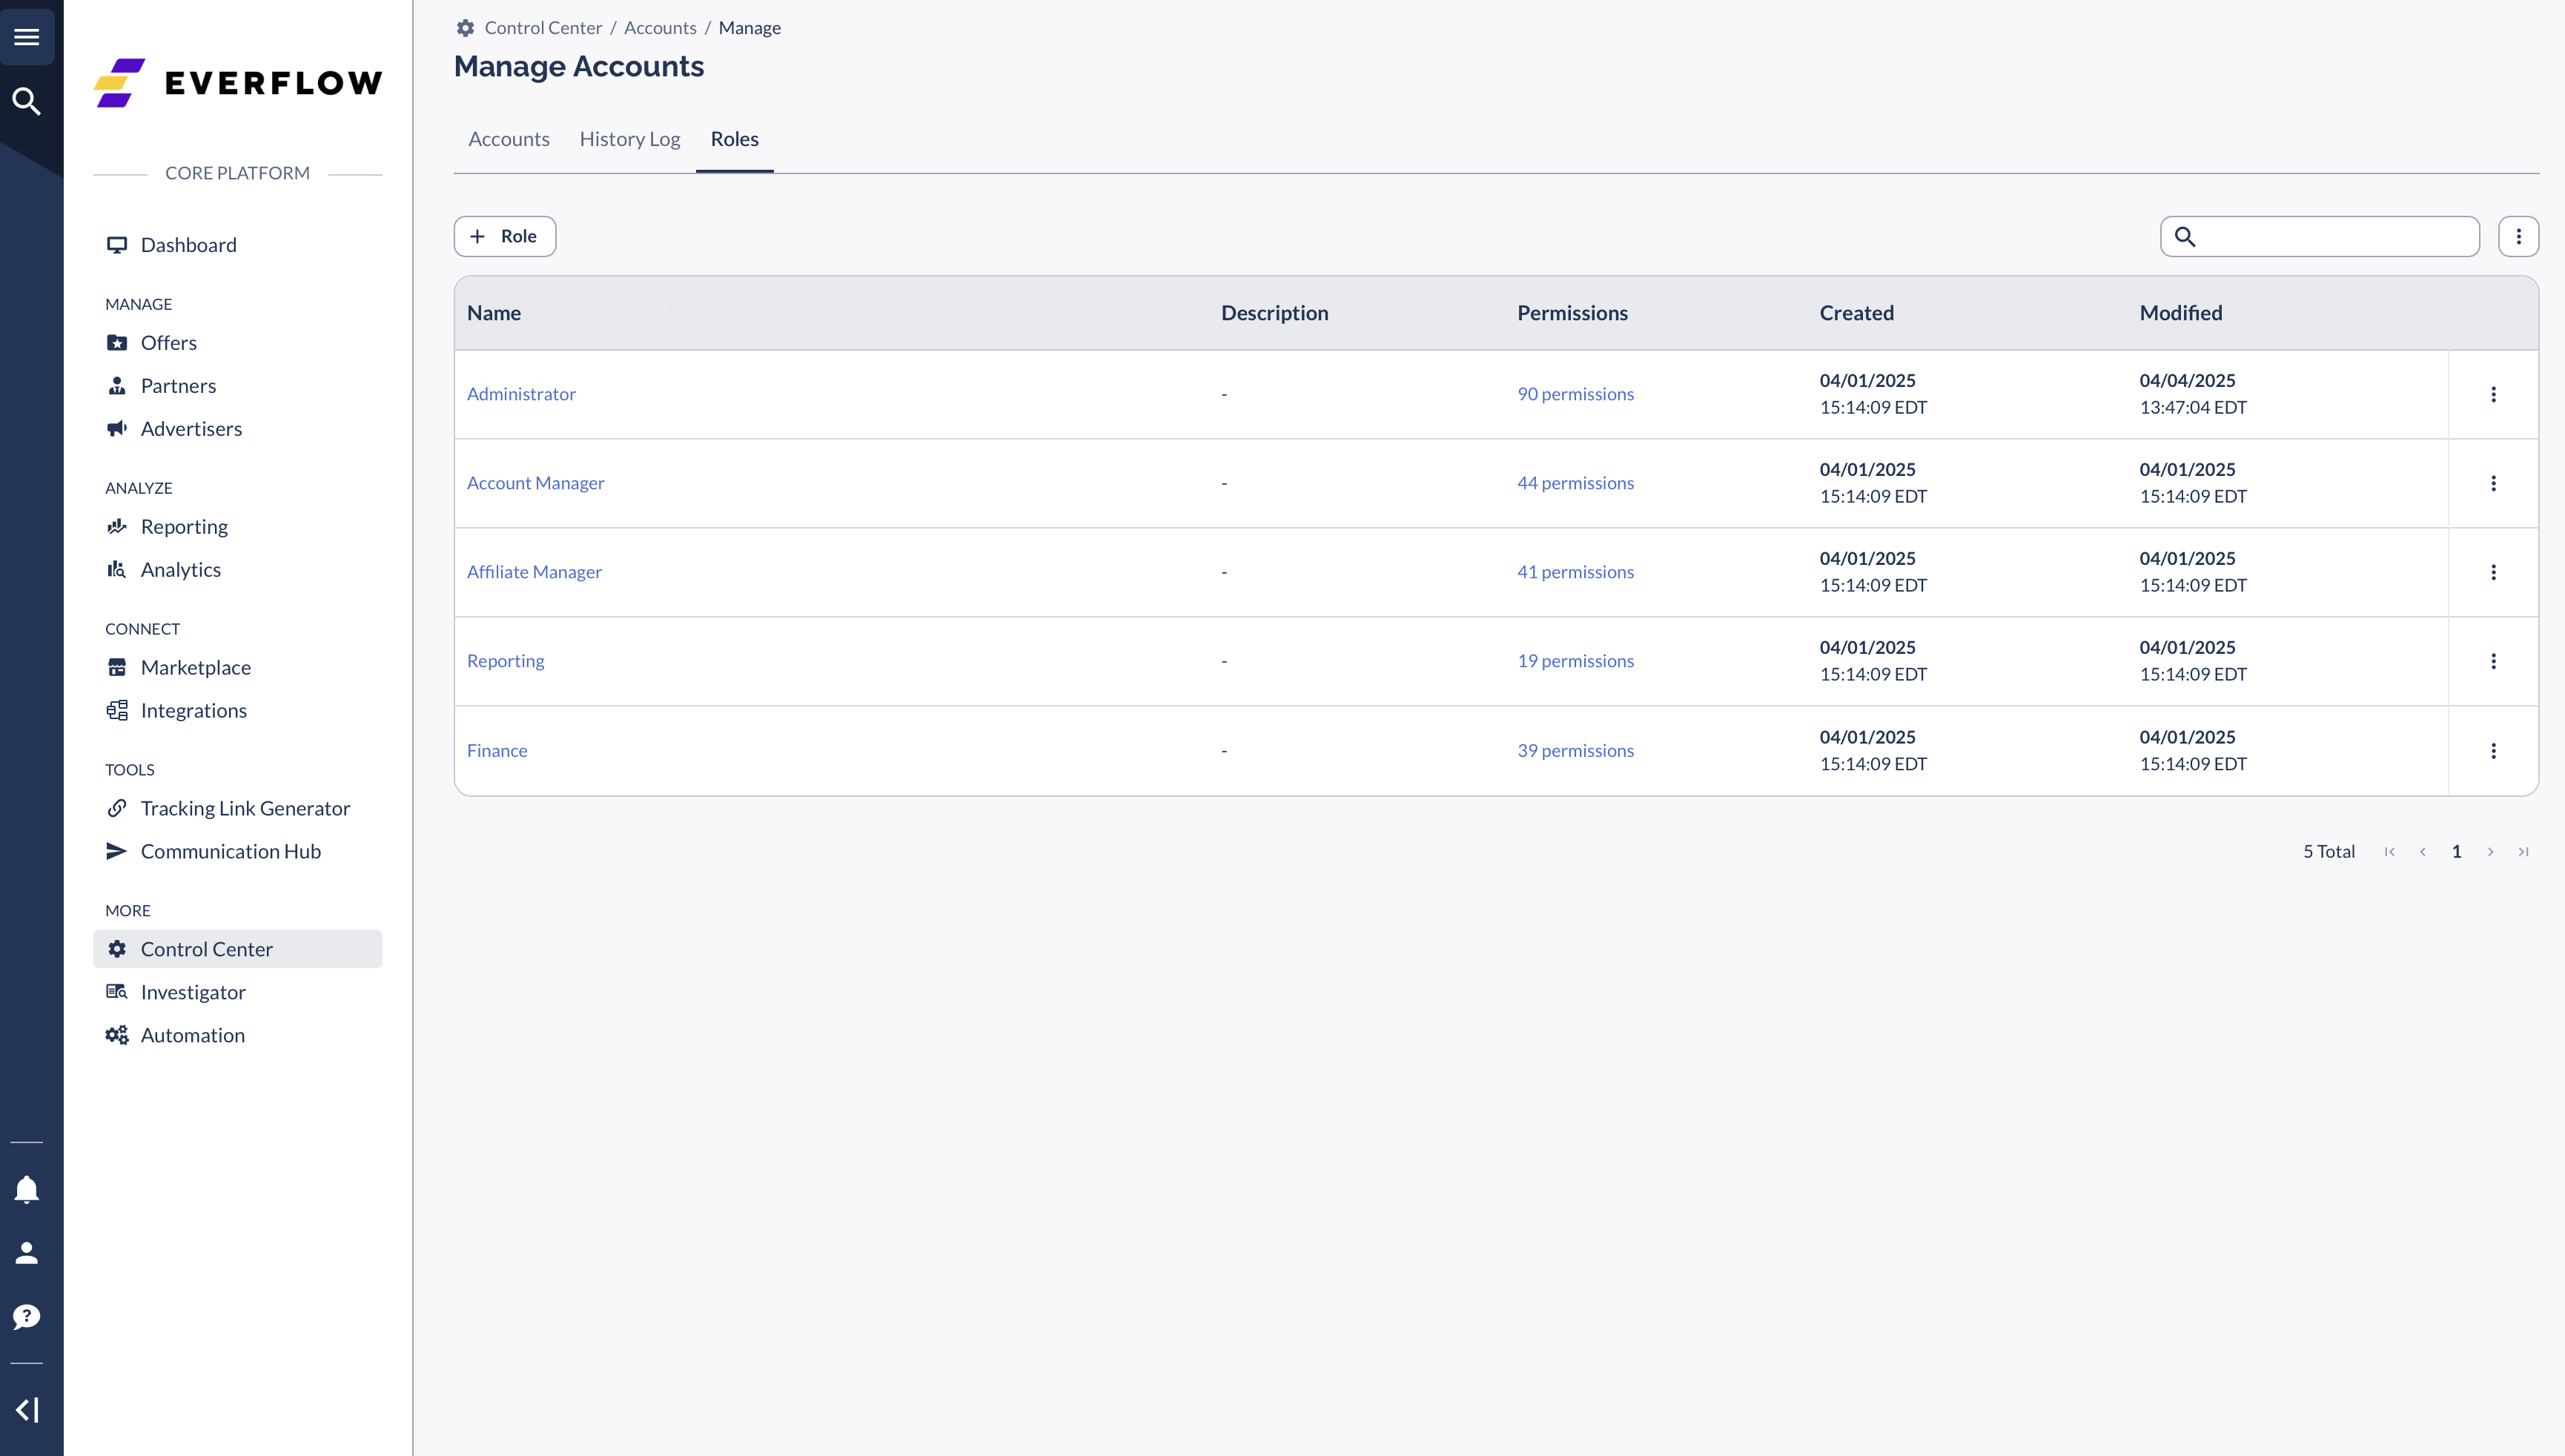
Set default managers for new sign-ups One default Partner/Advertiser manager per account Automatic assignment for streamlined onboarding

Role Setup

‍In Control Center -> Accounts -> Roles, create custom access profiles:
Choose what menu items people see Full Access: Complete editing capabilities Read Only: View-only permissions Customize dashboard views to focus on what truly matters

Activity Tracking

‍Monitor platform activity in Control Center -> Accounts -> History:
  • See what changes employees make
  • Filter by time periods
  • Review system updates

Quick Reference: Common Tasks

Task Location Notes Create New Account Control Center > Accounts Super User access required Modify Roles Control Center > Accounts > Roles Can affect multiple users Set Default Manager User Settings One default manager only Check Access History History Tab Filterable by date Update Permissions Roles Section Full or Read-only options

Best Practices

Regularly review user access and start everyone with basic permissions, adding more access only when needed for their work.

Keep good records by tracking all access changes and role assignments in the History Log.