Home
Offers & Tracking
Tracking Fundamentals
How To Set Up Conversion Events

SERIES:

How To Set Up Conversion Events

Learn how to access, set up, and customize Base and Additional Conversion Events, enabling you to track and optimize your marketing performance with flexible event tracking.

Overview

A click tells you someone was interested. A Conversion Event tells you what they actually did, and that gap is the difference between traffic you can report on and traffic you can pay for. Almost everything downstream leans on it: your revenue, your Partner payouts, attribution, Postback Controls, and every report you will ever run.

Every Offer starts with one Base Conversion Event, the main action you are paying for. Around it you can add as many Additional Conversion Events as the funnel needs, for the steps that happen before or after that moment, and each one carries its own revenue, its own payout and its own settings.

New to this? Introduction To Conversion Events covers the concepts. This guide is the hands-on version.

Below you will find where Conversion Events live on the Offer, how to configure the base event and any additional ones, and the step people most often skip: creating an event does not make it fire. The last section covers how to actually send it.

What's Changed Last updated Sep 4, 2026 ▼
Sep 4, 2026 Added
The Base Conversion Event can now be tied to a Global Advertiser Event, the same way Additional Conversion Events already could. New section: Tie With Global Advertiser Event. Also corrected a duplicated heading in the Additional Conversion Event section.

Accessing Conversion Event Configuration For An Offer

All Conversion Events can be found in the Revenue & Payout (Events) tab while editing a specific Offer. Here’s how to access that:

In the left sidebar , click on Offers → Manage For a specific Offer, click on → Edit Head over to the third tab, Revenue & Payout (Events) Here you will find the Base Conversion Event at the top & Additional Conversion Events at the bottom

Setting Up The Base Conversion Event

The Base Conversion Event has two things worth setting: what it is called, and whether it is tied to a Global Advertiser Event.

By default the name is “Base”. Rename it to the action it actually represents, so your reports read like your business instead of like the platform:

Tie With Global Advertiser Event

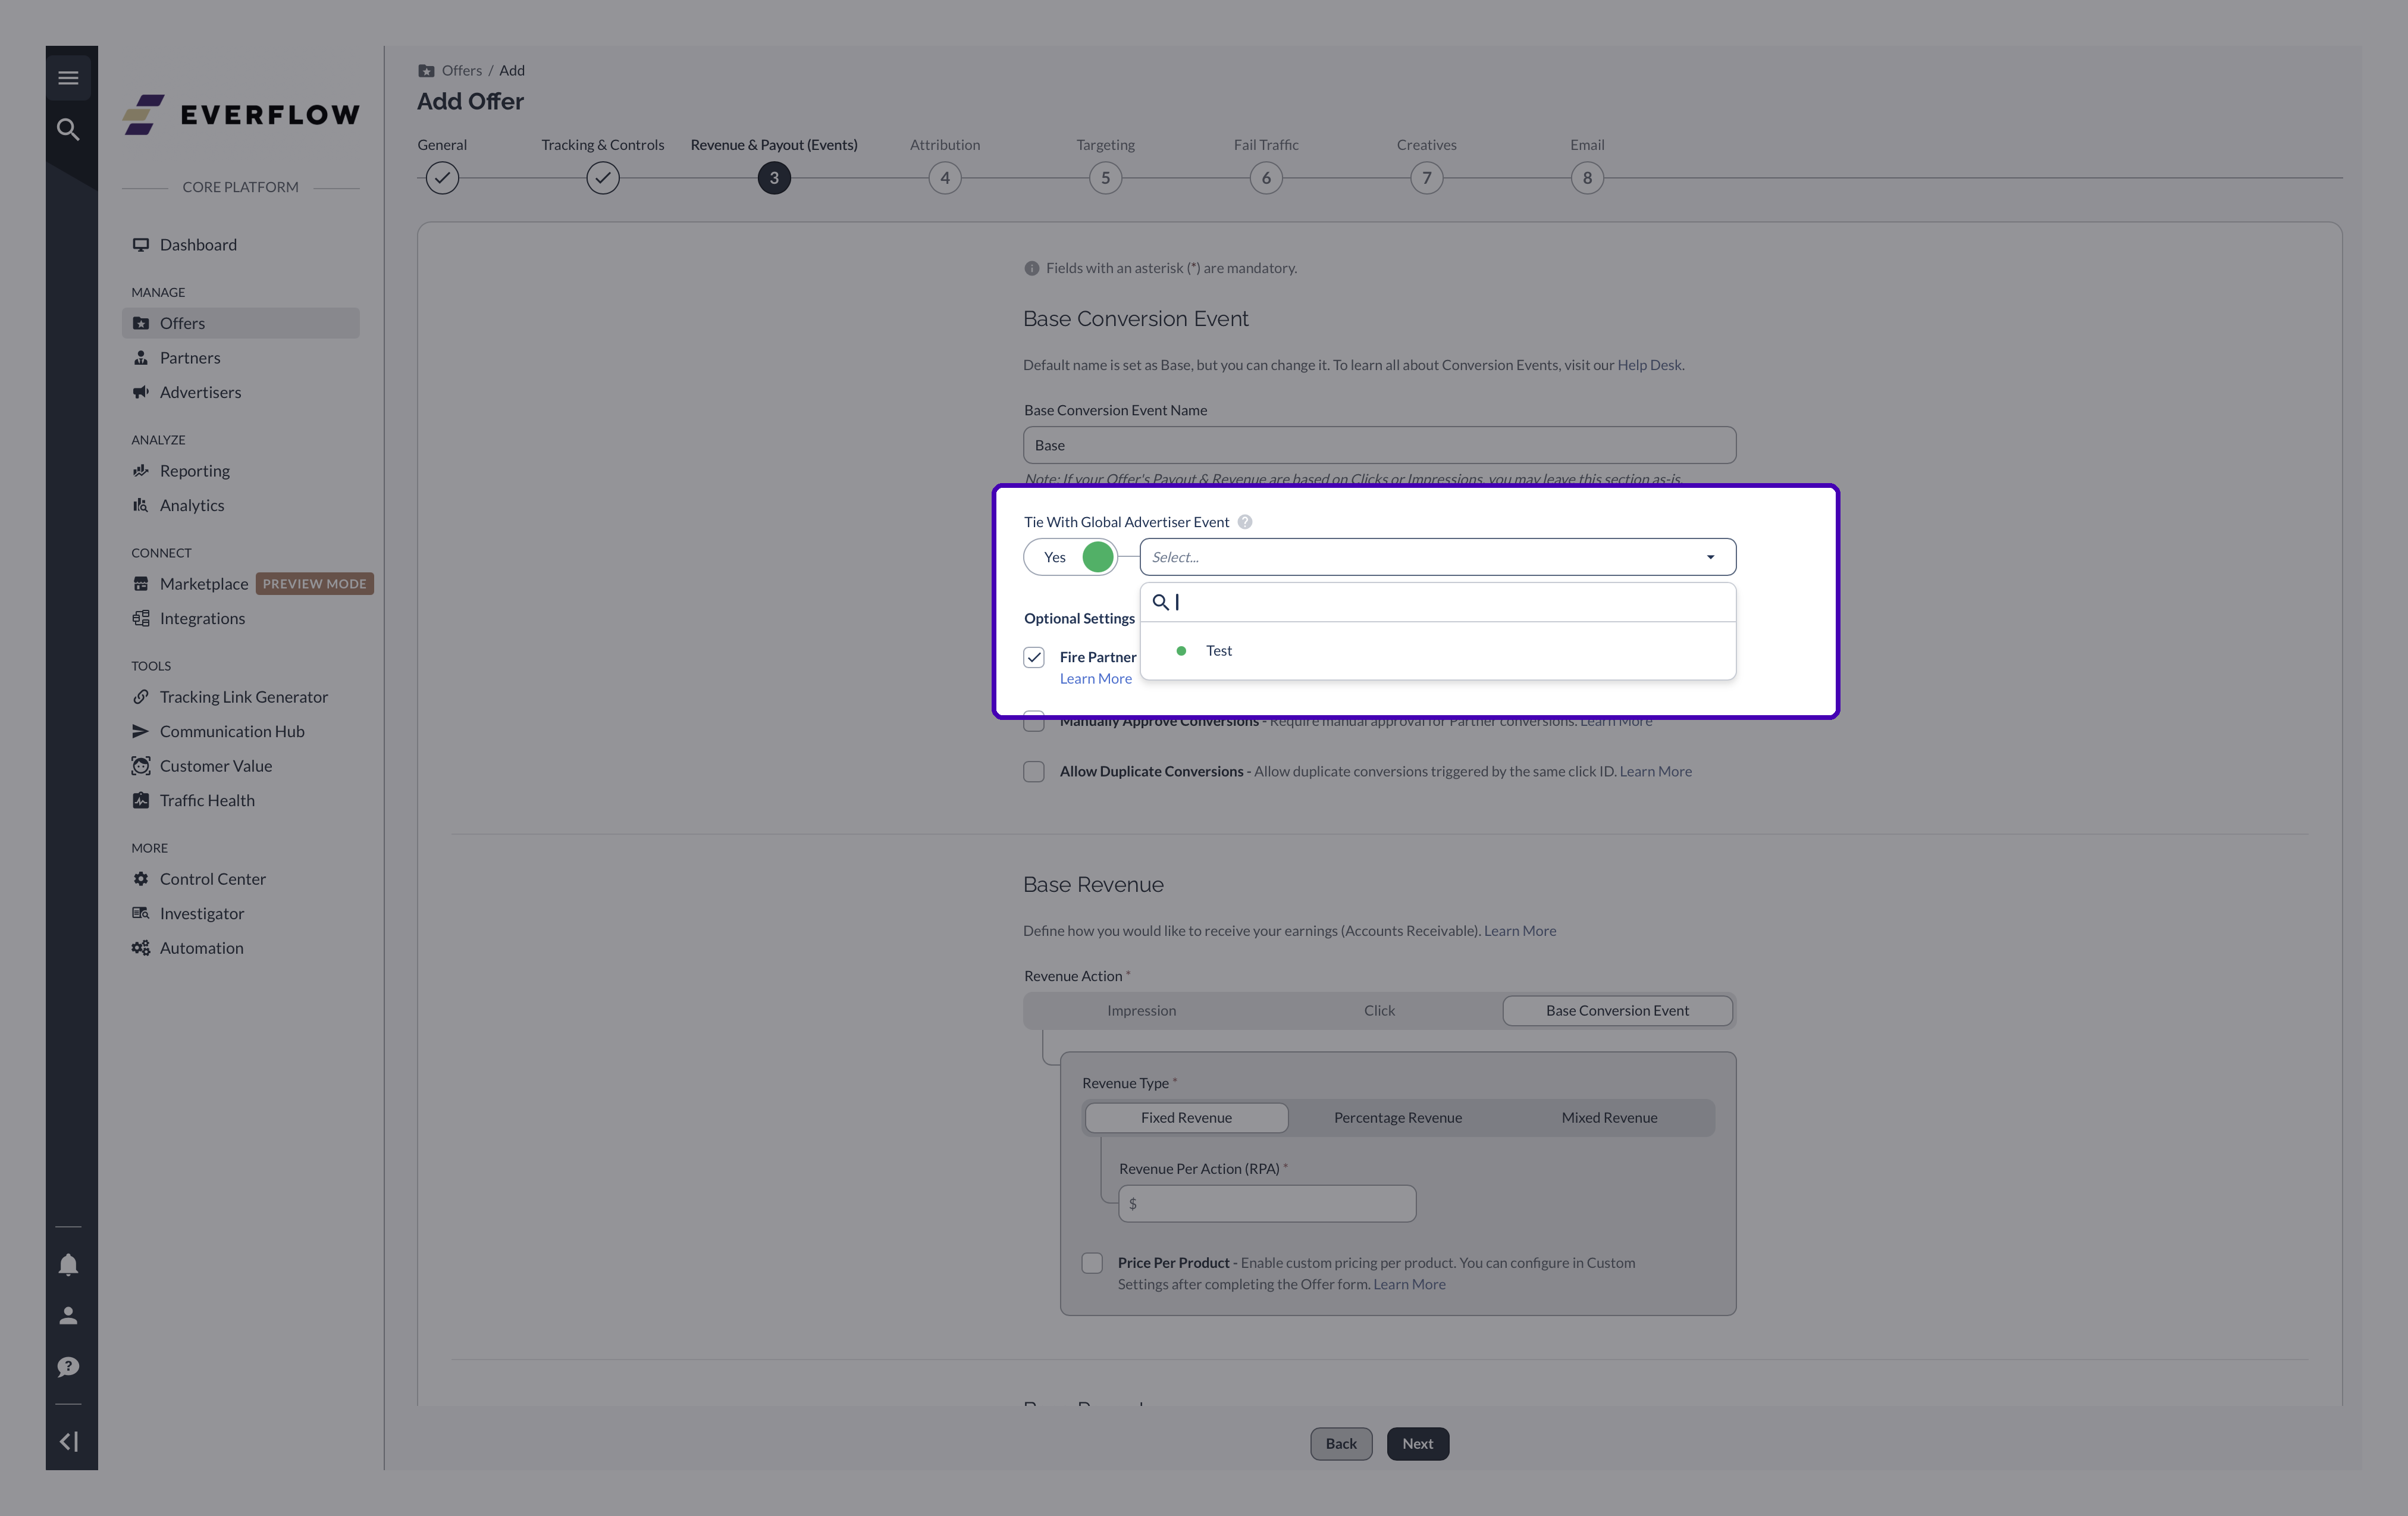
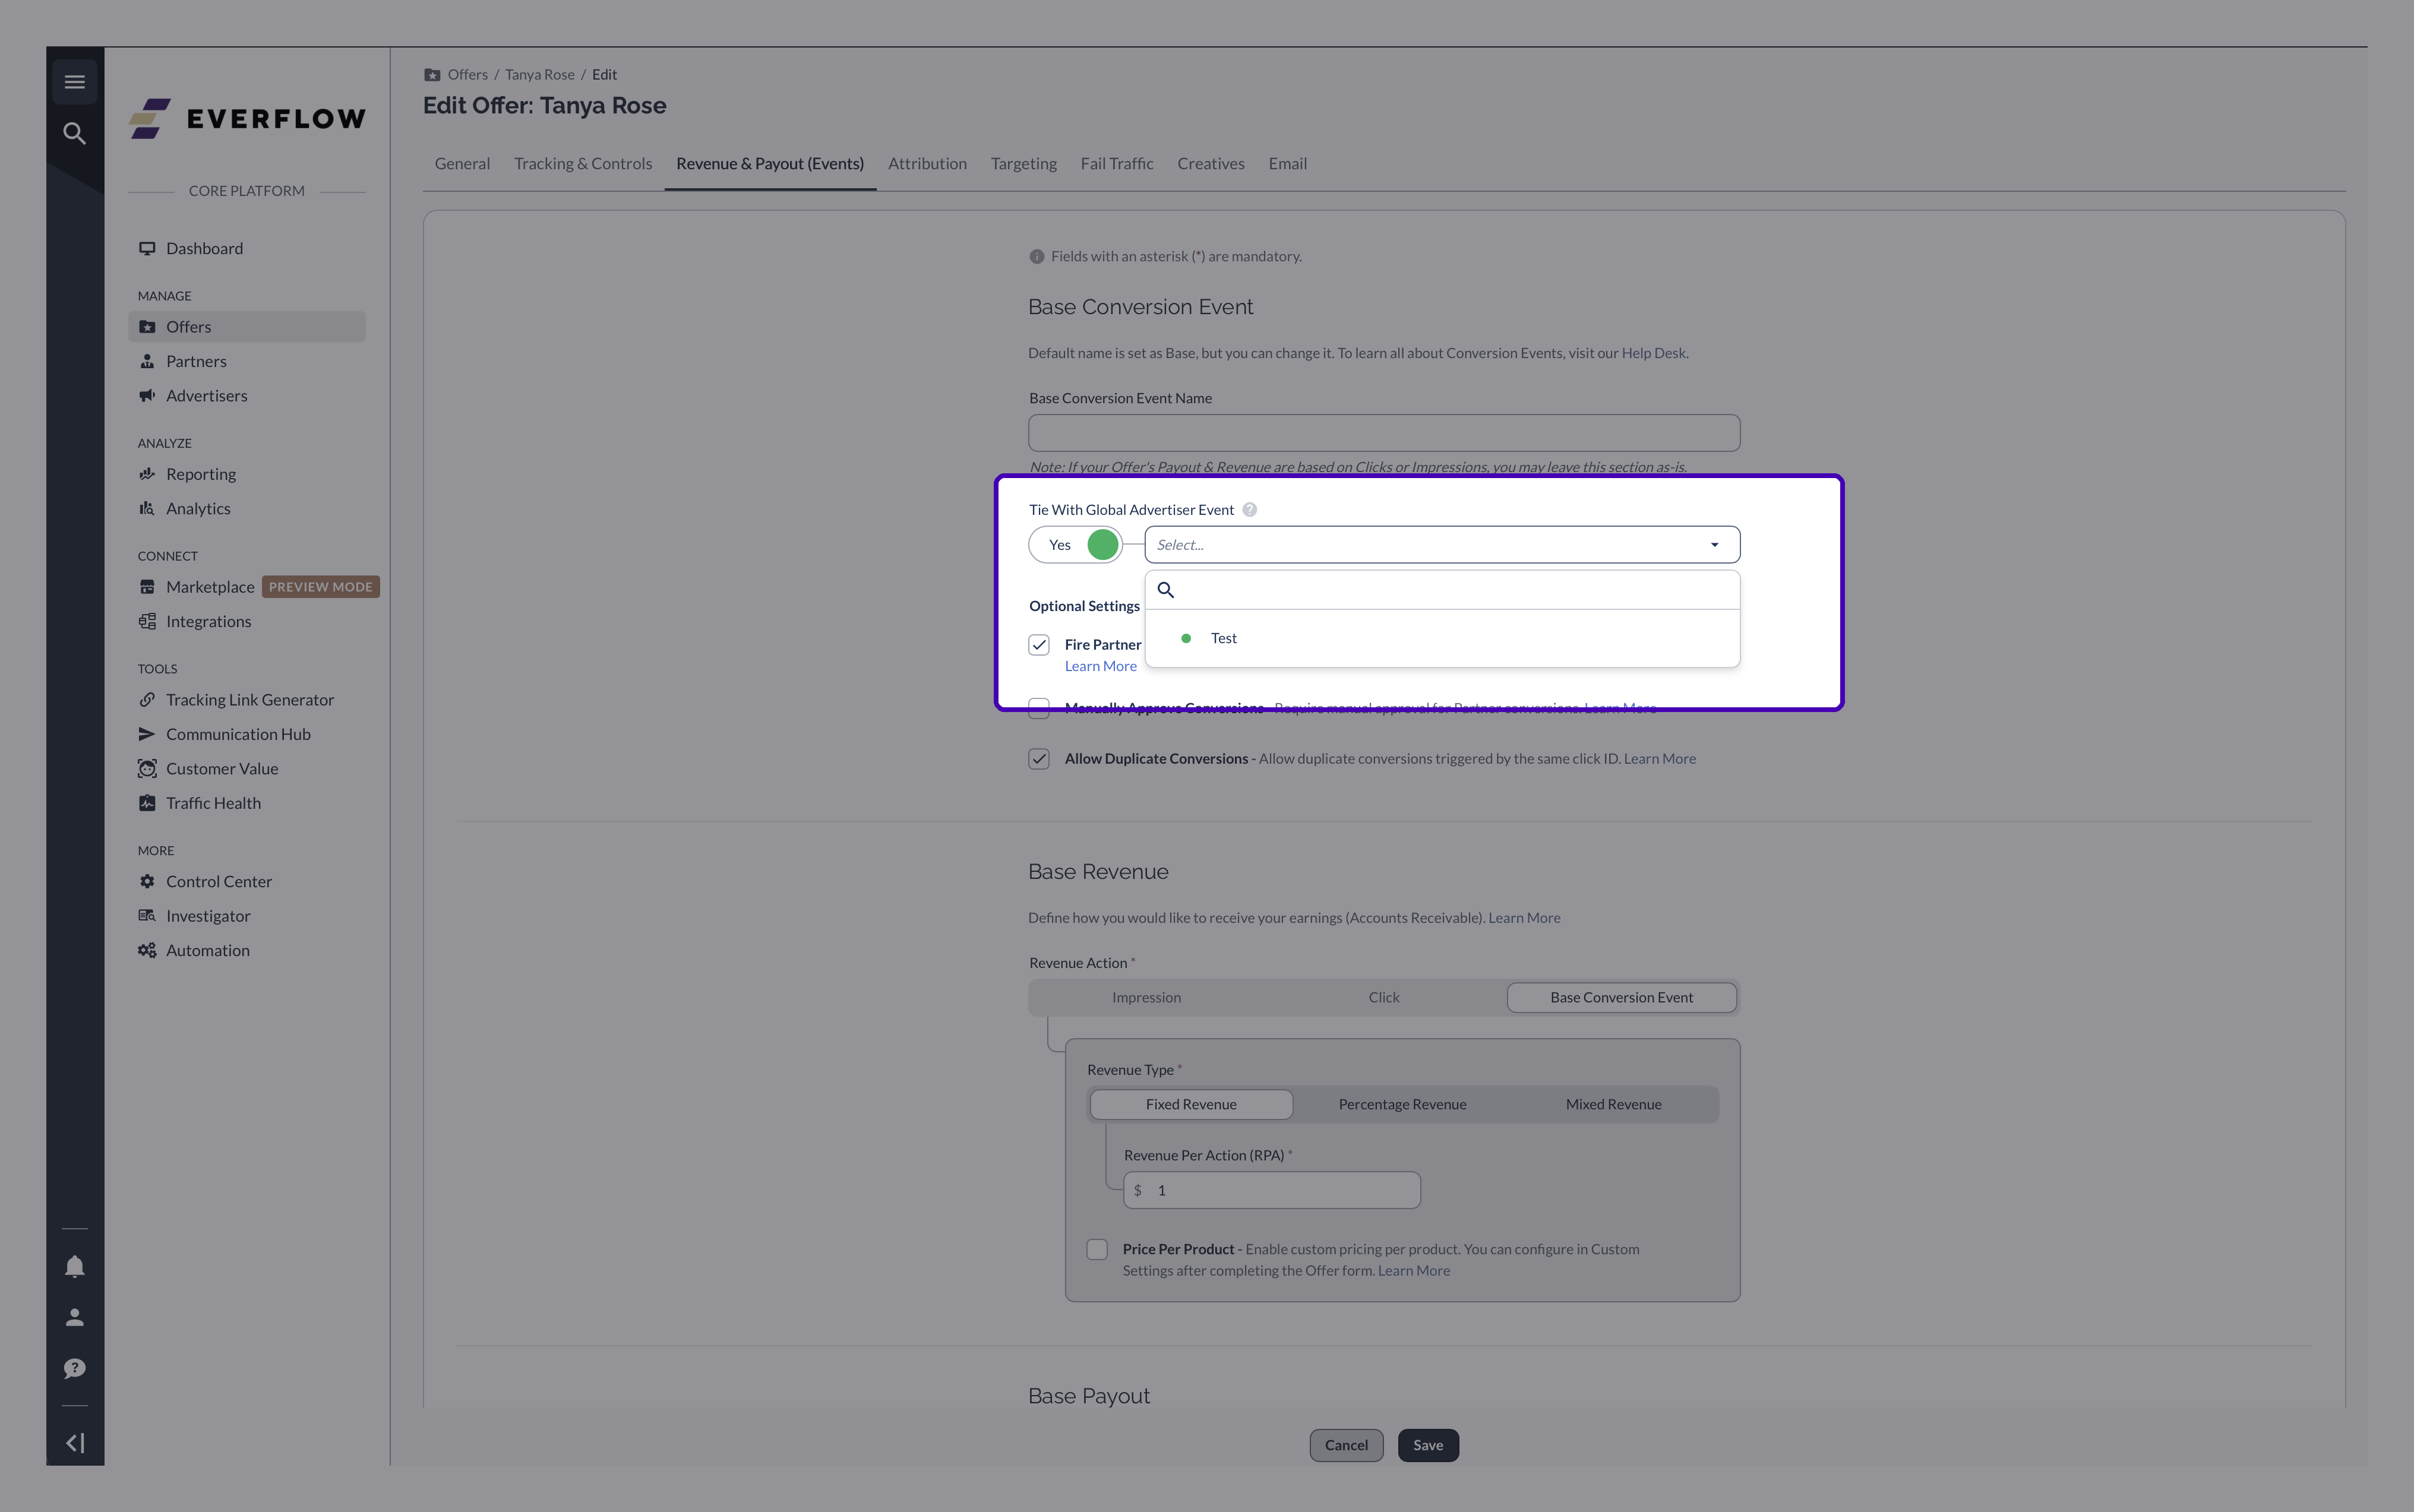
Just under the name field is a No / Yes switch called Tie With Global Advertiser Event. Flip it to Yes and a dropdown appears listing that Advertiser’s global events. Pick one, and this Offer’s base conversion is linked to it.
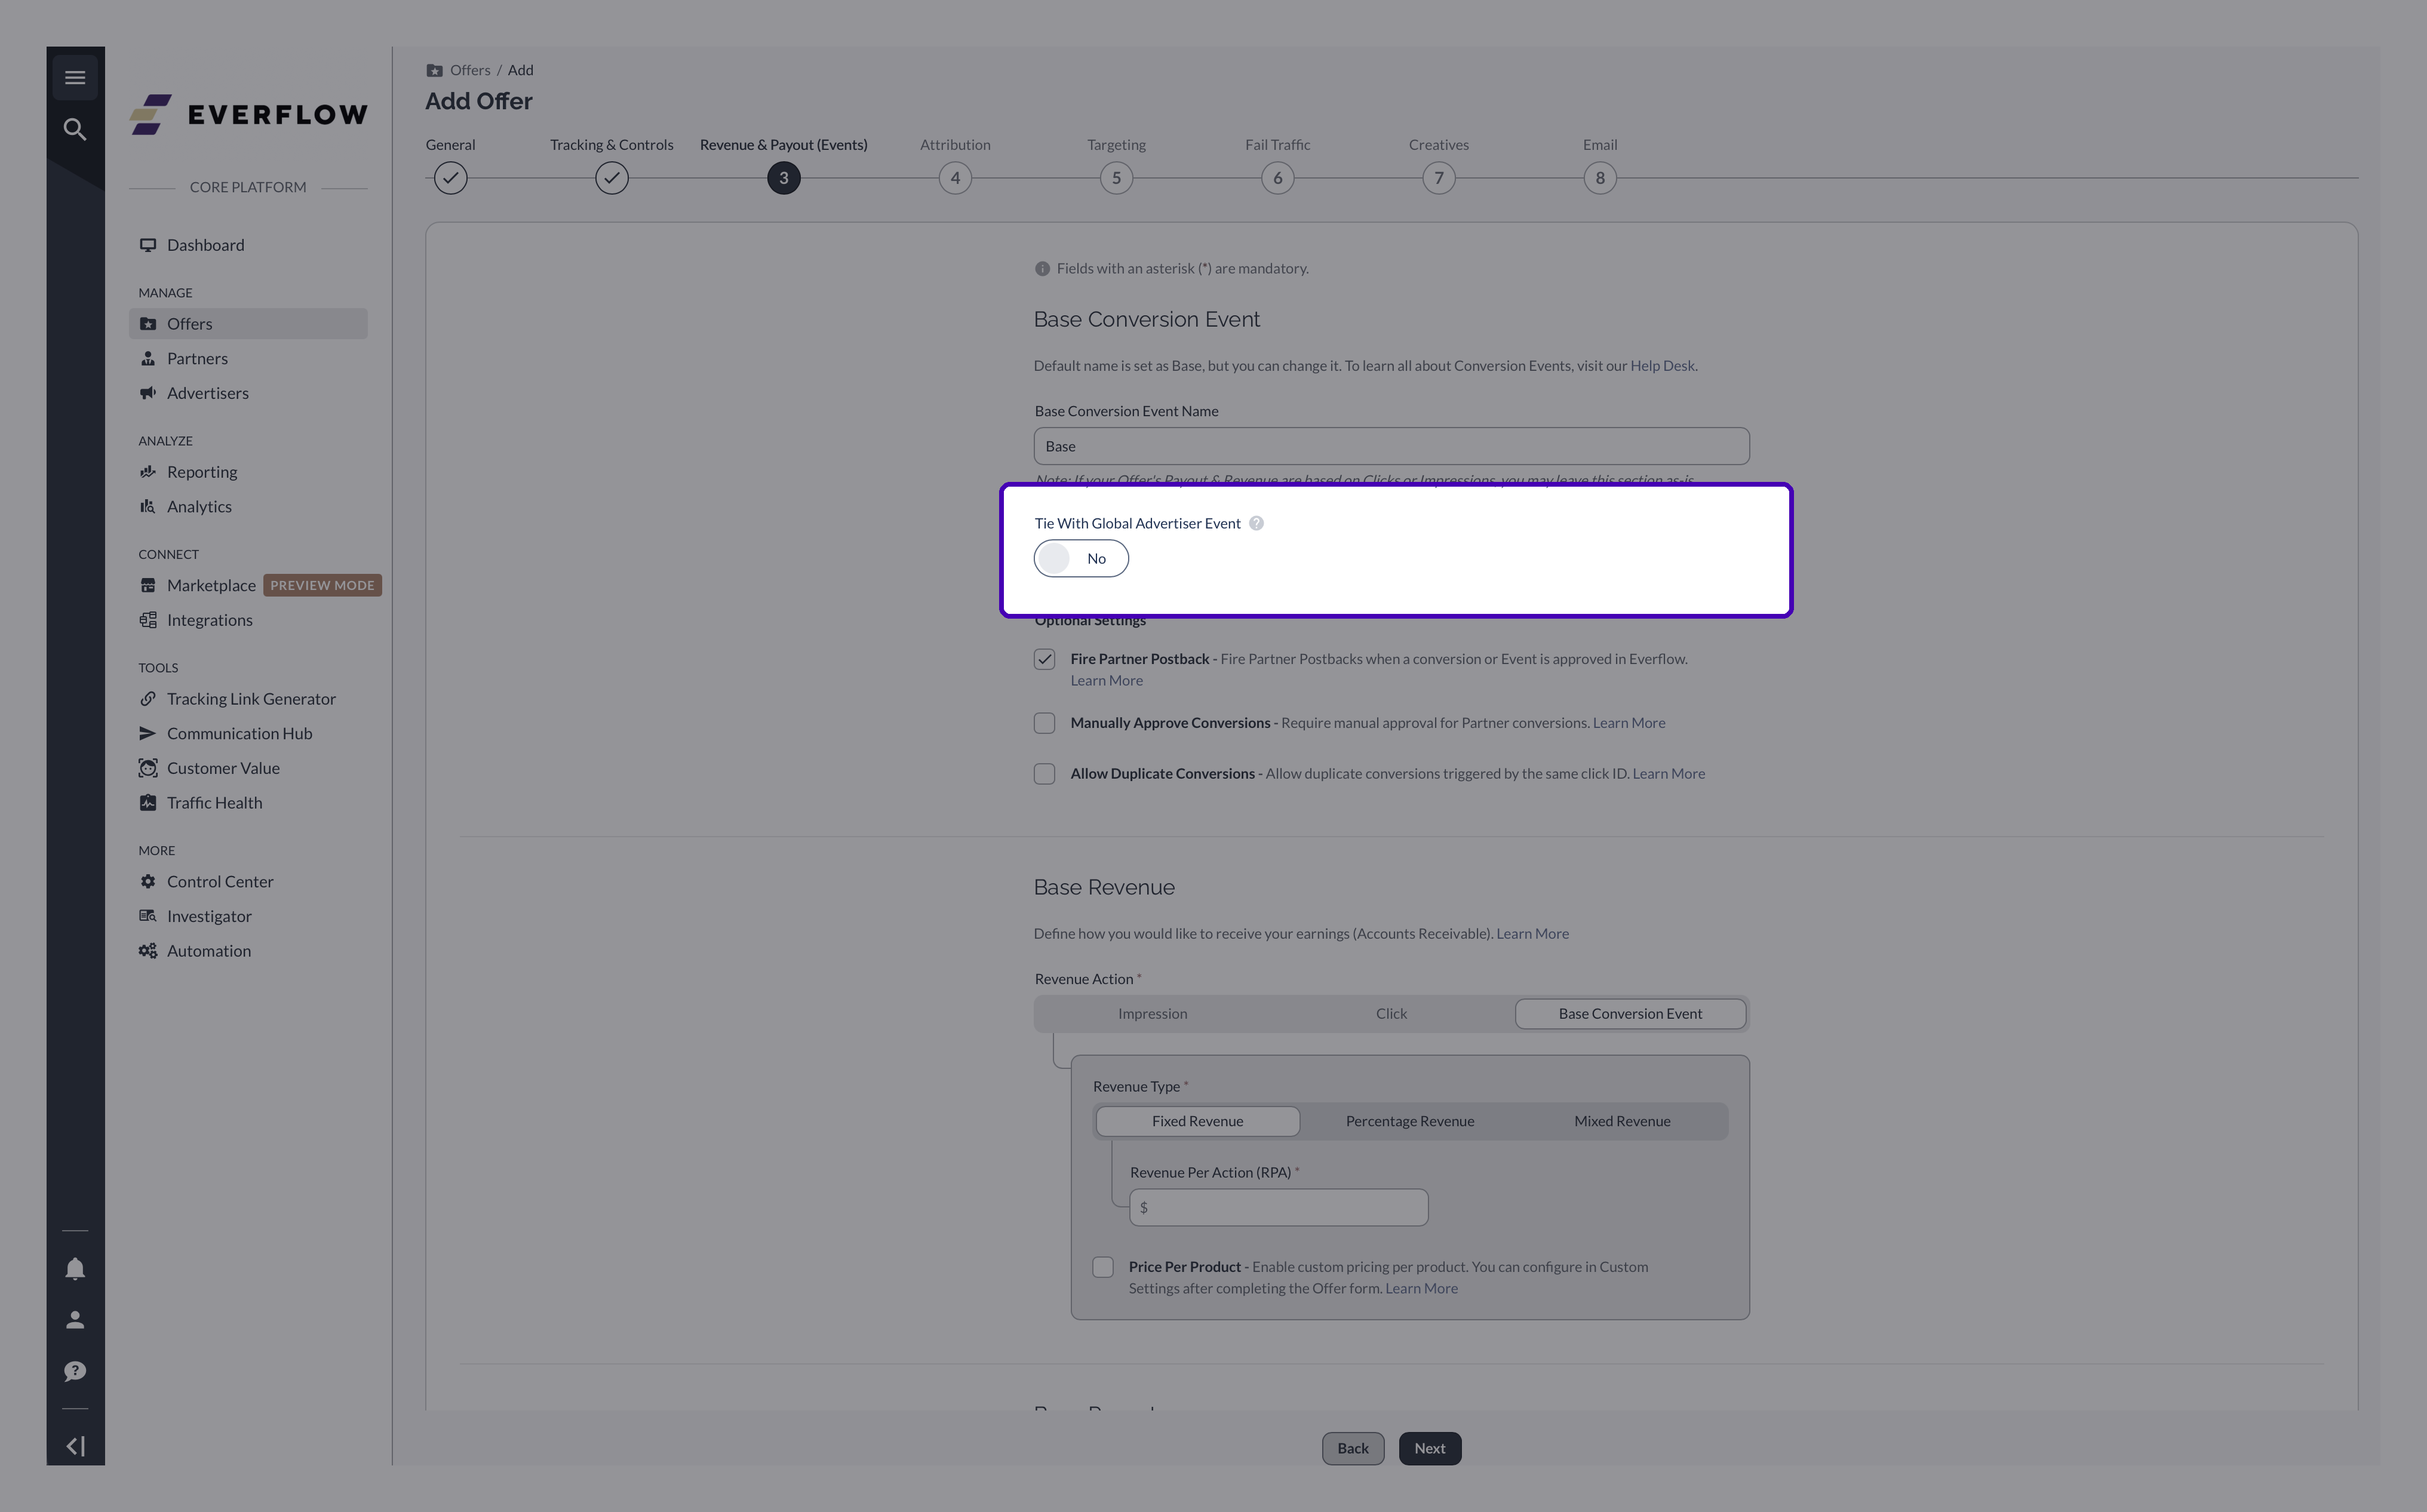
Everflow Edit Offer, Revenue and Payout (Events) tab, with the Tie With Global Advertiser Event switch set to No
The same switch flipped to Yes, revealing an empty Select dropdown for the Global Advertiser Event
The Global Advertiser Event dropdown open, listing the Advertiser's events to pick from

The reason to do this is reach. A Global Advertiser Event is shared by every Offer belonging to that Advertiser, so anything you aim at the event lands on all of them at once. The clearest payoff is Postback Controls: rather than rebuilding the same approve, reject or hold rule on each Offer’s base conversion, tie them all to one event and write the rule a single time. Adding a new Offer later is then just a matter of tying it, and the rule already covers it.
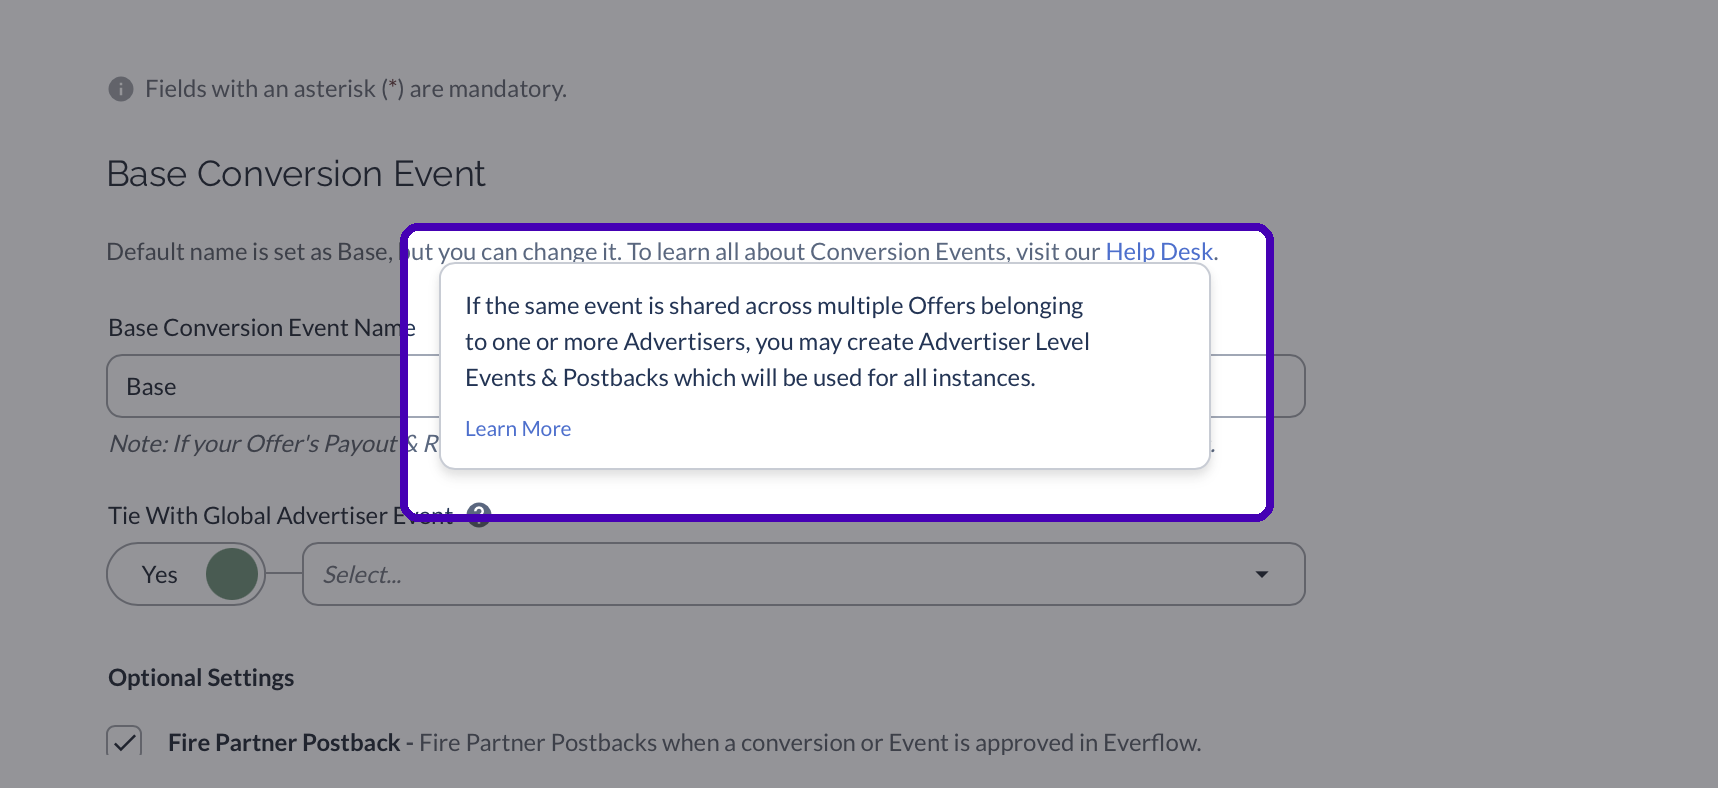
Tooltip on the Tie With Global Advertiser Event field explaining what tying the base conversion does

If none of that applies to you, leave the switch on No. An untied base conversion behaves exactly as it always has.

Not seeing the switch? It only shows up once the Advertiser has at least one global event to offer. Create one first, then come back: How To Create & Assign Advertiser Level Events. The same page covers tying an event on a single Offer and in bulk.

Optional Settings

Fire Partner Postback → Turn on this setting in order to fire a Partner Postbacks each time there is a conversion logged in Everflow associated with the Base Conversion Event Manually Approve Conversion → For every conversion logged in Everflow associated with the Base Conversion Event, require manual approval before converting it into an “approved” payment Allow Duplicate Conversion → If two separate conversions have the exact same Transaction ID, meaning the same click drove both, allow the duplicate conversion to be counted

Revenue & Payout Settings For The Base Conversion Event

Please read this article to learn more in depth about Revenue & Payout settings.

Note The Offer’s Base Payout & Base Revenue doesn’t need to be based on the Base Conversion Event. It usually is, but some Customers like to base their Base Revenue & Payout based on Impressions/Clicks.

Setting Up An Additional Conversion Event

Additional Conversion Events are optional, but many Offers benefit greatly from this functionality.

To create an Additional Conversion Event, follow the instructions earlier to get to the Revenue & Payout (Events) tab in the editing Offer view:

Towards the bottom of the page, click on Add Additional Event

Core Properties

Configure the following core properties:

Additional Event Name → This describes the event Tie With Global Advertiser Event → Enable this option to link this Event to a Global Advertiser Event Event Visibility → If set to Private, Partners will neither be able to see or get a payout for this Additional Conversion Event Revenue Model → Attribute Revenue to this Additional Conversion Event Payout Model → Attribute Partner Payout to this Additional Conversion Event

Additional Settings

All the following apply only to the Additional Conversion Event being added/edited:

Fire Partner Postback → Turn on this setting in order to fire a Partner Postbacks each time there is a conversion logged in Everflow associated with the Additional Conversion Event Manually Approve Conversion → For every conversion logged in Everflow associated with this Additional Conversion Event, require manual approval before converting it into an “approved” payment Allow Duplicate Conversion → If two separate conversions have the exact same Transaction ID, meaning the same click drove both, allow the duplicate conversion to be counted for Enforce Revenue/Payout Cap → Once the Revenue & Payout caps for this Additional Conversion Event are reached, mark any new conversions on this Event as Pending

Revenue & Payout Settings For Additional Conversion Events

Note For all Additional Conversion Events with Public Visibility, Revenue & Payout can be configured. For Private Events, only Revenue can be configured.

Dive deep into Revenue & Payout for Additional Conversion Events here.

Now Make It Track

Creating a Conversion Event does not by itself send anything to Everflow. Once the event exists, the Advertiser has to fire it, and there are two ways to do that depending on how the Offer is tracked.

Javascript SDK: on the Offer’s Tracking card, open the CONVERSION tab and choose the event from the Conversion Event dropdown. Everflow regenerates the script with the event’s ID filled in.Server postback: append adv_event_id or event_id to the postback URL.

Both methods take the same two parameters. adv_event_id is the Advertiser-level ID and works across Offers; event_id is the Offer-level ID. The number shown in brackets in the Conversion Event dropdown is the Offer-level one, and it is not the value the generated script uses, so do not copy it into a hand-written script.

Full syntax and where to find each ID: Accessing & Editing Impression, Click & Conversion Scripts for the SDK, and Accessing & Editing S2S Postback URLs for postbacks.
Next in This Series