
Overview
This guide will demonstrate how to place code inside Webflow to track a lead submission event in Everflow.
How to Set Up in Everflow
Step #1
- Using your website as the Default Landing Page URL, add the Offer in Everflow.
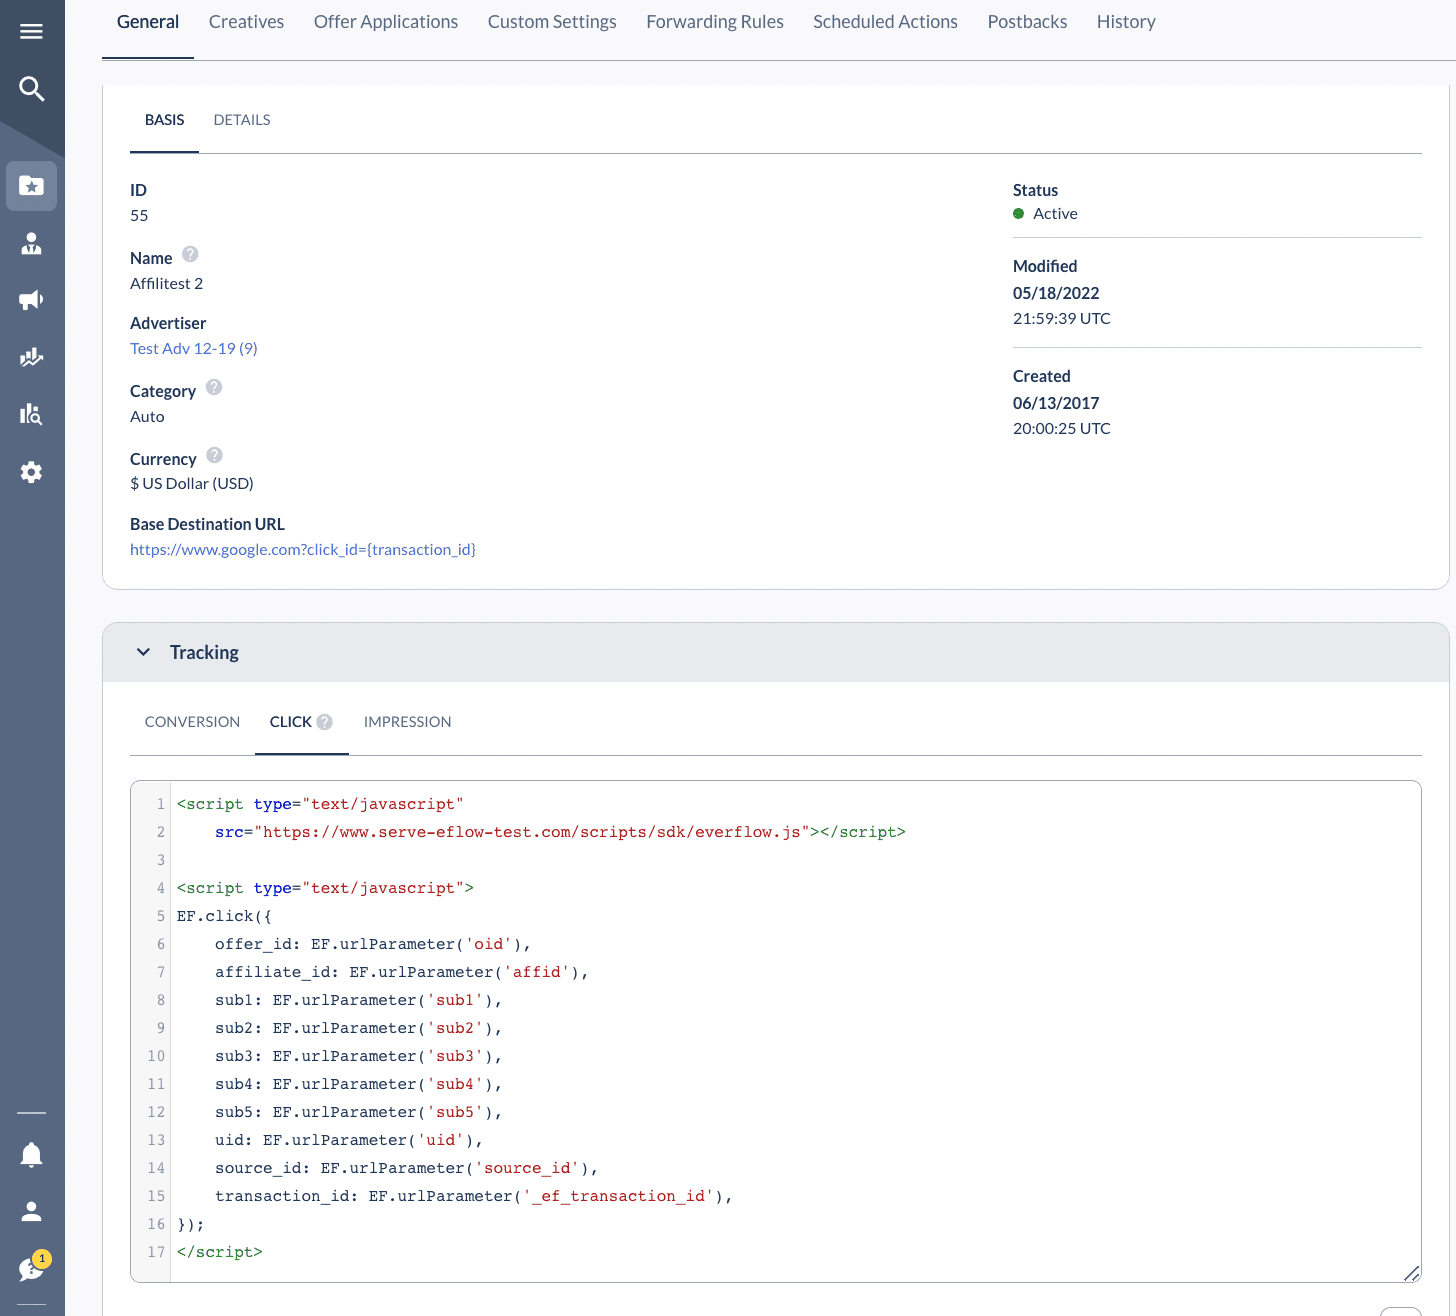
- Make sure the Offer has these settings on the Tracking & Controls page:

Step #2
- Grab the JS code from the bottom of the Offer page in Everflow. Copy it to a clipboard as that will be your "Click" script.
Step #3
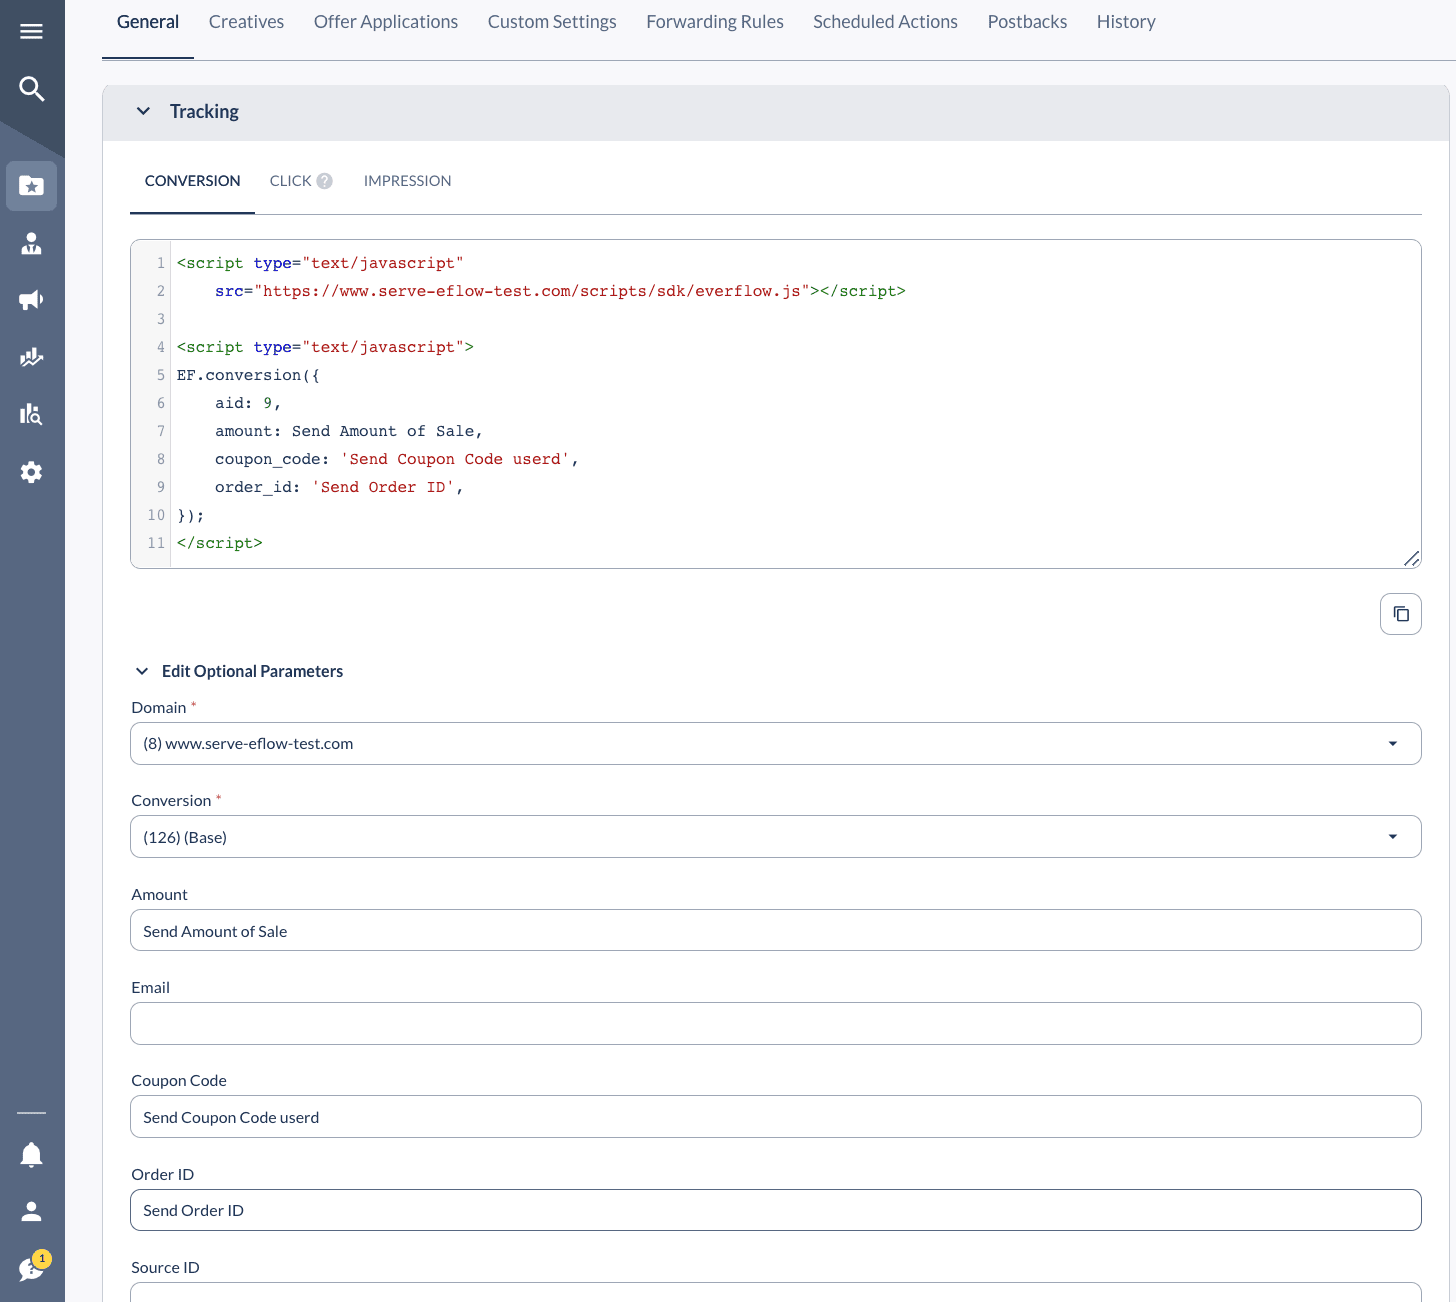
- Click the Conversion tab, and grab that code, too. Copy it to a clipboard as that will be your "Conversion" script:
How to Set Up in Webflow
Step #1
- Login to your Webflow account and click the three dots, as shown below. Then click Settings.

Step #2
- Navigate to the Custom Code section and paste the code into the Head Code section here:
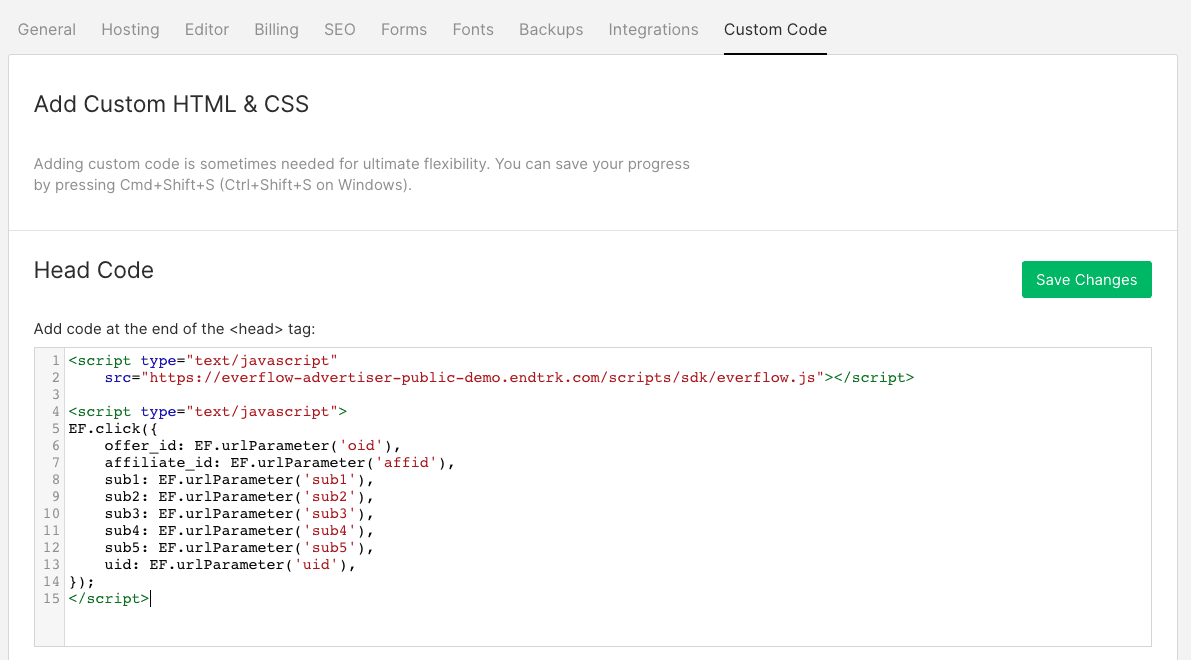
- **Please note - You may have to upgrade you package to place custom code. This is not available with free plans.
Step #3
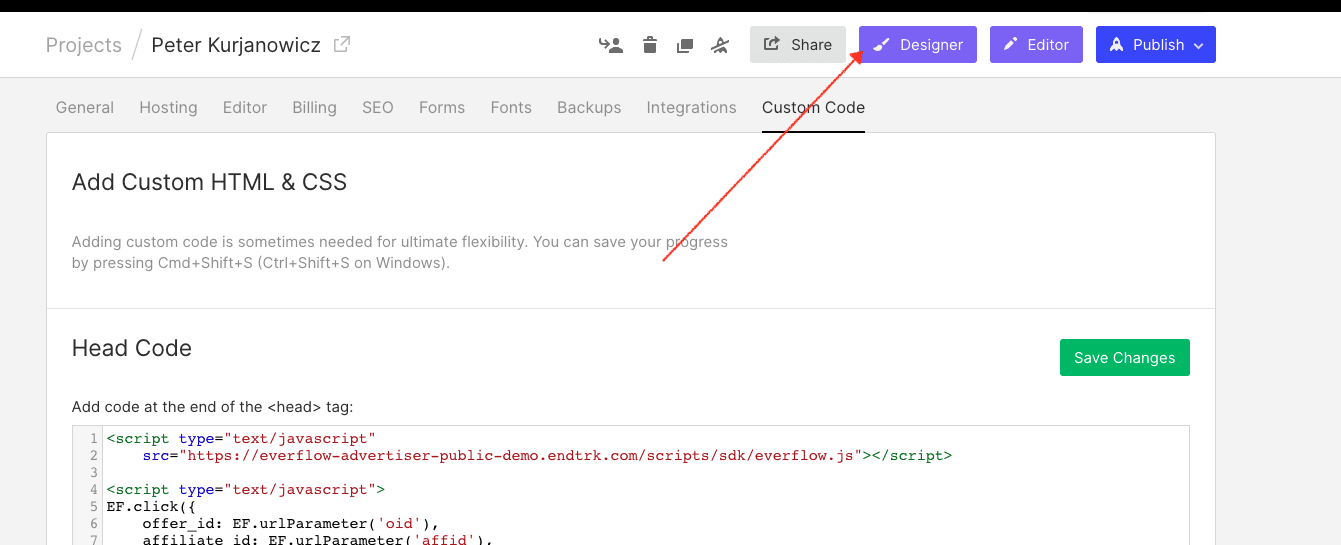
- Click on the Designer button here:
Step #4
- Navigate to the page where the form is located. Then, click on the form block element, like this:
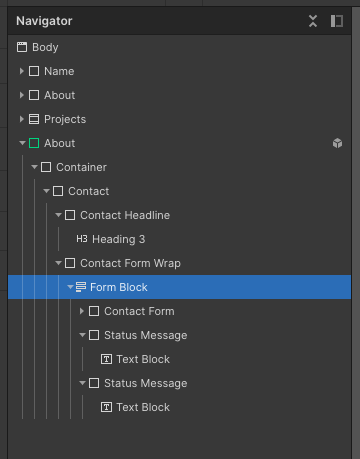
- Then, click on the cog icon on the right side of the screen:
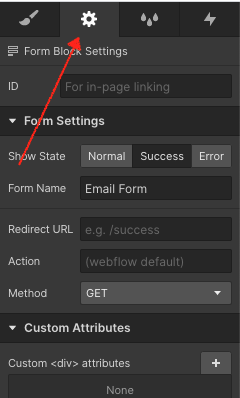
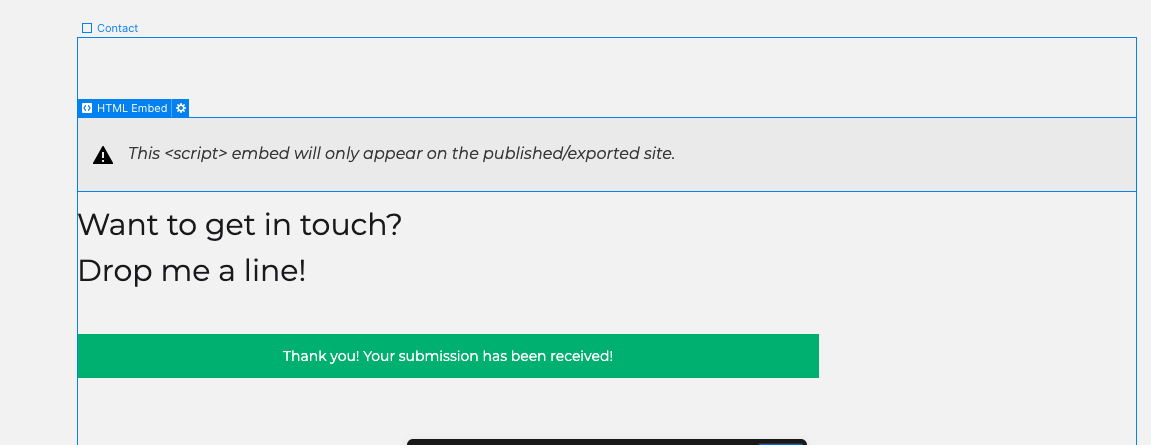
- Then, click Success. This will show the success element in the editor section like this:
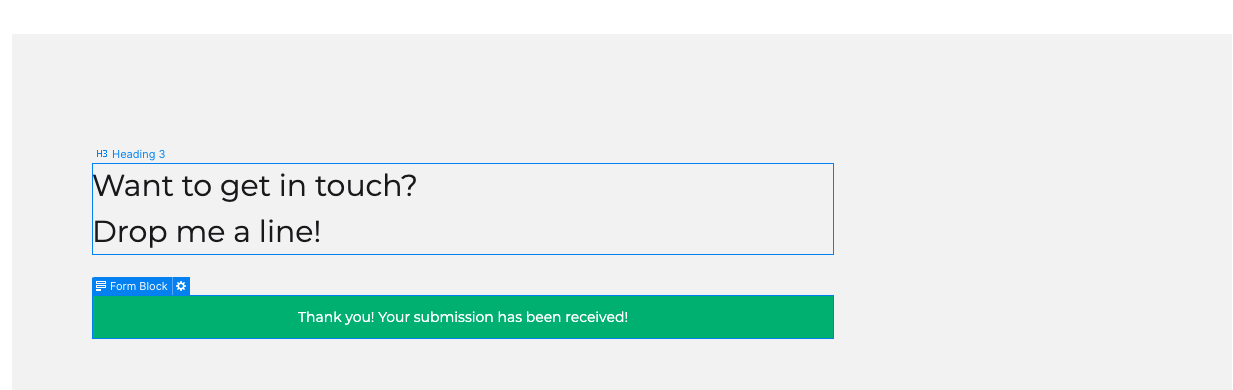
Step #5
- Once you see this page, you need to click and drag in a <embed> element into that section:
- Once you see the Custom Code box, paste the conversion script there:
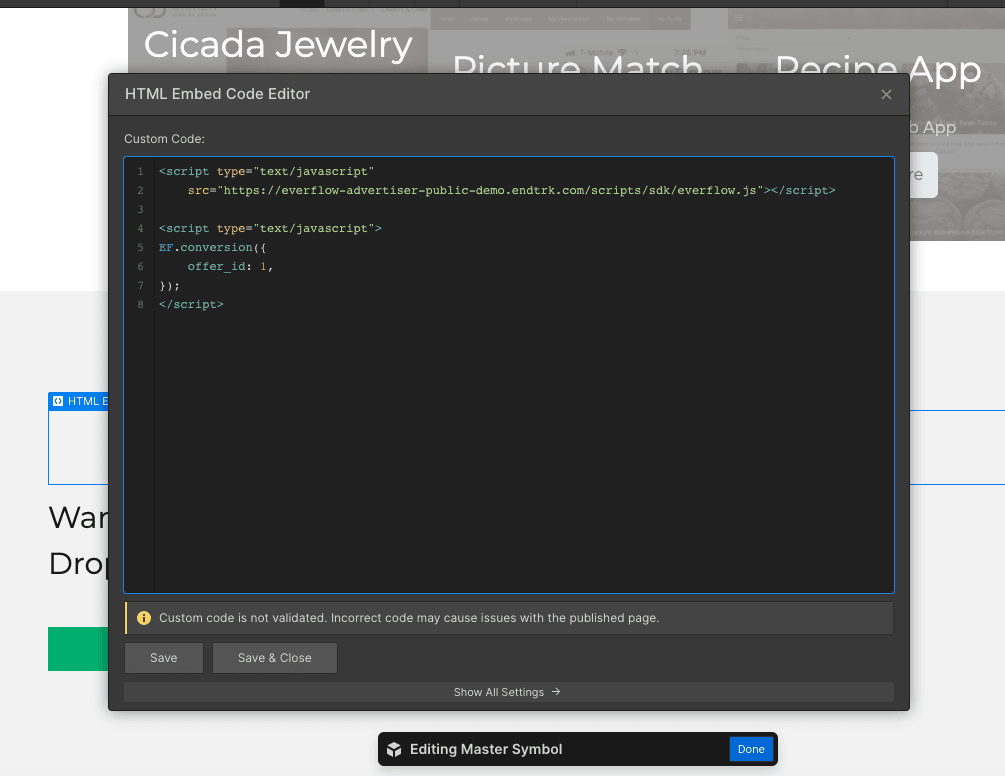
- Click Save & Close.
Step #6
- The page should look like the example below. If it does, then click the Publish button, then click Publish to selected domains.
Advanced
- Below is the custom JavaScript snippet from the end of the video at the beginning of the article:


