
What is a Data Deletion Request?
A data deletion request occurs when a user (affiliate user, advertiser user, or one of your employees) asks to have their personal information removed from your system. This typically happens due to privacy regulations and data protection laws.
What Stays Intact (Business Information)
- Partner/Advertiser/Network accounts - Company names, billing information, physical addresses
- Account status and permissions - Business account status remains unchanged
- All reporting data and statistics - Performance metrics and analytics
- Invoices and financial records - All business transaction history
- Business audit trails - History of modifications to business entities (offers, campaigns, etc.)
What Gets Anonymized by User Type
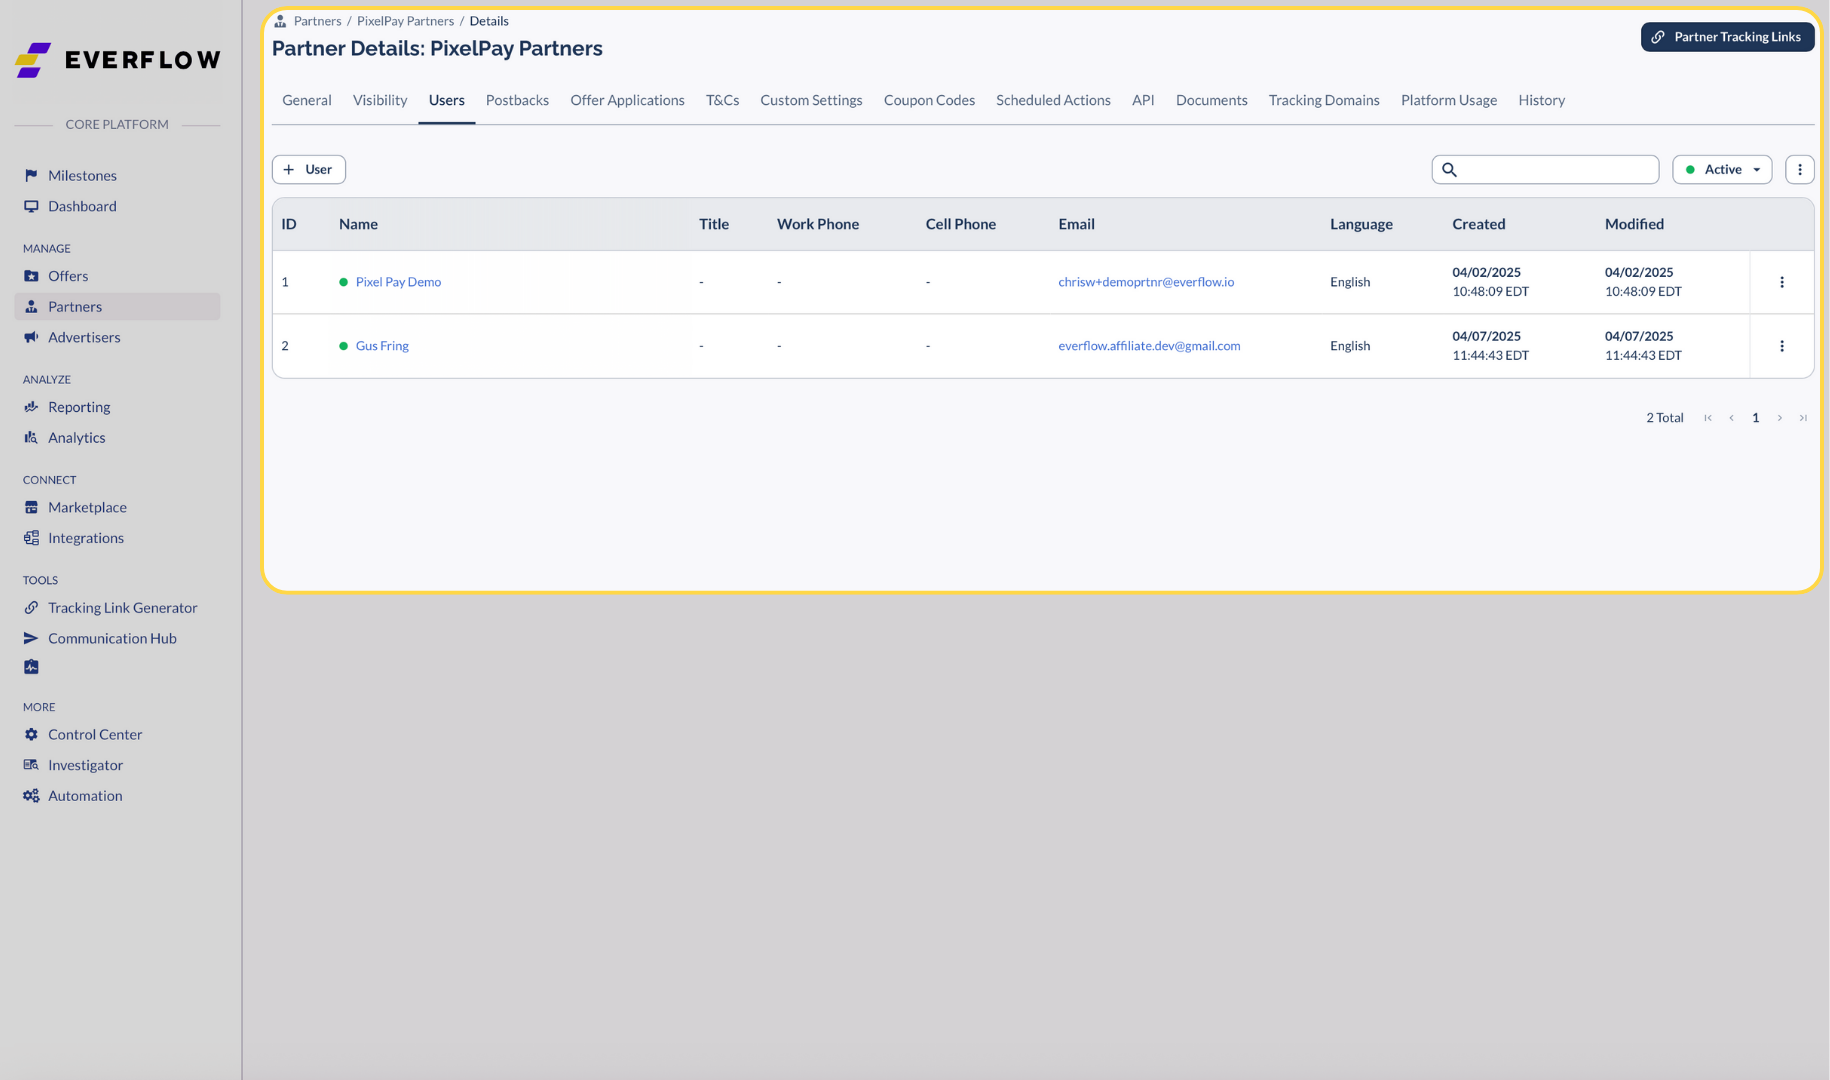
Partner/Affiliate Platform Users
Profile Information:
- First name, last name
- Phone numbers (work and cell)
- Instant message type and identifier
- Language preference
- Email address (changed to <unique-id>@invalid-anonymized.io)
- Password (reset)
- Account status (set to inactive)
Signup Information:
- First name, last name, email, phone
- User agent and IP address from registration
- Responses to any custom fields defined by your network
Login Activity:
- Browser user agent and IP addresses (only for this user)
Security Settings:
- All multi-factor authentication (MFA) methods
Advertiser Platform Users
Profile Information:
- First name, last name
- Phone numbers (work and cell)
- Instant message type and identifier
- Language preference
- Email address (changed to <unique-id>@invalid-anonymized.io)
- Password (reset)
- Account status (set to inactive)
Signup Information:
- First name, last name, email, phone
- User agent and IP address from registration
- Responses to any custom fields defined by your network
Login Activity:
- Browser user agent and IP addresses (only for this user)
Security Settings:
- All multi-factor authentication (MFA) methods
Core Platform Users (Employees)
Profile Information:
- First name, last name
- Work phone, cell phone
- Job title
- Instant message ID and identifier
- Profile picture (if any)
- City, region, country
- Email address (changed to <unique-id>@invalid-anonymized.io)
- Password (reset)
- Account status (set to inactive)
Login Activity:
- IP addresses and user agent for all logins
Security Settings:
- All multi-factor authentication (MFA) methods
How to Anonymize a User
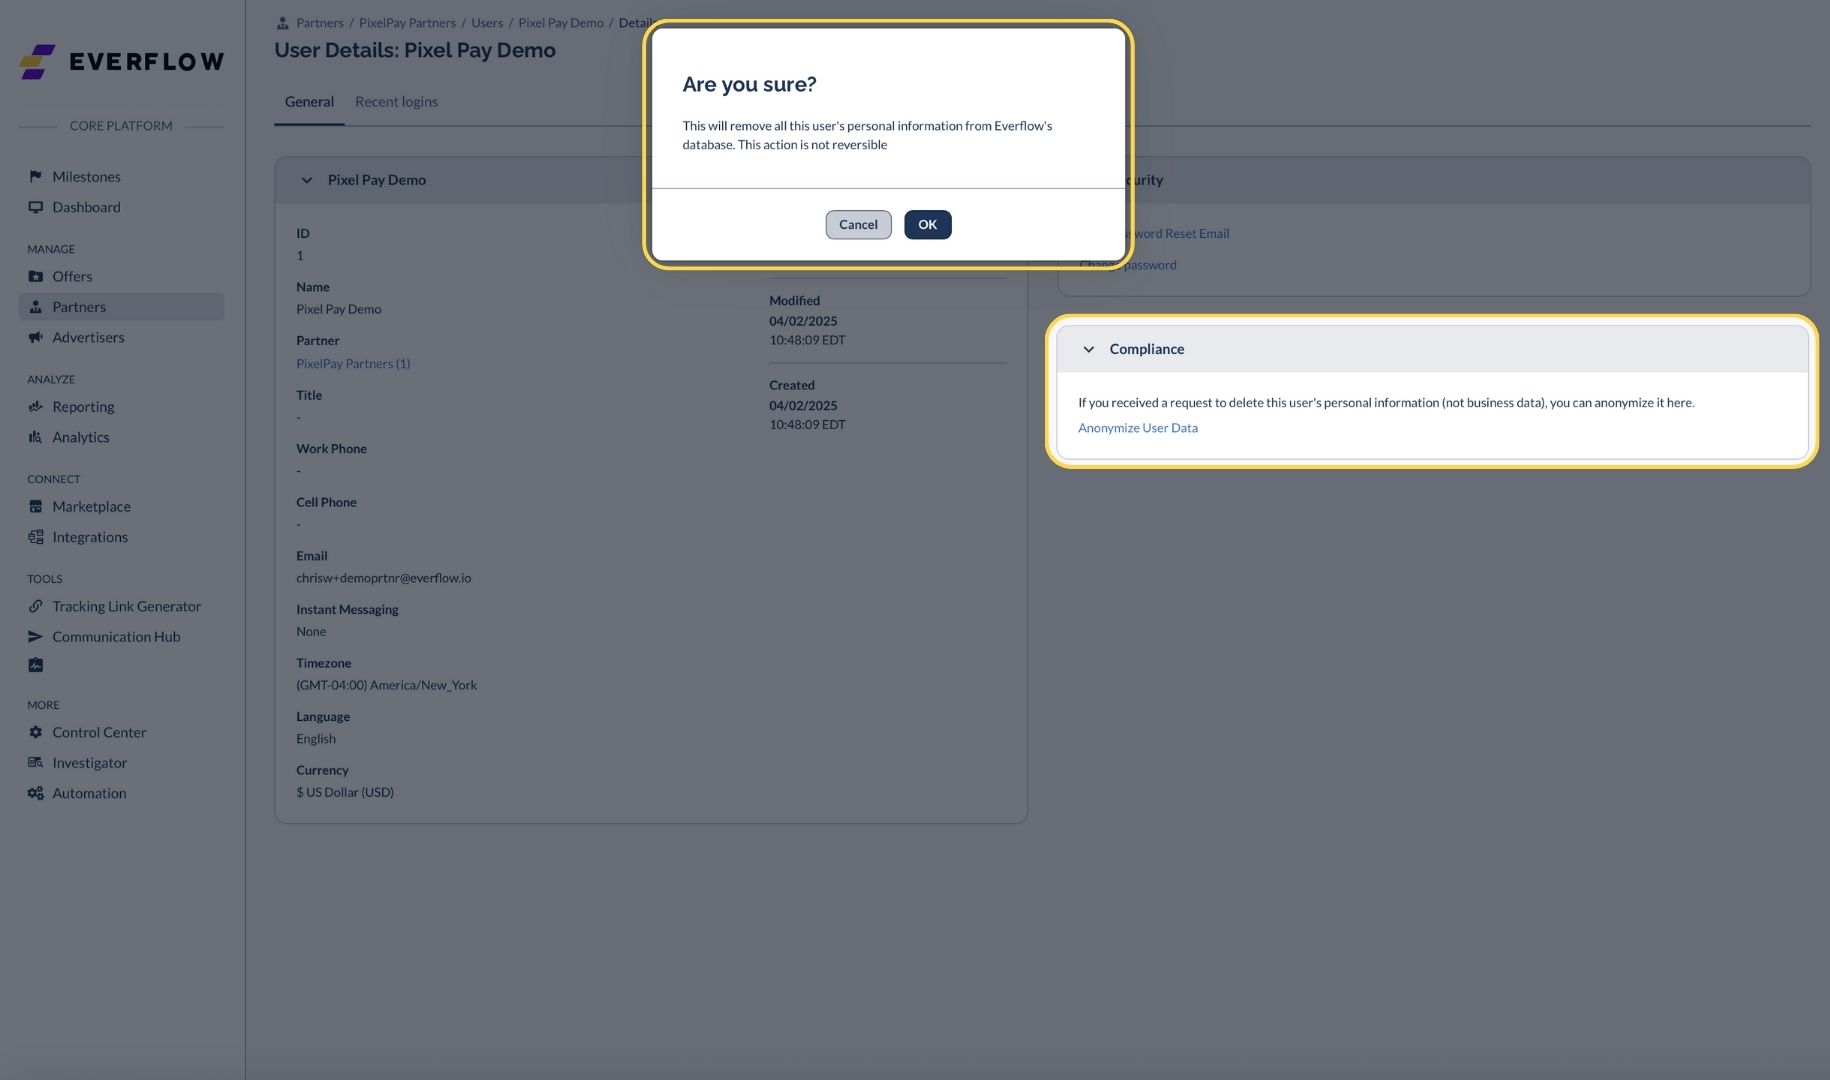
What Happens After Anonymization
Once you confirm, the system will immediately:
- Replace personal identifiers with anonymous placeholders
- Change the email to a format like abc123@invalid-anonymized.io
- Reset the user's password (they won't be able to log in)
- Set the account to inactive
- Clear login history and tracking data
- Remove any saved authentication methods
The user will no longer be able to access your system, but all business relationships and data remain unchanged.
When to Use This Feature
Use the anonymization feature when:
- A user explicitly requests data deletion
- You're required by privacy regulations to remove personal data
- You've confirmed the request is legitimate and authorized
Network-Level Data Retention
User anonymization (above) handles individual people requesting their personal data be removed. Network-level retention is different — it covers what happens to the entire customer account when the relationship with Everflow ends.
The 6-month policy
When a customer account is deactivated, Everflow retains the account's data for 6 months after the deactivation date and then deletes it automatically. This 6-month window matches Everflow's documented Data Retention Policy.
The Customer Data Deletion Planned Date warning
From the moment a customer account is archived, the platform displays a Customer Data Deletion Planned Date on the account, calculated as time_deactivated + 6 months. The warning is visible immediately on archive (not 6 months later) so the full window is transparent to anyone working with the account.
What gets deleted at the network level
When the planned date is reached, the platform removes:
If the customer reactivates before the planned date
Re-activating an archived account before the planned date stops the deletion clock. The account, its data, and the Customer Data Deletion Planned Date warning all return to active state.
Need Help?
If you're unsure about a data deletion request or need assistance with the anonymization process, contact Everflow support for guidance.


