Overview
Understanding how to accurately track conversions is crucial for optimizing your offers and campaigns. Everflow's HTML pixel tracking provides a powerful and flexible solution for gaining precise insights into user behavior and conversion events. This article will guide you through the process of implementing and utilizing HTML pixels.
What Is the HTML Pixel?
Essentially, it's a tiny, often invisible, piece of code (an HTML image tag) placed on a webpage or within an email.
How To Access A Pixel
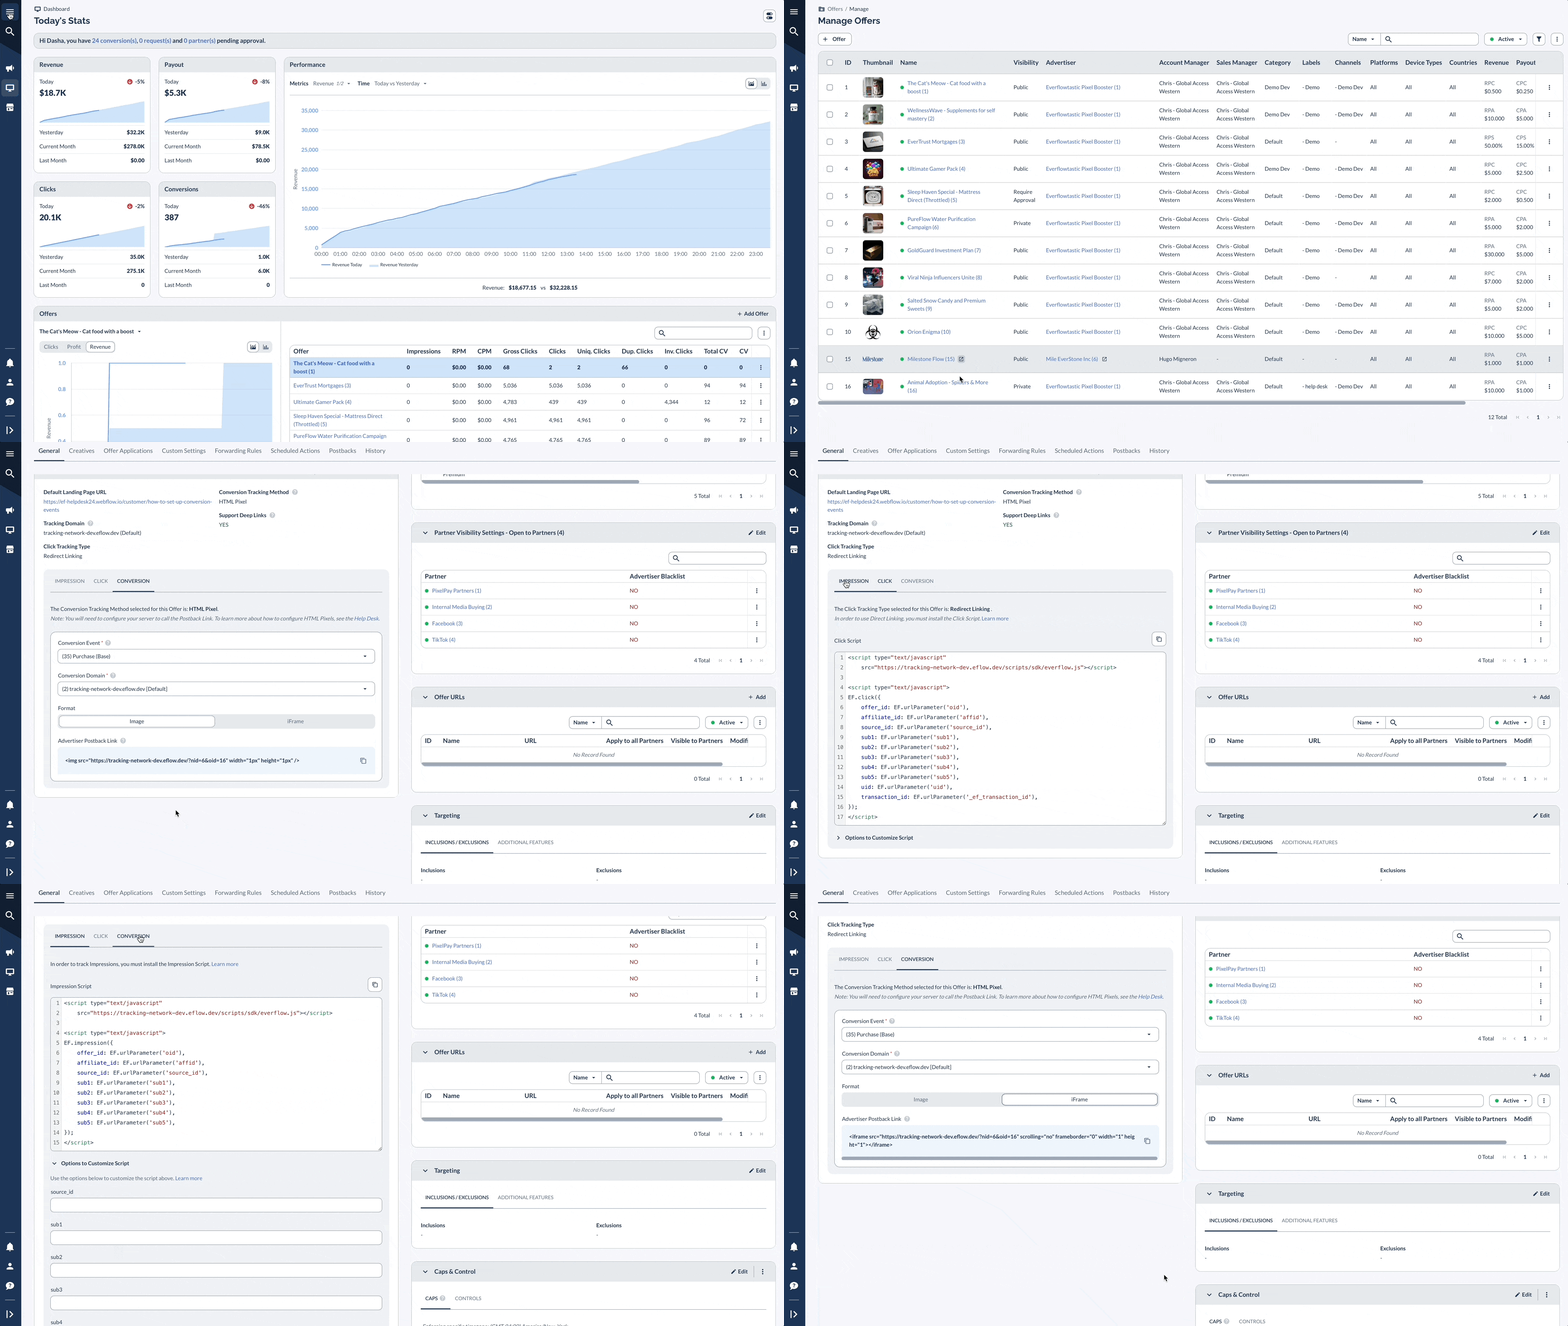
In order to access an HTML Pixel for a specific Offer:

How The HTML Pixel Works
Install The Pixel
If you’re a Network or Agency, you’ll have to work with your Advertiser (the person who owns the landing page) to install the Pixel.
The Advertiser needs to embed the HTML Pixel on the confirmation page of an Offer (the page displayed after the Conversion Event has occurred). The pixel will load a hidden image or iFrame depending on the Pixel format you’ve chosen, and won’t affect the UI.
How The HTML Pixel Tracks A Conversion Event
Once the Pixel is installed, the tracking journey begins. Generally HTML Pixels are used with Redirect Linking.
Once a Visitor, sees an Ad (Tracking Link), here’s what happens next:
- The Visitor clicks on the Tracking Link, which redirects the Visitor to the Default Landing Page for the Offer associated with that Tracking Link
- The Redirect Tracking Link will direct to your Tracking Domain that records the Click & generates a Transaction ID
- This Transaction ID is stored as a Cookie on the Tracking Domain (Third-Party Cookie)
- The Visitor ends up converting, and the Confirmation Page is shown (where the Pixel has been embedded)
- The Pixel loads and in the process of loading, the Pixel sends some parameters relating to the Customer, Offer & Transaction (optional params), which Everflow will use, in tandem with the Third Party Cookie set earlier on the Tracking Domain, to identify the Partner who drove the Click and attribute this Conversion to that Partner.
This completes the Conversion Tracking flow via the HTML Pixel Tracking Method.
Pixel Formats
Pixels can be embedded as one of two formats, as an Image or an iFrame.
As An Image
<img src="https://{tracking-domain.com}/?nid={network_id}&oid={offer_id}" width="1px" height="1px" />
As An iFrame
<iframe src="https://{tracking-domain.com}/?nid={network_id}&oid={offer_id}" scrolling="no" frameborder="0" width="1" height="1"></iframe>
Associated Macros
Both the image tag and the iFrame formats pass on the same information to Everflow, which helps with tracking:
- Tracking Domain: This is the Tracking Domain that was selected when generating the HTML Pixel in the Core Platform
- NID: Your Customer ID, also known as Network ID, this is prefilled when you fetch the HTML Pixel for installation
- OID: The Offer ID associates the Conversion Event with the correct Offer via this field, it’s also prefilled when you fetch the HTML Pixel for installation


