
Overview
This guide outlines how to track conversions from Awin in Everflow.
It includes steps for setting up Offers in Everflow and configuring Awin’s Transaction Notification system to pass data back to Everflow via postbacks.
Offer Setup: Everflow
Step 1: Add a New Offer
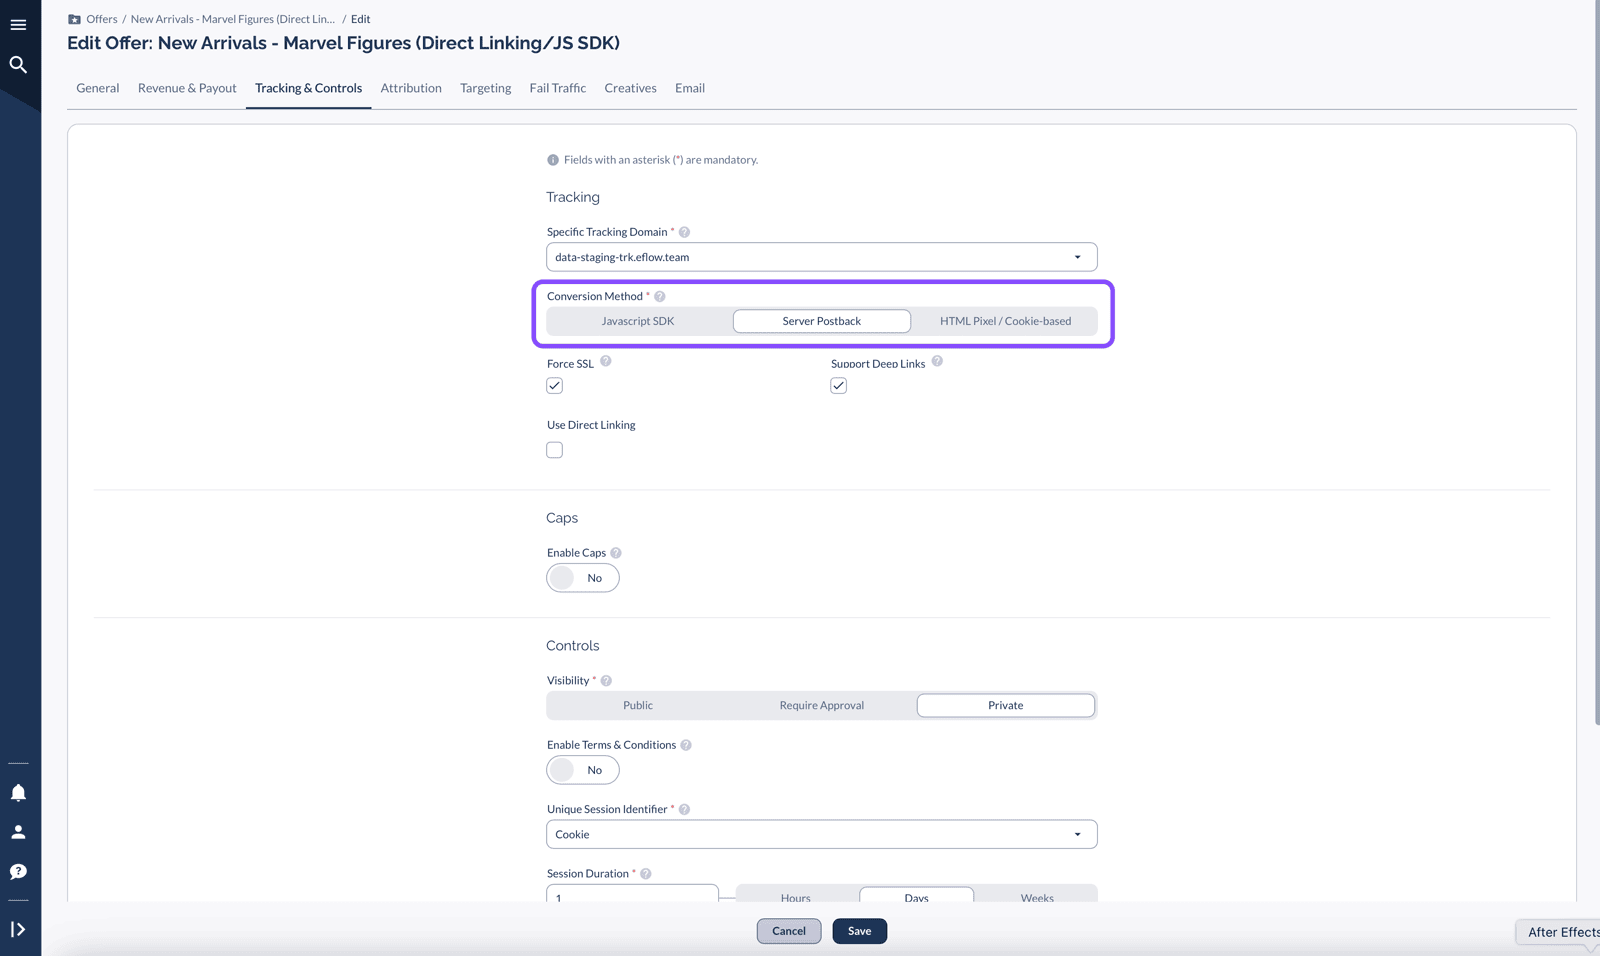
Create a new Offer in Everflow.
On the Tracking & Controls page, select Server Postback as the Conversion Method.
Step 2: Configure the Tracking Link
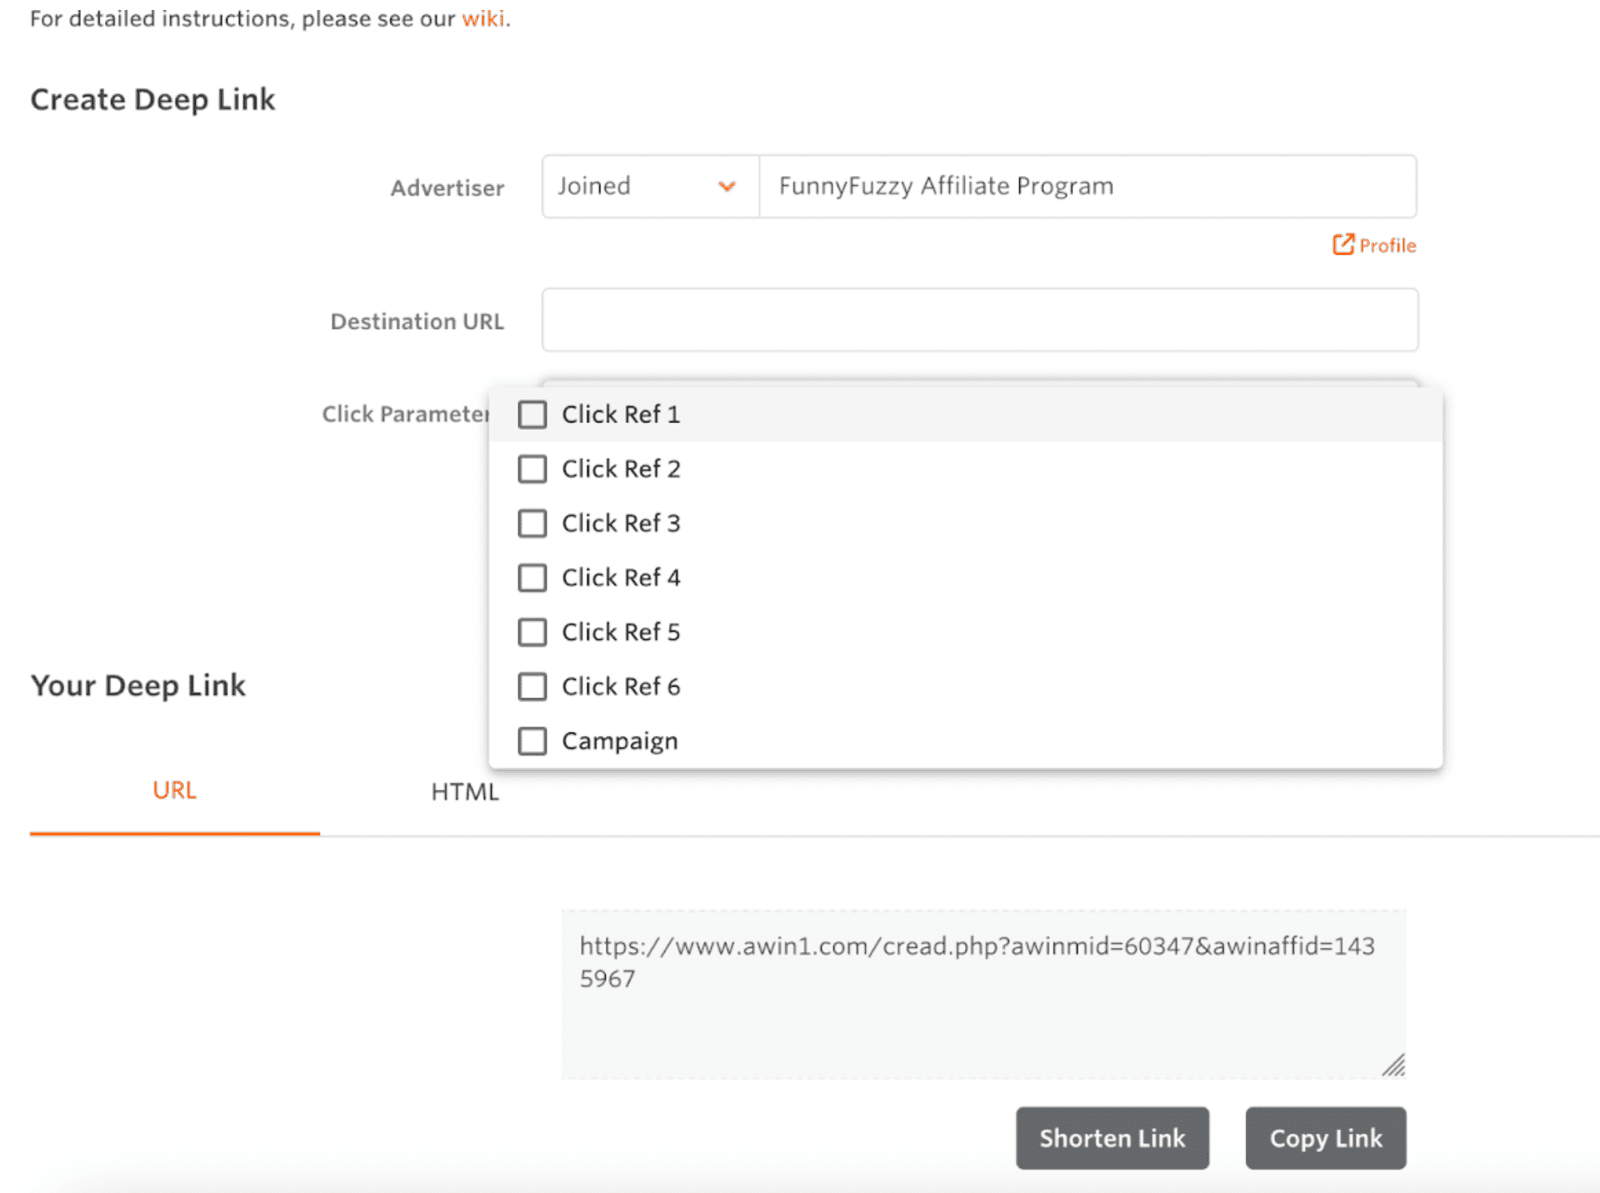
The tracking link from Awin should be set as your Default Landing Page URL.
Example Awin Tracking Link:
Ensure you append the correct parameter to pass the transaction ID (TID) from Everflow to Awin.
Step 3: Copy and Adjust the Postback URL
Once the Offer is created, copy the Everflow postback URL from the Offer page.
You will need to adjust it to pass the transaction ID when a conversion occurs.
Postback Setup: Awin
Step 1: Locate the Transaction Notification Settings
- Log into your Awin account.
- Navigate to the Advanced Settings section.
- Find the Transaction Notification settings.
Step 2: Configure the Call-back URL
Enter the Everflow postback URL in the Call-back URL field. Make sure to use GET as the Call-back method.
Example Awin Call-back URL:
Step 3: Additional Macros
- You can utilize other Awin !!!clickRef2!!! to !!!clickRef6!!! macros to pass additional sub-parameters to Everflow if needed, by appending them as extra parameters to your Everflow postback URL.
Check Awin’s documentation and the full list of Placeholders below.
Step 4: Save Changes
Click Submit to save your settings. A confirmation message should appear stating, “Your Changes Have Been Successfully Saved.”


