Home
Integrations Library
MMP, App, & PPC Integrations
Adjust Direct Integration

SERIES:

Adjust Direct Integration

Connect your Adjust account to Everflow for unified mobile app reporting, automatic data syncing, and streamlined campaign management without complex postback setups.

Overview

The Adjust integration lets you bring all your mobile app performance data directly into Everflow without complex postback setups. You'll get unified reporting across all your campaigns, cleaner attribution, and save hours of manual configuration work.

Instead of juggling multiple dashboards, you can view everything in one place: map Adjust campaigns to Everflow offers, track partners who don't use Everflow links, and get complete visibility into your mobile performance data. Plus, clicks from this direct integration don't count toward your Everflow billing.

This guide shows you how to connect your Adjust account to Everflow step by step.
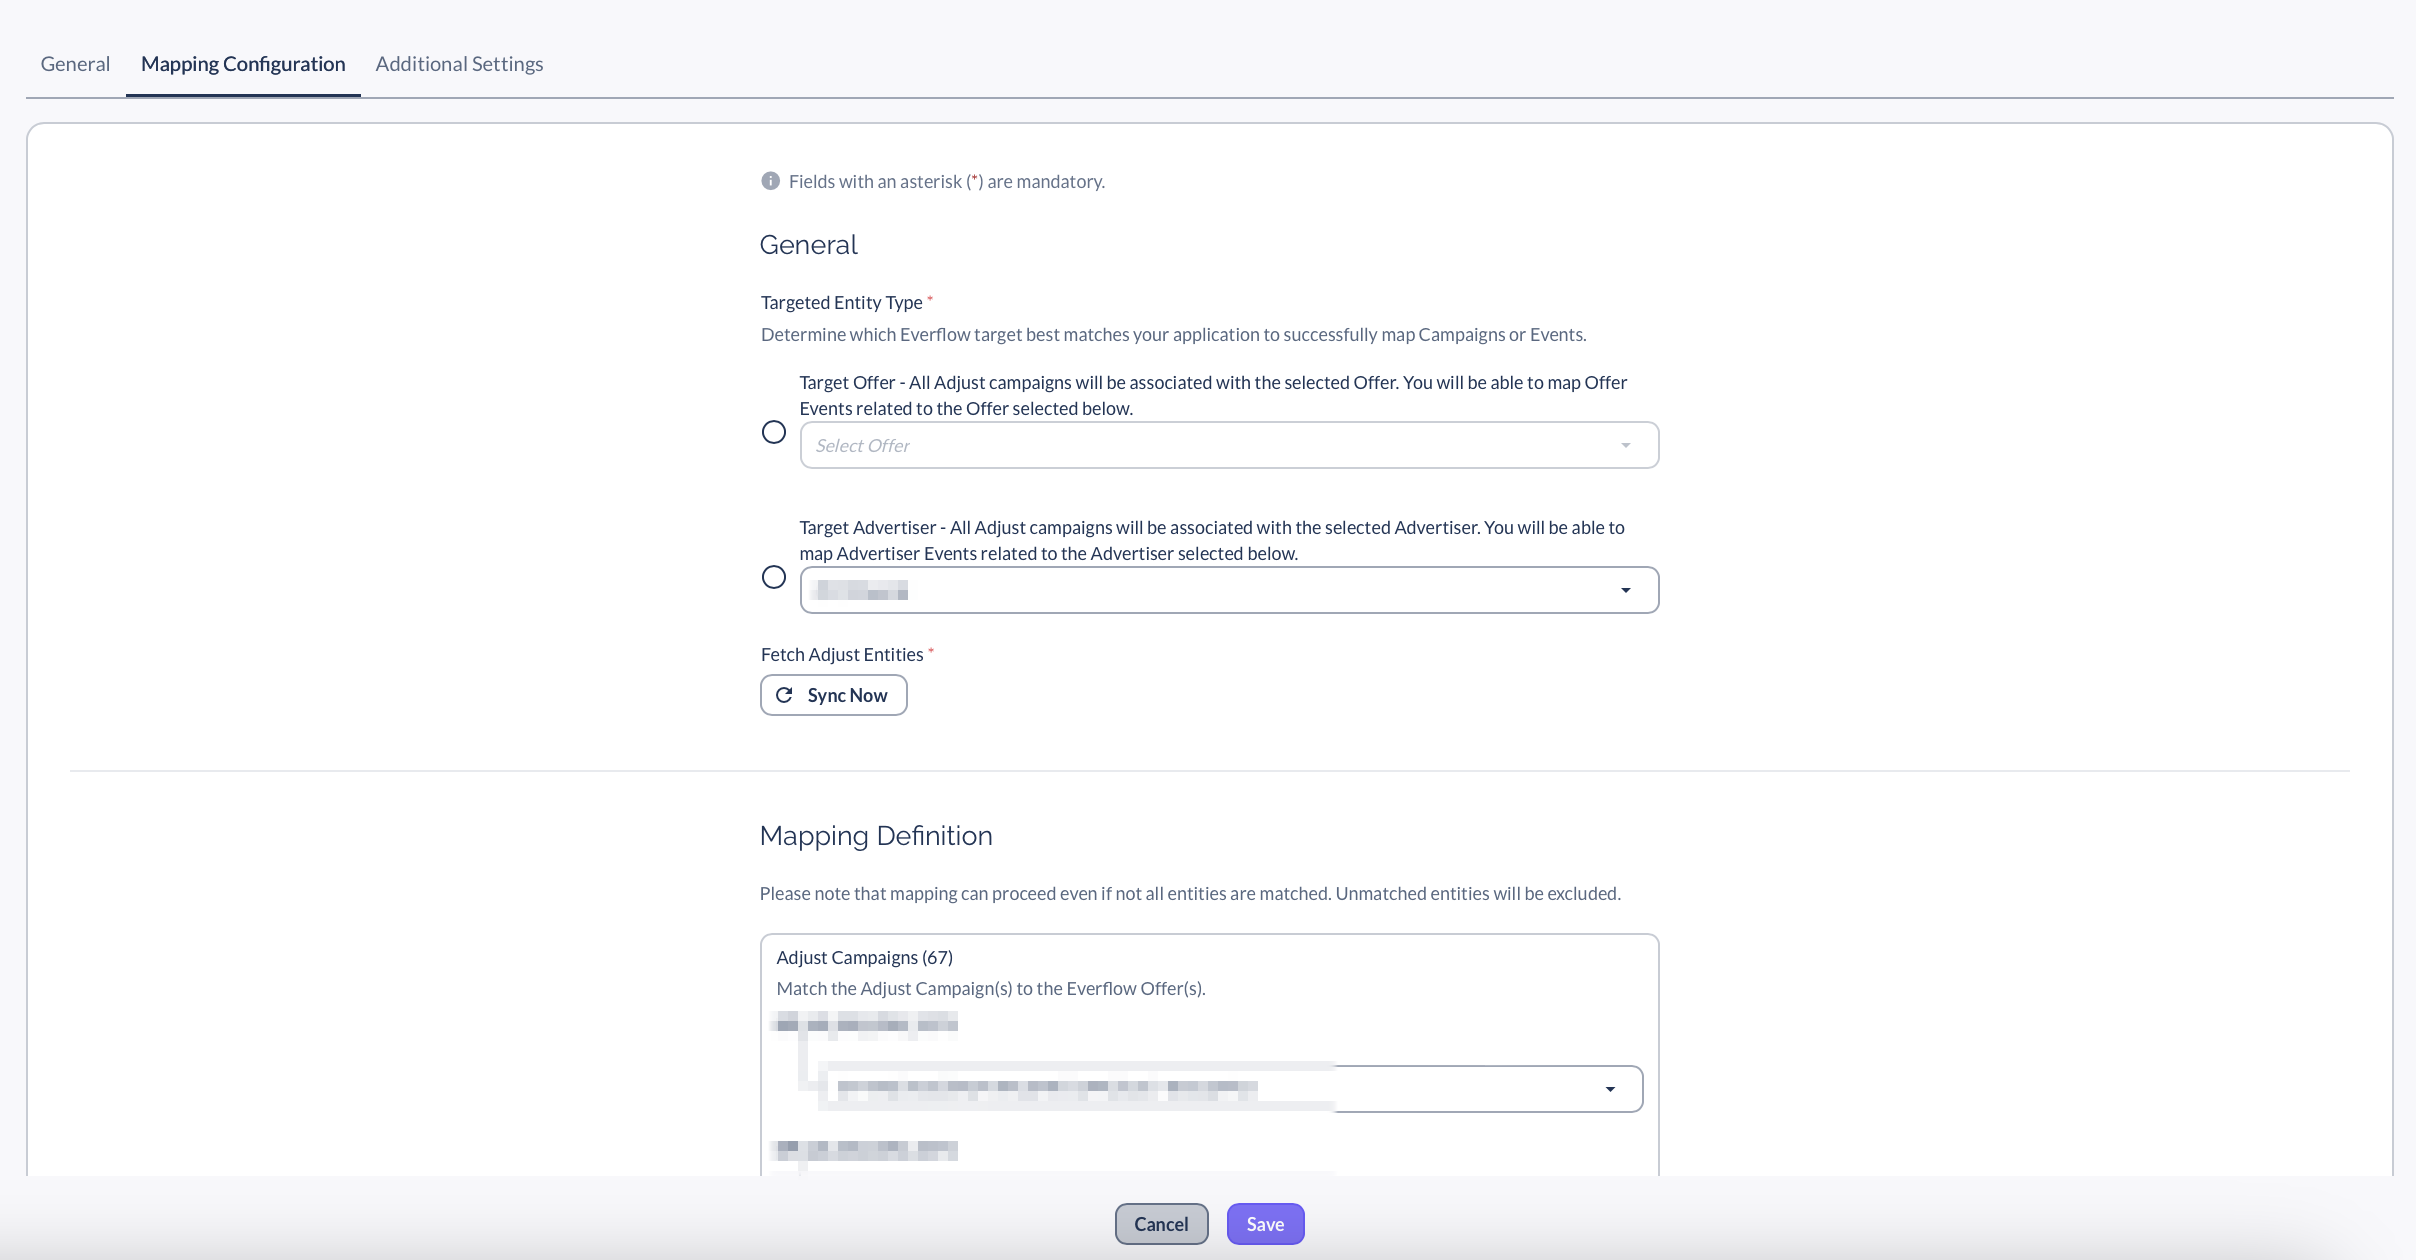
Step-By-Step Guide

1 Start the Integration Go to Integrations in your Everflow dashboard Find Adjust in the list of available integrations Click Connect Integration Enter your Adjust API key You can only use one API key per integration This will sync all apps connected to your Adjust account Fill in the Account ID (if required) Add a Name for this integration Click Connect 2 Add and Configure Your App After connecting, click Add Integration to set up your first app Fill in the App General Information: App ID: Your app's unique identifier App Name: Give your app a clear name Sync Start Date: Choose when to start pulling data from UTC Offset: Set your timezone 3 Choose Your Mapping Depth This is important - you can't change this later!

Under Mapping Dimensions, choose how detailed you want your data mapping: Enable Campaign ✓ Enable Partner ✓ Enable Adgroup ✓ Enable Creative ✓ Heads Up! The more options you enable, the more detailed your data will be, but you'll also need to do more mapping work in the next steps.
4 Map Your Campaigns Go to the Mapping Configuration tab You'll see a list of your Adjust campaigns For each campaign, select which Everflow offer it should connect to using the dropdown menus Example mapping: "Dream's Squeaky Ball Performance 2024_Pet Lovers Campaign" → Select matching Everflow offer "Rope Toy Premium Family Campaign" → Select matching Everflow offer 5 Map Your Events (if needed) In the Mapping Configuration section, you'll also see Adjust Events Match each Adjust event to the correct Everflow event: "fetch_treats" → "(54) Fetch Treats" "toy_purchases" → "(52) Toy Purchase" "dream_rewards_signup" → "(53) Dream Rewards Signup"
6 Set Custom Event Costs (Optional) Go to the Additional Settings tab If you want to override Adjust's default event costs, you can set custom values here Select an event from the dropdown and enter your custom cost 7 Save Your Configuration Review all your settings Click Save to finish the setup

Viewing Your Integration Data

Once your integration is running, you can view all your Adjust data directly within the integration:

Go to Integrations -> MMP -> Adjust Click the Report tab to see your data Use the date picker to select your reporting period Filter by specific campaigns, partners, or events using the dropdown filters

Available Report Columns

Your Adjust integration data includes these key metrics:

Basic Information:

  • ID, Date, Offer, Partner
  • Adjust Event ID, Campaign ID, Adgroup ID, Creative ID, Partner ID

Performance Metrics:

  • Impressions, RPM, CPM, Gross Clicks
  • RPC (Revenue Per Click), RPA (Revenue Per Action)
  • Revenue, Payout, Gross Sales
  • Total Conversions

Customization Options:

  • Use Table Columns to show/hide specific data fields
  • Apply Table Filters to focus on specific offers, partners, or campaigns
  • Export your data for external analysis
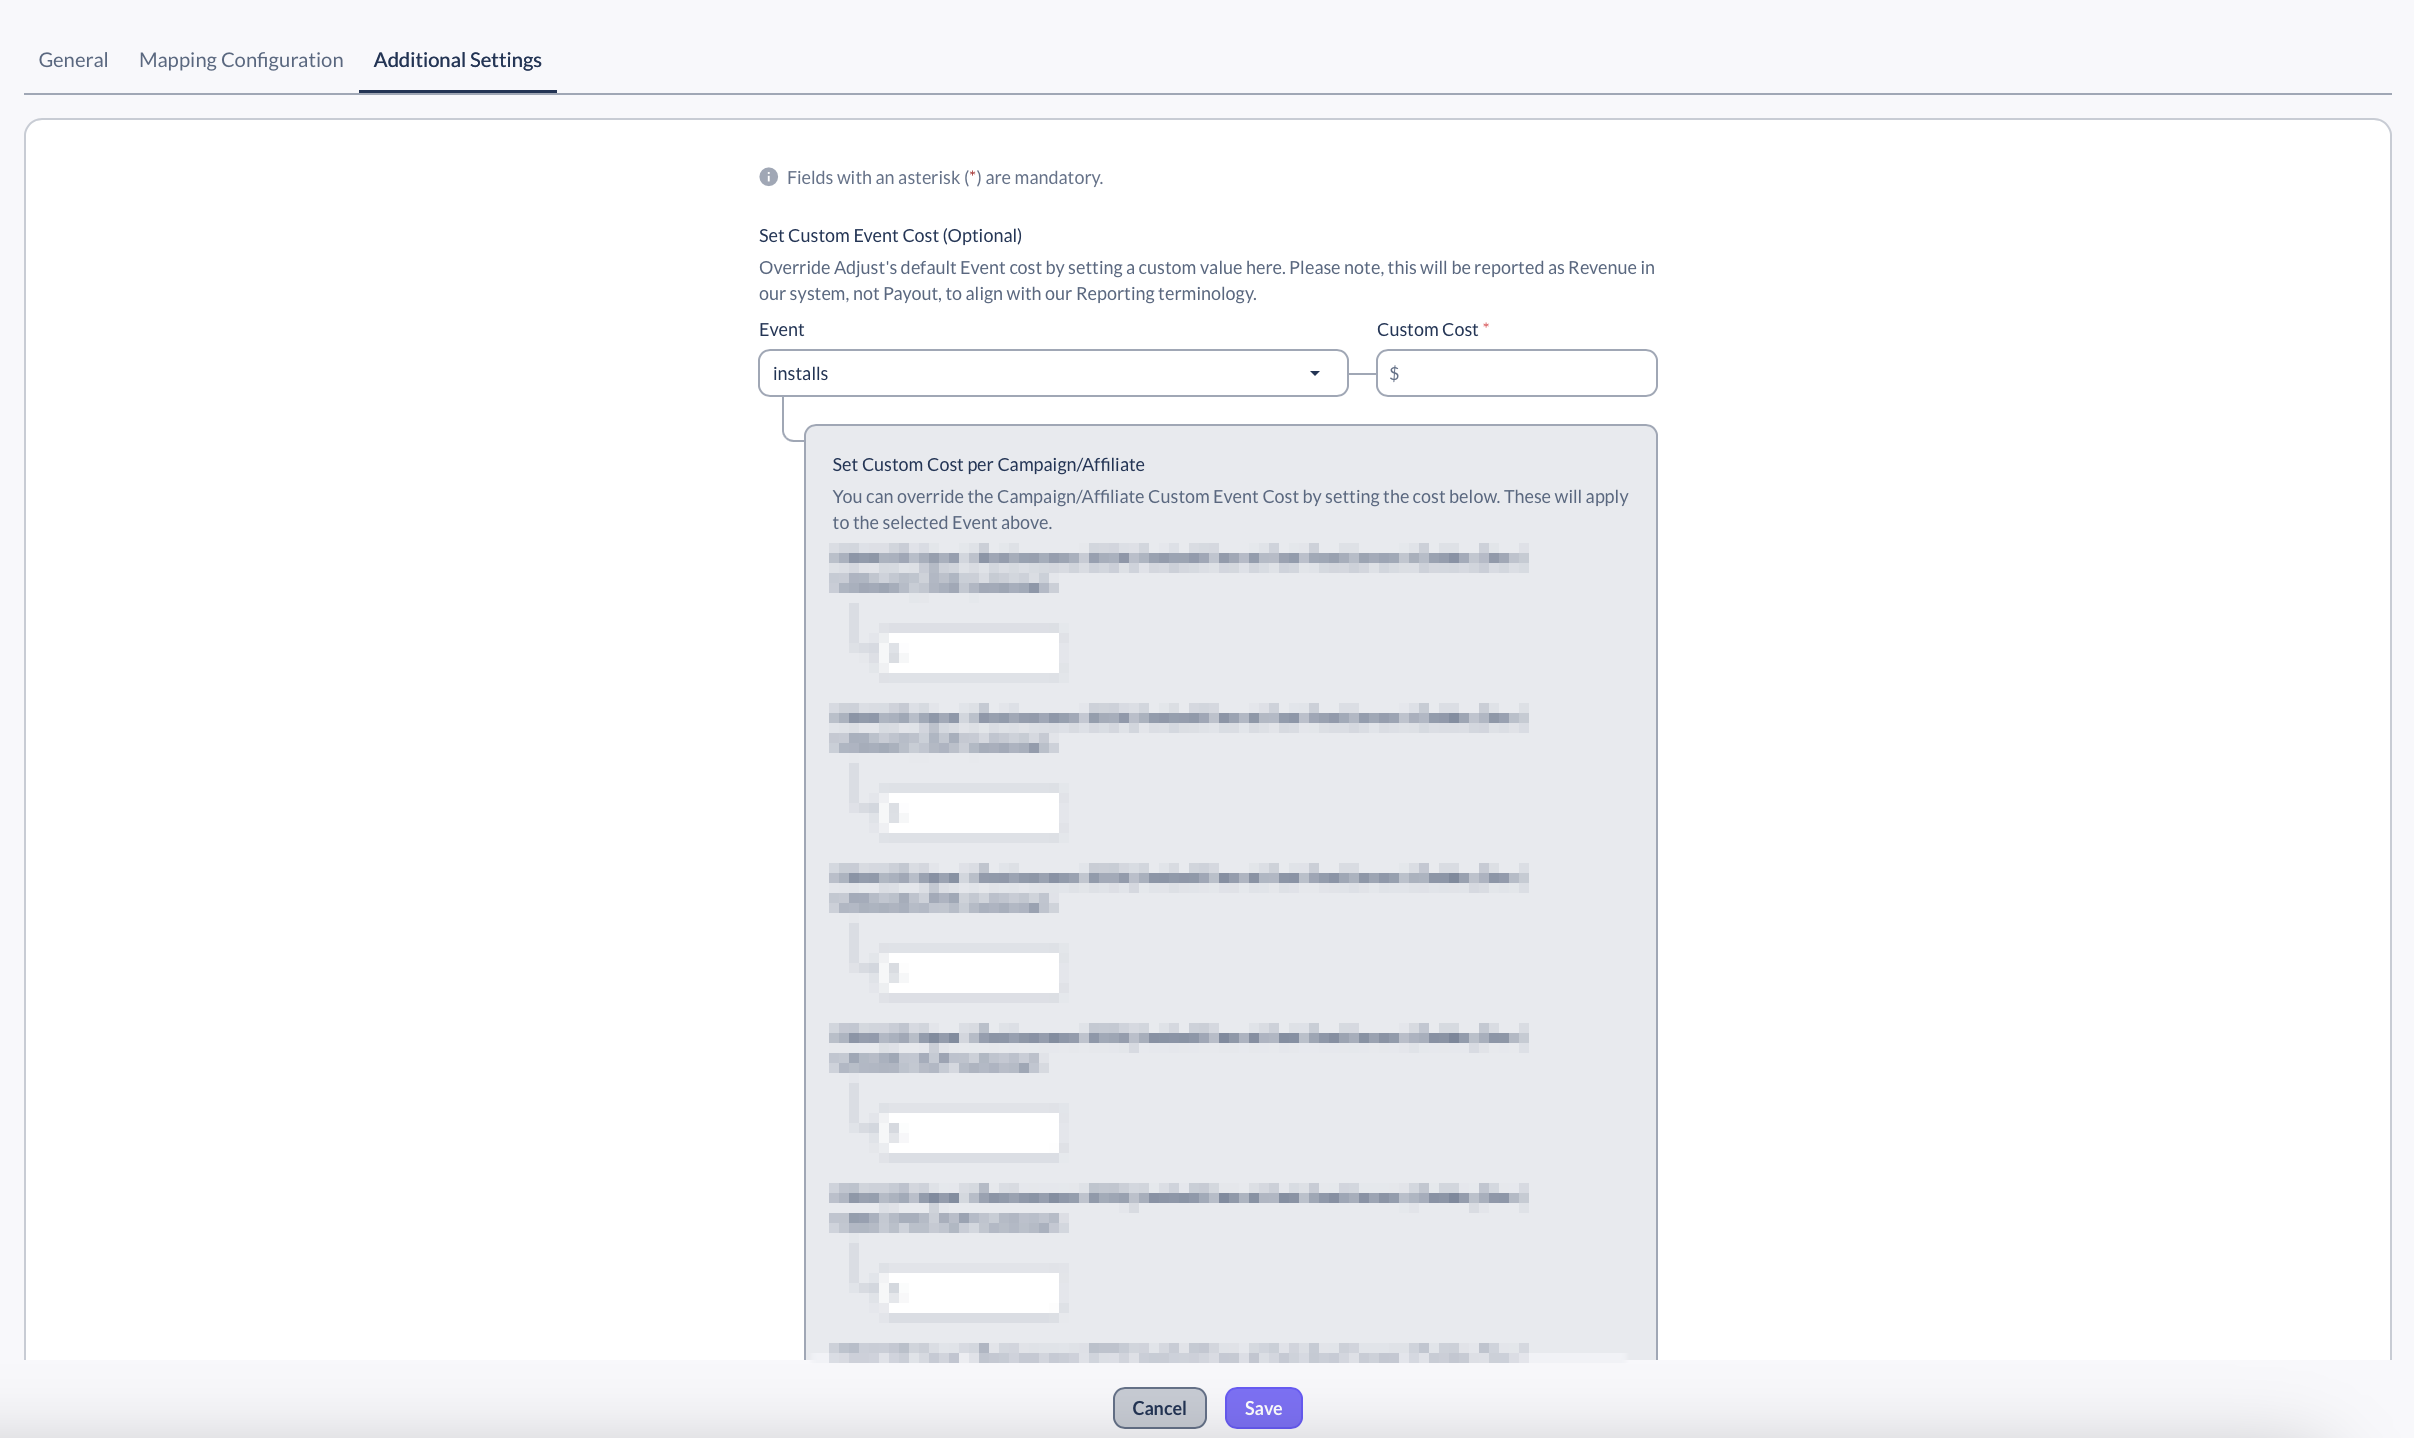
Bottom Line

Once your Adjust integration is running, you'll have all your mobile app data flowing into Everflow automatically. Your campaigns will update daily, events will track properly, and you can focus on optimizing performance instead of managing data feeds. The integration handles the technical work so you can spend time on what matters: growing your business and improving ROI.

Need Help?

Make sure your Adjust API key has the right permissions and double-check that your campaign mappings are correct. Remember that you can't change the mapping depth after saving, so choose carefully. If you run into issues, start with fewer mapping dimensions - you can always create a new integration later with more detail.

Quick Tips

Start with fewer mapping dimensions if you're unsure about your setup needs. Use clear, descriptive names for your integration to keep things organized. Test with a small date range first to make sure everything is working correctly before expanding to your full historical data.