

What to Expect
Welcome to the Partner Platform — this is your home base for everything you do as an Everflow partner. From here, you can browse offers, generate tracking links, monitor your performance, and manage your payments.
This guide walks you through the essentials so you can go from first login to first click as quickly as possible.
Your Dashboard
When you first log in, you'll land on the My Stats dashboard. This gives you a snapshot of your activity — clicks, revenue, conversions, and event metrics — all at a glance.
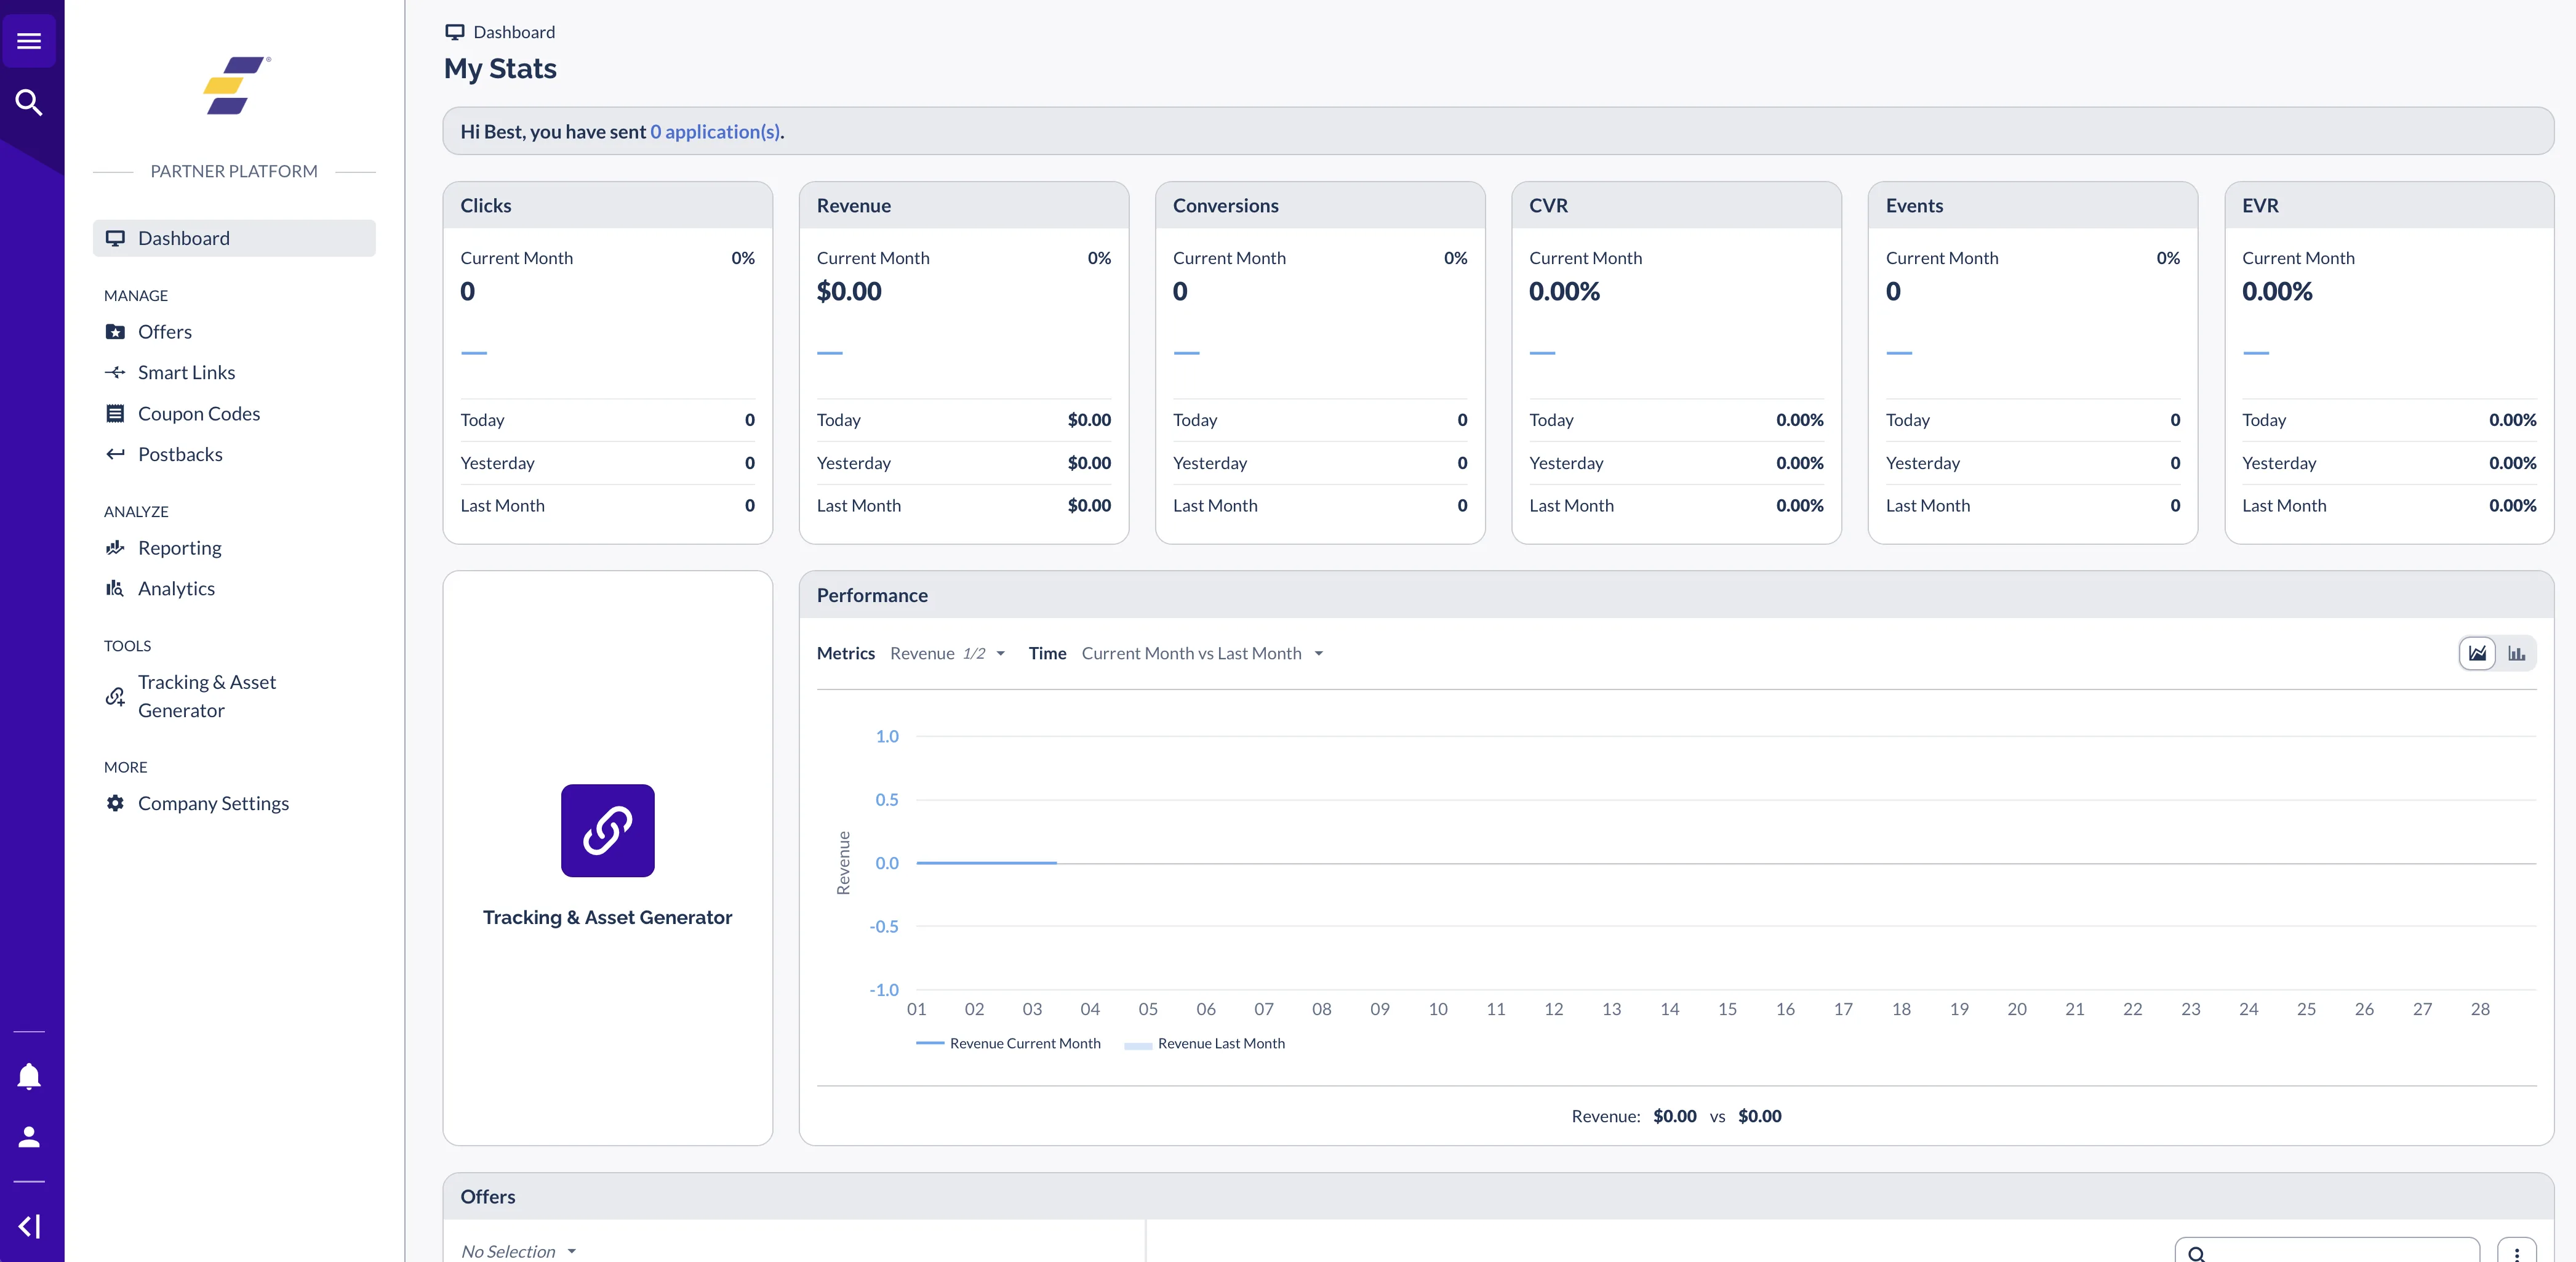
On the left sidebar, you'll find the main navigation:
- Offers — Browse available offers and apply to promote them
- Smart Links — Manage your smart link configurations
- Coupon Codes — View any assigned coupon codes
- Postbacks — Configure server-to-server conversion notifications
- Reporting — Access click, conversion, and event reports
- Analytics — Deep dive into performance data
- Tracking & Asset Generator — Generate your tracking links and access creative assets
- Company Settings — Update your profile, payment info, and account preferences
Browsing and Selecting Offers
Your first step is finding an offer to promote. Navigate to Offers in the left sidebar to see every offer available to you.
Each offer shows key details like the payout structure, allowed traffic types, and any geographic targeting. Once you find an offer you want to run, you can request access or start generating links immediately if you're already approved.
Getting Your First Tracking Link
Once you've selected an offer, head to the Tracking & Asset Generator to create your unique tracking link. This link is how Everflow knows traffic came from you — without it, your clicks and conversions won't be attributed to your account.
There are different link types available depending on how you run traffic:
- Redirect Link — Routes through Everflow's server before sending the user to the advertiser site. Works everywhere, simple to use.
- Direct Link — Sends the user straight to the advertiser's website. Best for platforms like Google Ads, Meta, and TikTok that block redirects.
- Impression Link — Tracks ad views (impressions) rather than clicks. Used for display and video campaigns.
If you're unsure which to use, start with a Redirect Link — it's the most straightforward option.
Setting Up Your Payment Info
Before you can receive payouts, you'll need to complete your payment setup. Go to Company Settings and fill in your banking details and any required tax documents.
Complete your payment information as early as possible. You won't be able to receive payouts until your banking and tax documents have been verified by the advertiser.
Common Mistakes to Avoid
Here are the most common mistakes new partners make — and how to avoid them:
Using a Preview URL Instead of Your Tracking Link
If you copy the offer's preview URL and share it, Everflow has no way to attribute the traffic to you. Your clicks will show up as "Others" with zero payout.
Not Testing Your Link First
Sending traffic to a broken or misconfigured link means lost conversions — and you won't know until your report shows zero clicks.
Skipping Payment Setup
Conversions are tracking, money is accruing — but you can't get paid until your banking and tax documents are verified. This can take days.
Timezone Mismatch
Your daily totals don't match what you expect? The network's timezone might be different from yours — a conversion at 11pm PST shows as the next day in EST.
What's Next
You've got the basics down. Here are the next articles to explore as you start running traffic:
- How Everflow Tracking Works — Understand how clicks, cookies, and conversions connect behind the scenes.
- Troubleshooting: Why Isn't My Tracking Working? — A diagnostic guide for when things don't look right.
- Understanding Your Reports & Analytics — Learn how to read your performance data and identify trends.
- How Partner Payments Work — Everything about payment schedules, statuses, and methods.

