Home
Agency Platform
Getting Started With Agency Platform
How To Set Up Your Agency Dashboard

UNDERSTANDING THE BASICS

How To Set Up Your Agency Dashboard

Set up an Agency Dashboard by creating an account, enabling security, signing in, and navigating the interface.

Overview

This guide will walk you through the process of setting up your Agency Dashboard from start to finish.

Having a properly configured Dashboard is crucial for monitoring your brands and maximizing revenue. Follow the steps below to get your Dashboard up and running.

Account Creation

Our agency team will manually create your Dashboard account.

Once created, you will receive an email confirmation. Open this email and click on the activation link to create your account password.

1 Set Account Password After clicking the activation link, you will be directed to a page asking you to create and confirm a password. Enter a strong password you can remember. Click Save Password when finished.
2 Two-Factor Authentication Setup On the next page, you will be prompted to Sign In using your account details and asked to set up two-factor authentication, which adds an extra layer of security to your account. You can enable this using Google Authenticator or through text messages. Complete the 2FA setup process. Follow the instructions given on the screen.
3 Sign In to Dashboard You will then see a prompt directing you back to the login page. Sign in using the email address associated with your agency account and the password you just created. Upon first sign-in you need to enter a 2FA confirmation code sent to your phone or Authenticator app.
4 Explore the Dashboard Once logged in, familiarize yourself with the Dashboard interface. On the left-hand menu, navigate between the Dashboard, Connections, Reporting (Brand), and My Account pages.

Agency Dashboard Navigation

Dashboard

The Dashboard gives you:

A high level view of performance - including clicks, conversions, payouts, revenue, and CVR Login access to Brand accounts under the Connections section. Use the vertical 3-dot menu to login into the Brand's dashboard.
  • Once the user clicks the Login button, they will automatically be logged into the Brand account previously chosen, without needing the user to manually type in login credentials.
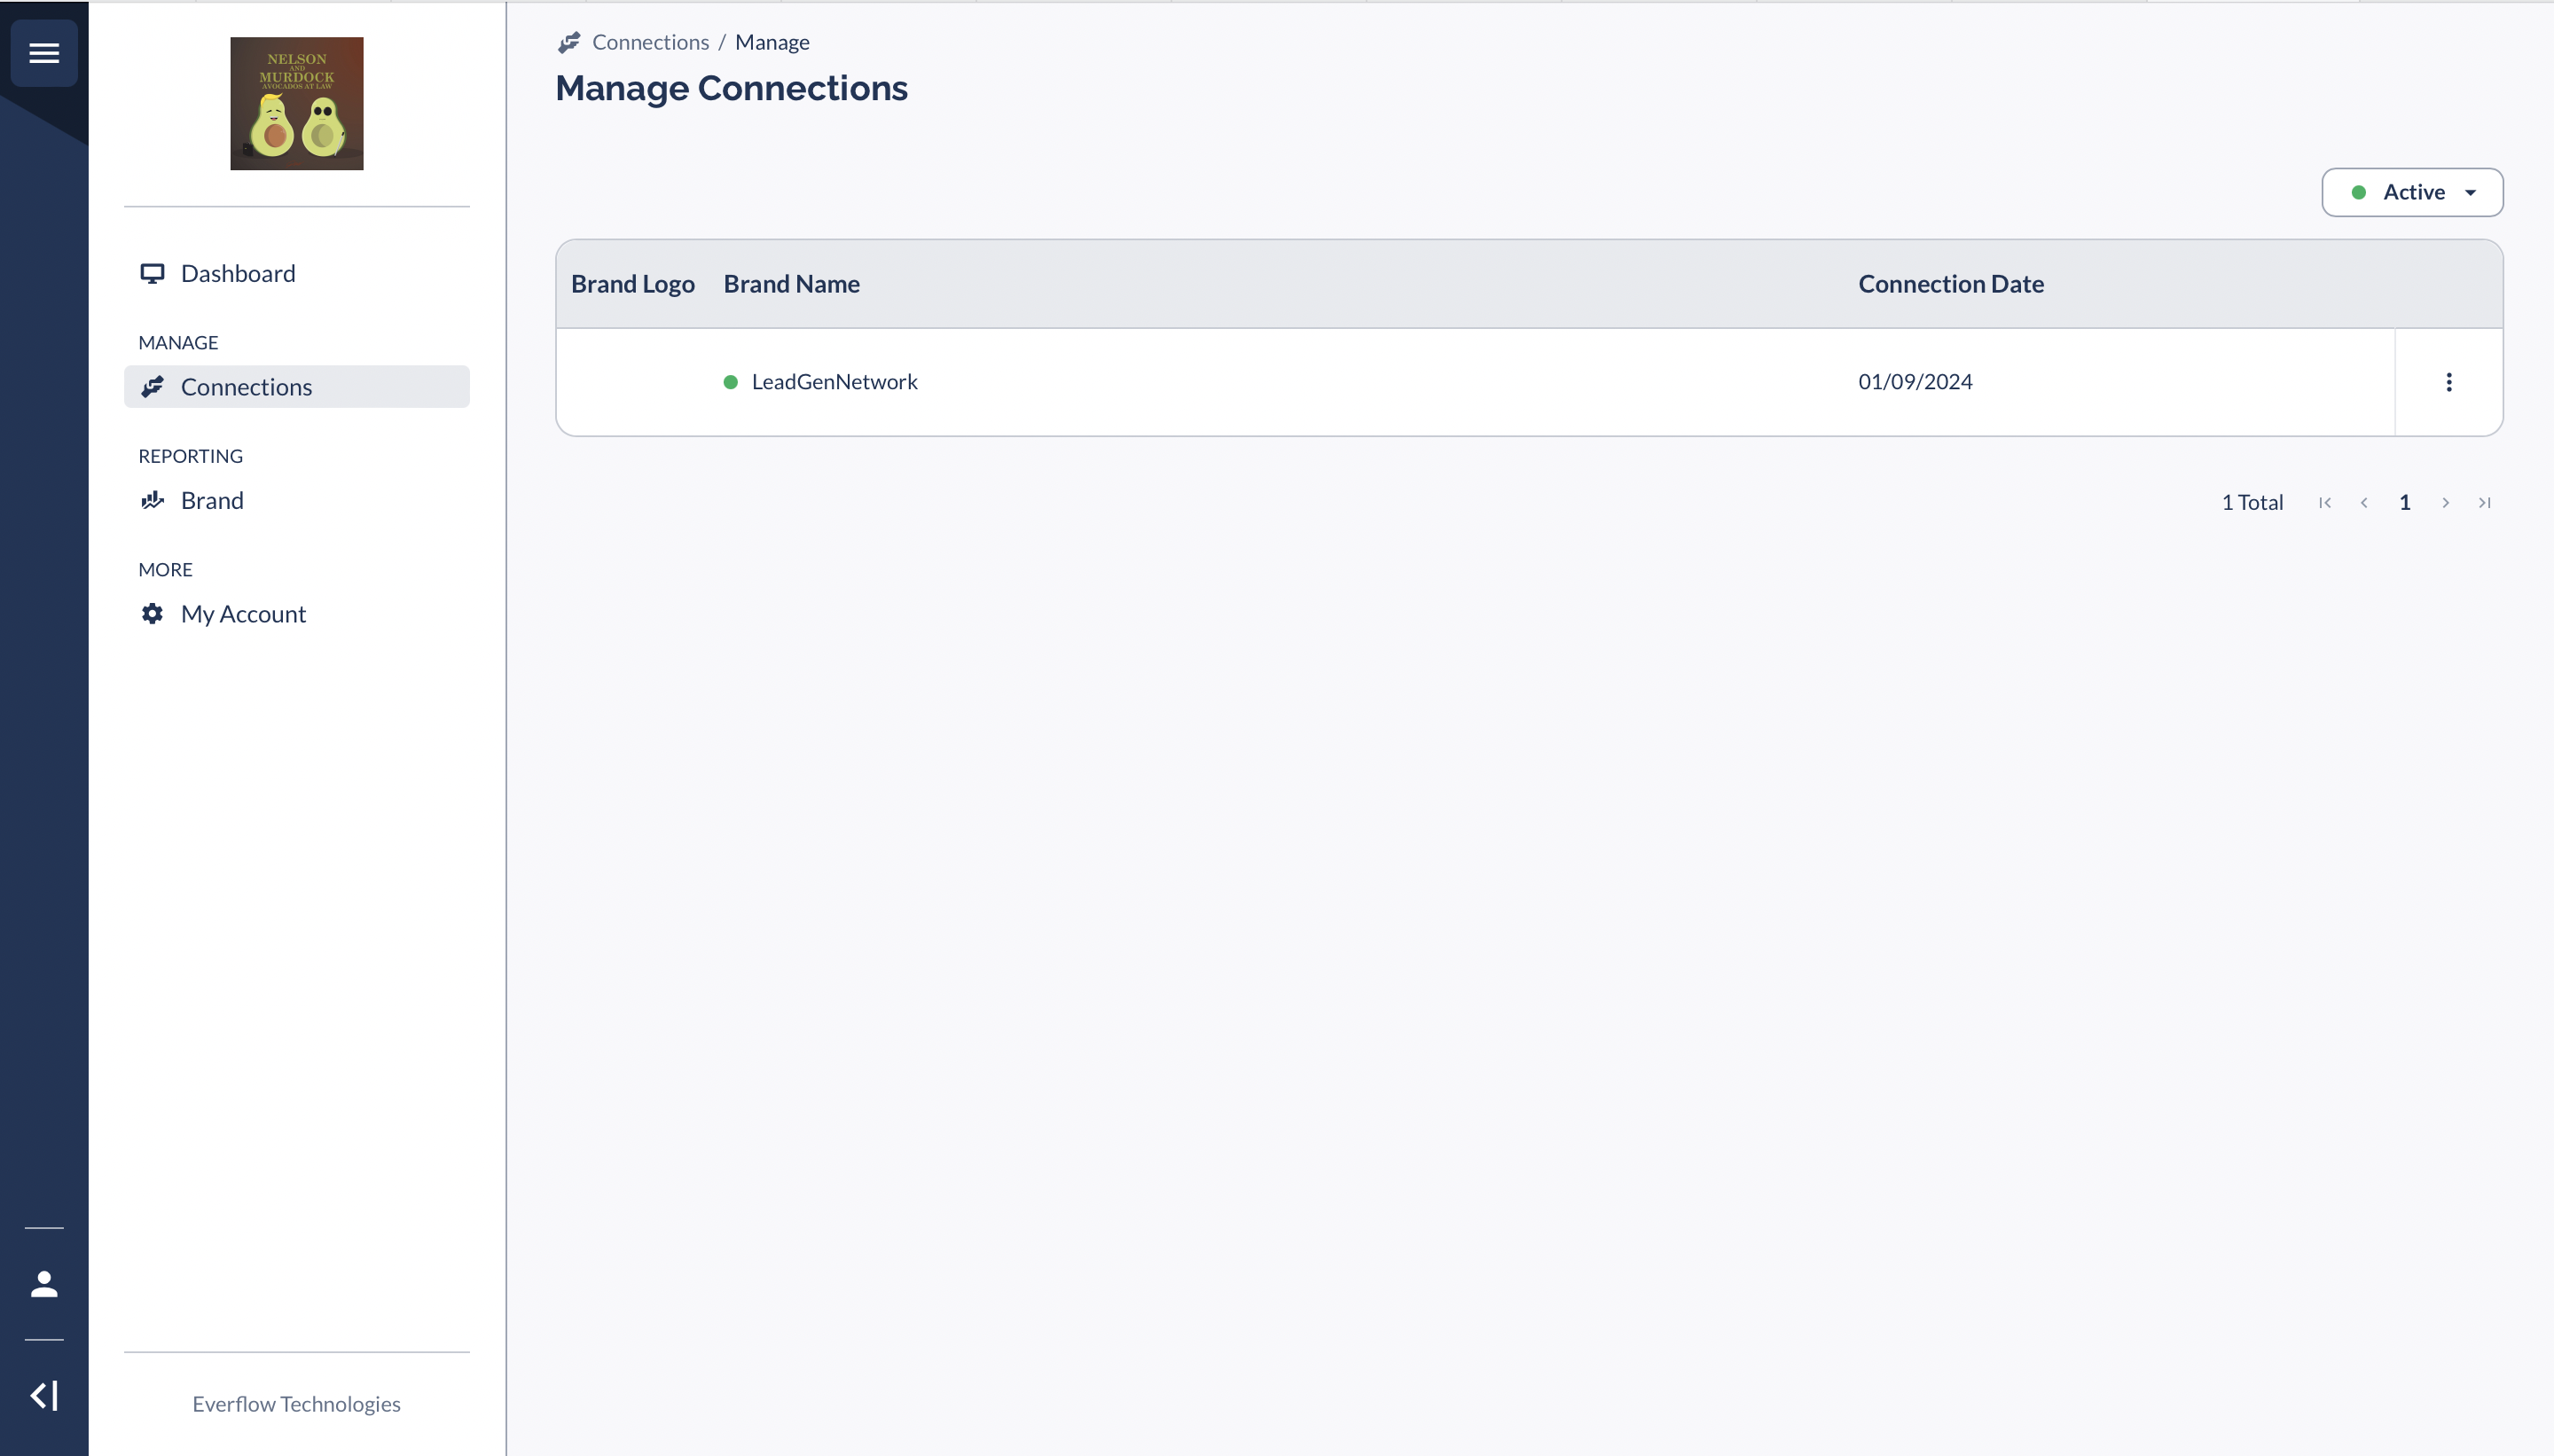
For Connections to work properly, the user must have an active user account with the network (brand) associated with the added NID. If they have an account, the user should be able to successfully login to this network dashboard.
Heads Up! The email used for Agency and Brand accounts must be the same.

Connections

The Connections tab provides the same login access to brand accounts as on the Dashboard, but in a separate dedicated tab.

You will not be able to manage Connections on your own. The process of enabling Connections will be handled by our Agency team.

Reporting

The Brand tab under the Reporting section allows you to run aggregated high-level reports on your connections using:

  • Filters
  • Time Intervals
  • Table Customization
For more detailed reporting, log into your Everflow account or access our Introduction To Reporting & Analytics Options article for more information.

My Account

In My Account you can update:

User Account

  • Name, email, phone, status, password

Company Account

  • Name, logo, time zone, currency

Don't forget to hit Save after making any changes.

Next in This Series